Contents
Through the Registration Site, parents of Attendees are able to effectively manage their registrations through the variety of tools available to them. There may be instances when they get stuck or are in need of further assistance that they can not complete on their own. That is where managing a Registration in CT6 comes into play. The following article walks through the various tools available to a user to be able to assist a customer.
Webinar
Want to see a walkthrough of managing registrations in CT6? Check out this webinar:
Navigation
There are several ways to access a Registration in CT6.
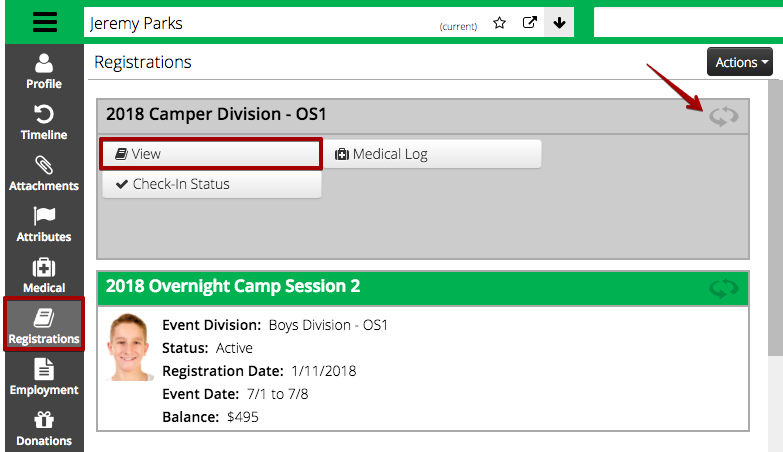
- Go to Individual Profile > Registrations and then select the header to flip the card and select View.
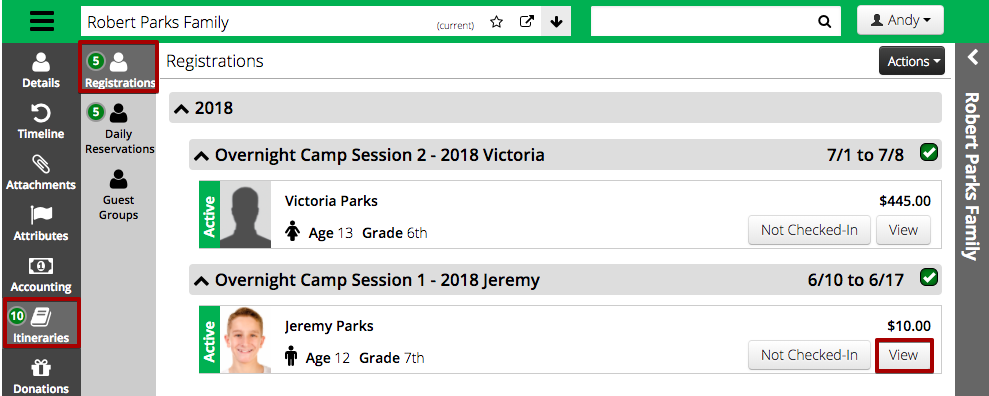
- Go to the Family Profile > Itineraries > Registrations > View.
- Use Registration Search to find a registration.
- Select Registration from the Roster on a Group Registration or Guest Group Itinerary.
Profile
The Profile contains pertinent information concerning the Attendee and gives context for the Registration.
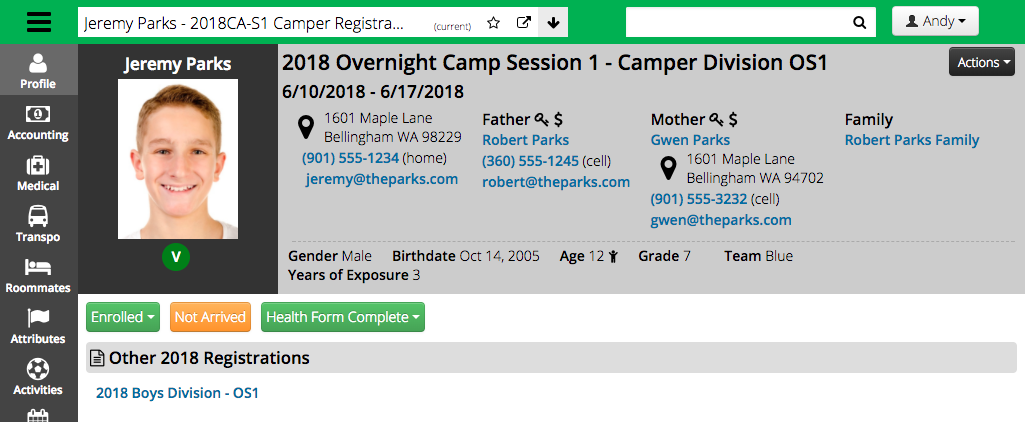
- Attendee Name – Click on the name of the Attendee to go to their profile.
- Attendee Photo – Upload a photo on their profile or through Check-In.
- Flags – Any Attributes with flags will display under the Attendee Photo.
- Event and Dates – List the name of the Event as well as the dates that it is occurring.
- Attendee Contact Information – Address, phone number and email address for Attendee.
- Relationships – A list of contact information for Admins and/or Financial Contacts of family where Attendee is a member.
- Personal Information – Displays Gender, Birthdate, Age, Grade, Team, Housing Assignment and Years of Exposure for Attendee.
- Registration Status – Shows the current status of the Registration [Pending, Enrolled, Cancelled, Wait List]. Select the drop down menu for options to Activate, Move to Wait List, Transfer or Cancel the Registration.
- Check-In Status – Displays either Checked-In or Not Arrived. Select button to go to the Attendee’s Check-In Details.
- Health Form Status – Displays either Health Form Complete or Health Form Incomplete. Select button to either Print Health Form or go to Health Profile.
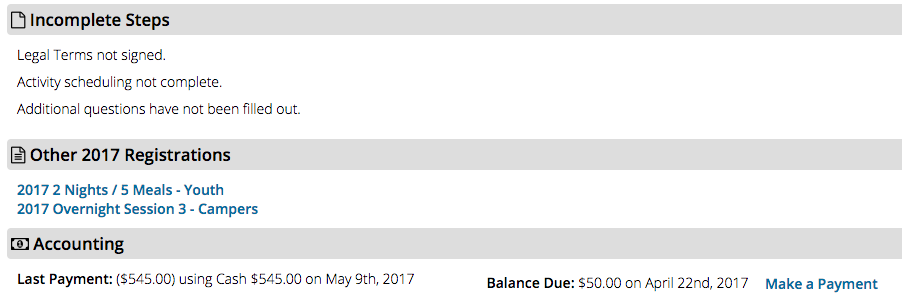
- Notifications – Important information concerning the Registration such as incomplete Workflow Steps or Balance Due messages, will display.
Actions
There are a handful of Actions that are available on each tab of the Registration. Specific tabs, such as Accounting, include more items in the Actions menu that will be covered in that section.
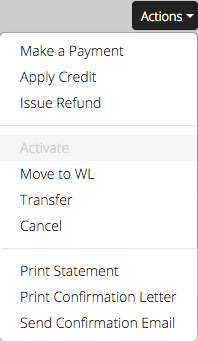
- Make a Payment – Goes to Payment Wizard to be able to apply a payment to the Registration.
- Apply Credit – Allows user to apply credits from a different Registration onto the current one.
- Issue Refund – If any payments need to be refunded, you can do so by selecting this option.
- Activate – If Registration is Pending, choose Activate to change the status to Active.
- Move to WL – Change the status of the Registration to Wait List.
- Transfer – Open up the Transfer Wizard to switch the Event for the Registration.
- Cancel – If the Attendee is no longer attending the Event, you can cancel the Registration.
- Print Statement – Generates a PDF of the Statement report for the Registration.
- Print Confirmation Letter – Generates a PDF of the Confirmation report for the Registration.
- Send Confirmation Email – Sends the Registration Confirmation email to all the Admins for the Registrations.
Accounting
The Summary and Line Items sections under Accounting allow you to see important information concerning the financial side of the Registration.
Summary
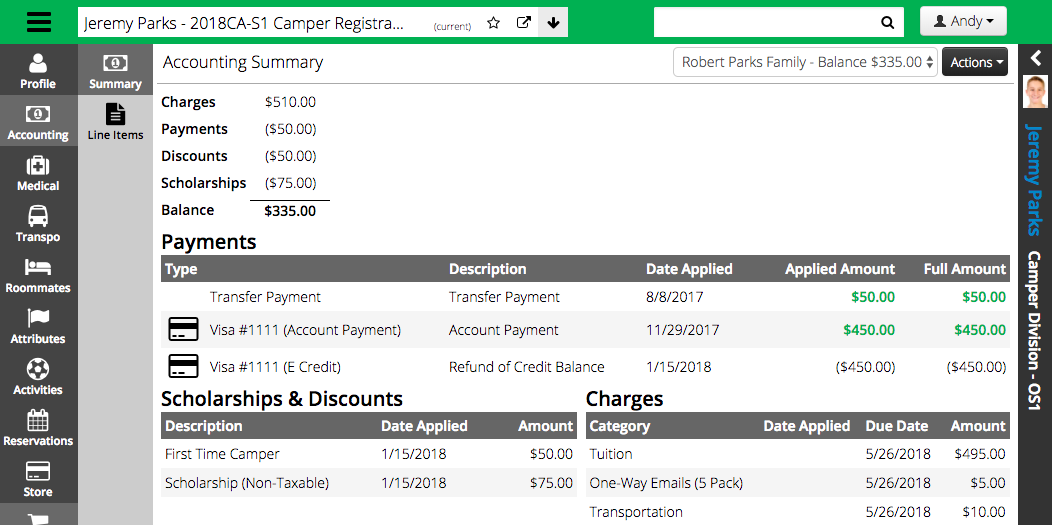
- Totals – Lists the total Charges, Payments, Discounts, Scholarships as well as the current Balance for the Registration.
- Payments – Groups payment information into one section.
- Scholarships & Discounts – Combines to display Scholarships and Discounts that have been applied.
- Charges – Summary of charges on the Registration.
Secondary Entities
A Secondary Entity is defined as someone who is not primarily responsible for paying for a Registration, but is able to pay for other charge on a Registration such as Store Card and Pre-Orders. The best example is when an Attendee registers as part of a Group. The Group is primarily responsible for paying for the Registration charges, but a parent of the Attendee is able to pay for items such as an Activity, One-Way Email or Transportation.
To switch between Primary and Secondary Entities on a Registration, select from the drop down next to Actions in the Accounting section.

Any charges that are added to a Registration in CT6 when there is a Secondary Entity present, will be charged to the Secondary Entity.
Learn how to configure your Event to allow for Secondary Entity purchases:
Line Items
To view the specific details of each accounting entry, select Line Items.
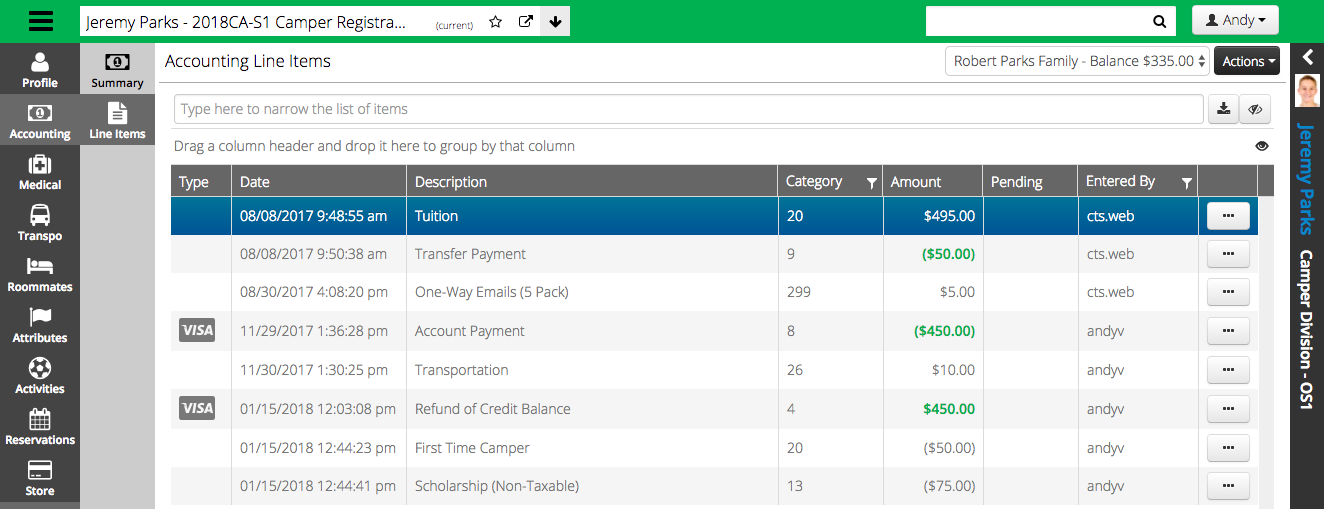
- Type – Displays the type of entry.
- Date – Timestamp of when the entry occurred.
- Description – Lists the AR Category used.
- Category – List the AR Category number used.
- Amount – Amount of the entry.
- Pending – If the entry has not been posted, it will be marked as Pending. Typical examples include, cash, check or e-check payments.
- Entered By – The username of the person who made the entry. All entries made through the Registration Site are denoted with .web at the end of the username.
 – Select to choose from different options depending on the type of entry. Examples include: Post, Remove/Reverse, Void, Issue Refund.
The following are columns that are not shown above, but can be added or removed from Line Items. Read more on How do I customize my Grid View?
- Manual – Denotes any entry that was added manually.
- Comments – Displays any comments that were added to the entry.
- GLBatchID – Lists the ID for the GL Batch that the entry is assigned to.
- Detail – Provides more context for the entry.
- Post Date – Displays the date when the entry was posted.
Scheduled Payments
Learn how to add, edit and cancel Scheduled Payments.
Actions
Below is a list of Actions that can be performed under the Accounting section.
Reprice Itinerary
Did a charge change or was a new automatic discount added? Select Reprice Itinerary to have the system look for the most up-to-date information.

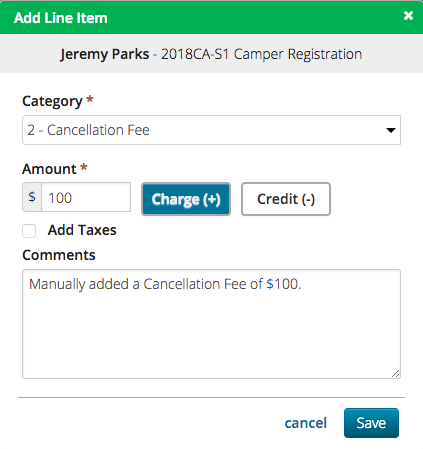
Add Line Item
Manually add a Line Item by selecting a an AR Category and by determining if it is a Charge or Credit. This feature should only be used when no other options will allow the user to add the needed entry.
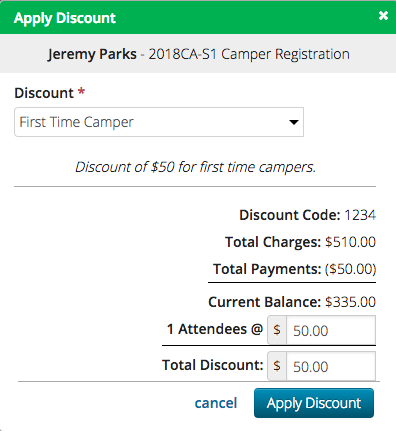
Apply Manual Discount
Select a Discount and edit the Amount or Total Discount as needed to reduce the balance of the registration.
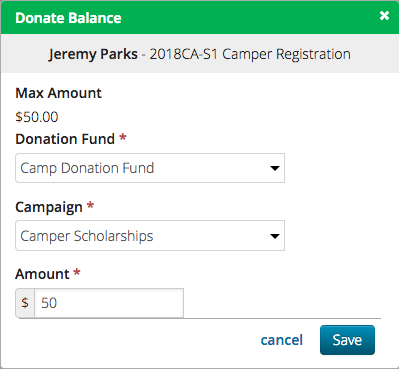
Donate Balance
Select the Donation Fund, Campaign and Amount to donate from the registration.
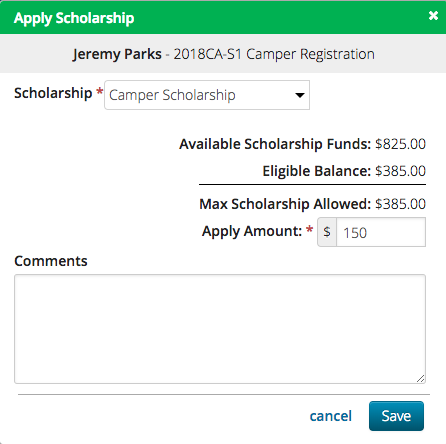
Apply Scholarship
Select a Scholarship and the Apply Amount as well as add any important Comments.
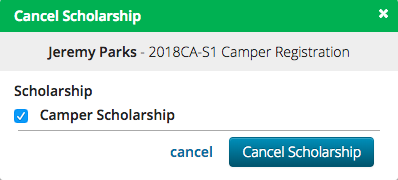
Cancel Scholarship
Select which Scholarship to cancel and it will be removed from the registration.
Medical
Under Medical, there are sections for History and Log that allow you see important information concerning the health of the Attendee.
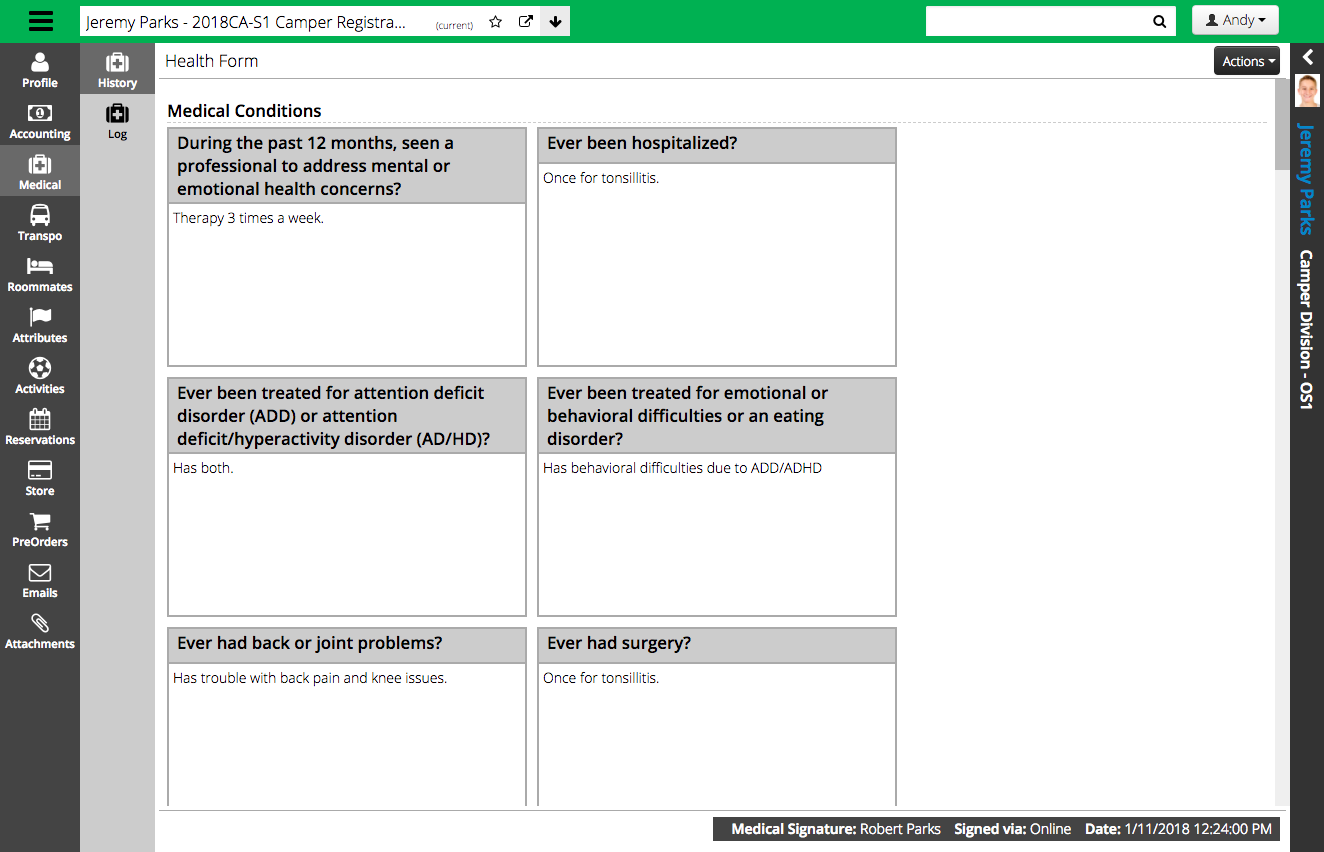
History
Select History to see the Health Form for the Attendee. The Health Form can include Medical Conditions, Emergency Contacts, Medications, Immunization Records, and Attributes as well as the signature and time stamp for the Medical Release.
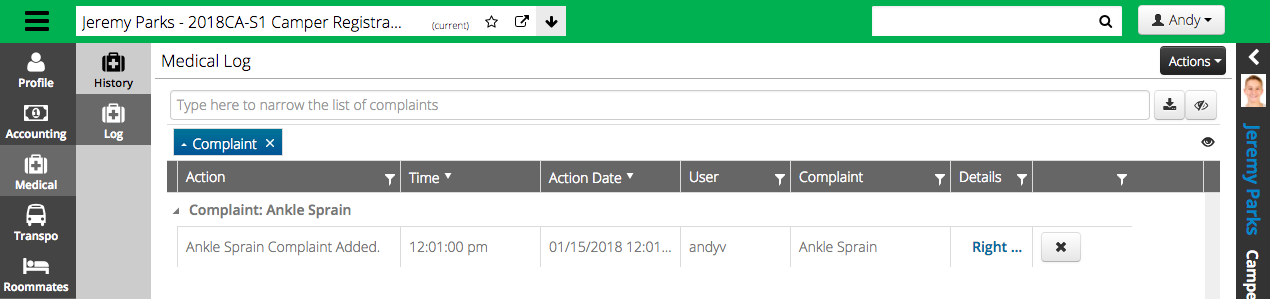
Log
Displays a Complaint Log for Attendee. Read more on How do I customize my Grid View?
Actions
Under Actions, Select Print Health Form to generate a PDF of the Health Form.
Transportation
Add, update or remove Transportation reservations for the Registration in this section.
Add Transportation
- In the lower right hand corner, select
 .
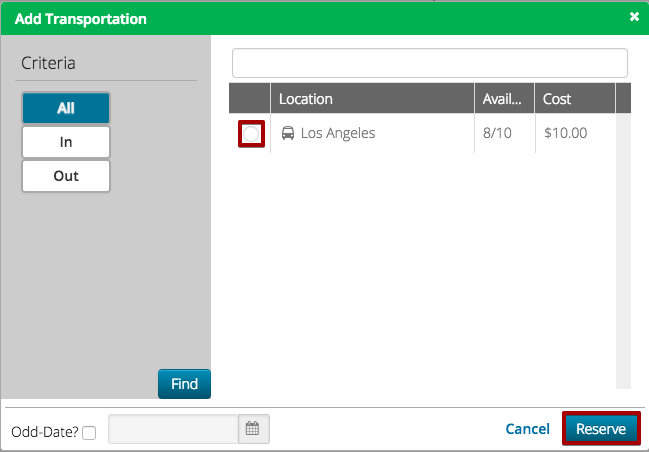
. - In the dialog box, use the criteria and filter to narrow down your choices. Select the radio button and then Reserve to add a Reservation.
- To add flight information, flip the Reservation Card over by selecting the header.
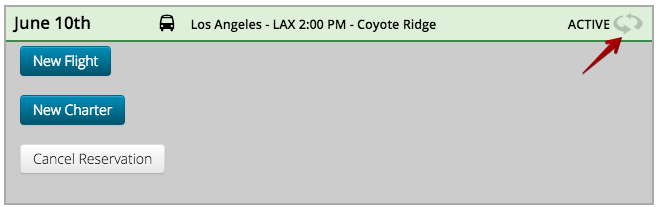
New Flight
Enter commercial flight information and stay up to date with emails from Flight Tracker when something changes.
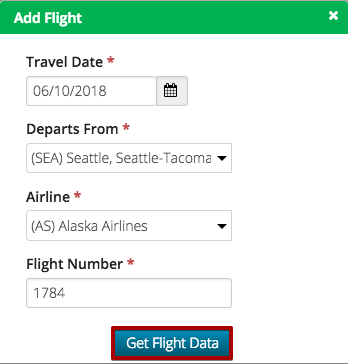
- Select New Flight to add flight information.
- Enter the flight information and then select Get Flight Data.
- Confirm the flight data and then select Save.
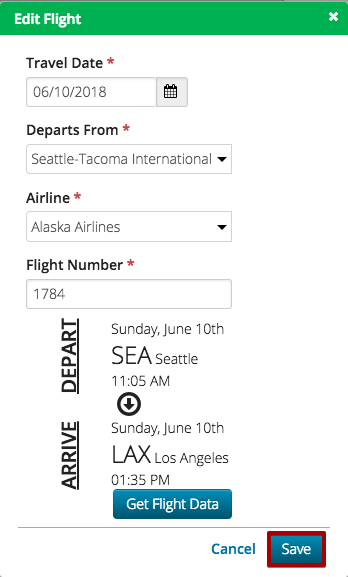
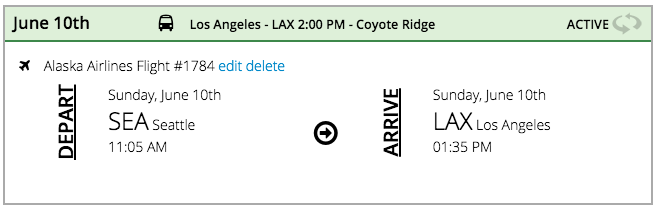
- The flight information now displays on the Reservation Card.
New Charter
Have a chartered flight you need to add information for? Follow these steps:
- Select New Charter to add flight information.
- Enter the information and then select Save.
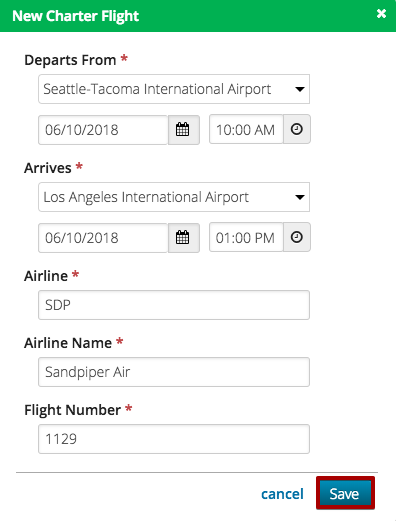
- The flight information now displays on the Reservation Card.

Roommates
You are able to assist parents with Roommate Requests by accepting, removing or resending them from the Roommate section.
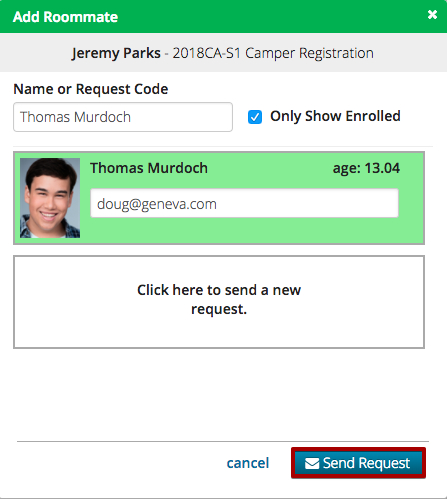
Add Roommate
If the Roommate is already registered for the Event, you can send a request to them by completing the following:
- In the lower right hand corner, select
 .
. - Type in the name of the Roommate that is being requested, select the individual, update the email as needed, and then select Send Request.
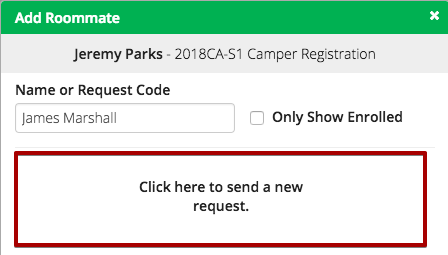
Send New Request
You can also send a Request Code to someone who is not registered yet. To do so, follow these steps:
- In the lower right hand corner, select .
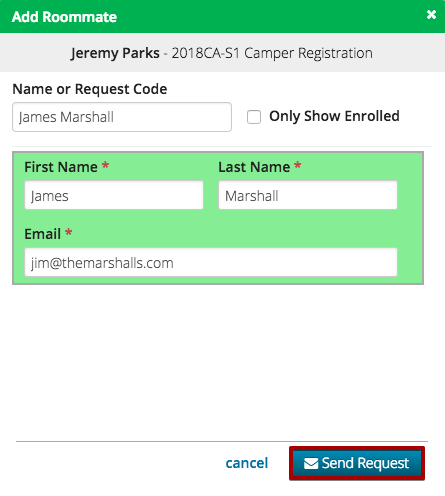
- Start typing the name in the filter. If no individuals are found, select Click here to send a new request.
- Enter the name of the Roommate and the email address for the parent and then select Send Request.
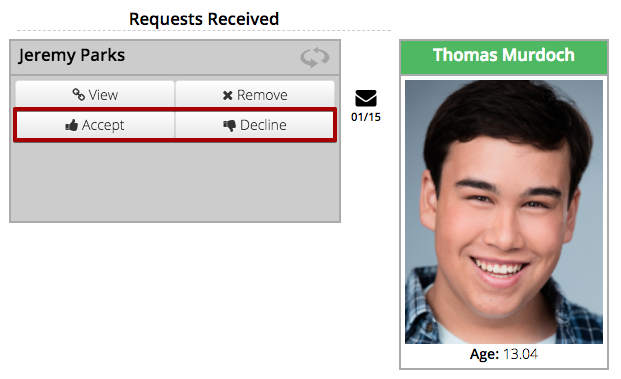
Manage Requests
Once a request has been made, you will be able to see the connection between Individuals and other members in the Roommate Chain.
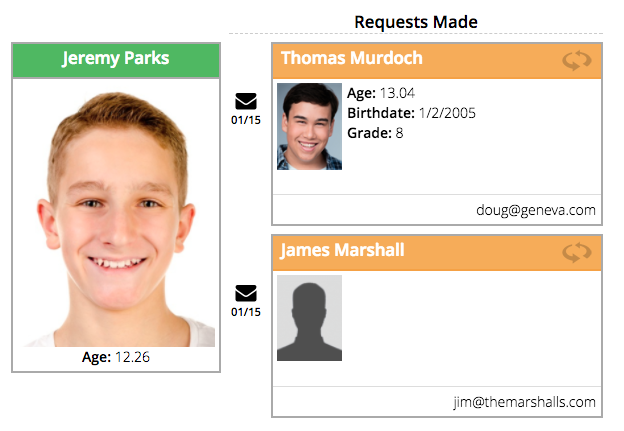
 – Displays the date that the request was sent.
- Photo / Age / Birthdate / Grade – If individuals already has an account, will display their information.
- Email Address – Shows who the request was sent to.
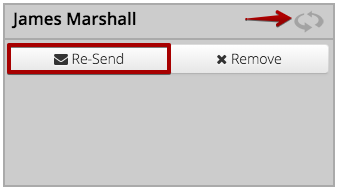
Resend Request
To resend a request, flip the card by selecting the header and select Re-Send.
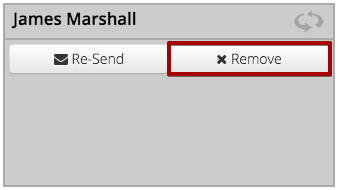
Remove Request
To remove a request, flip the card by selecting the header and select Remove.
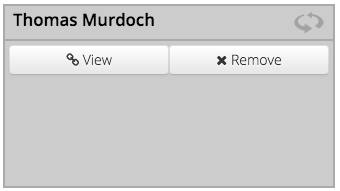
View Request
To view a request that has been made, flip the card by selecting the header and select View.
Accept / Decline Request
- When on the Registration where the request was received, flip the card by selecting the header and the select either Accept or Decline.
- After the request is accepted, the card will change to green and the
 icon will appear noting the date that the connection was made.
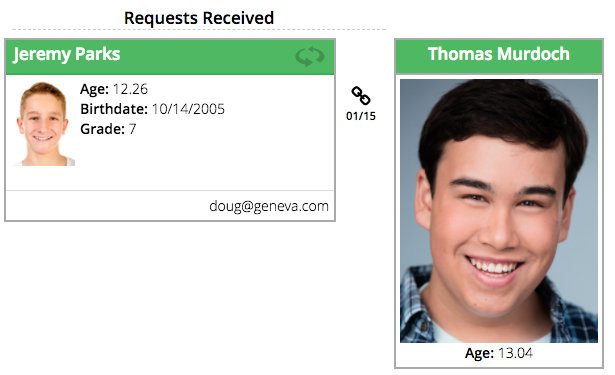
Roommate Chains
Once a Roommate Chain is established, you will be able to see the members of the chain that are connected.

Attributes
For Events configured with custom questions, select the Attribute tab to enter or update information.
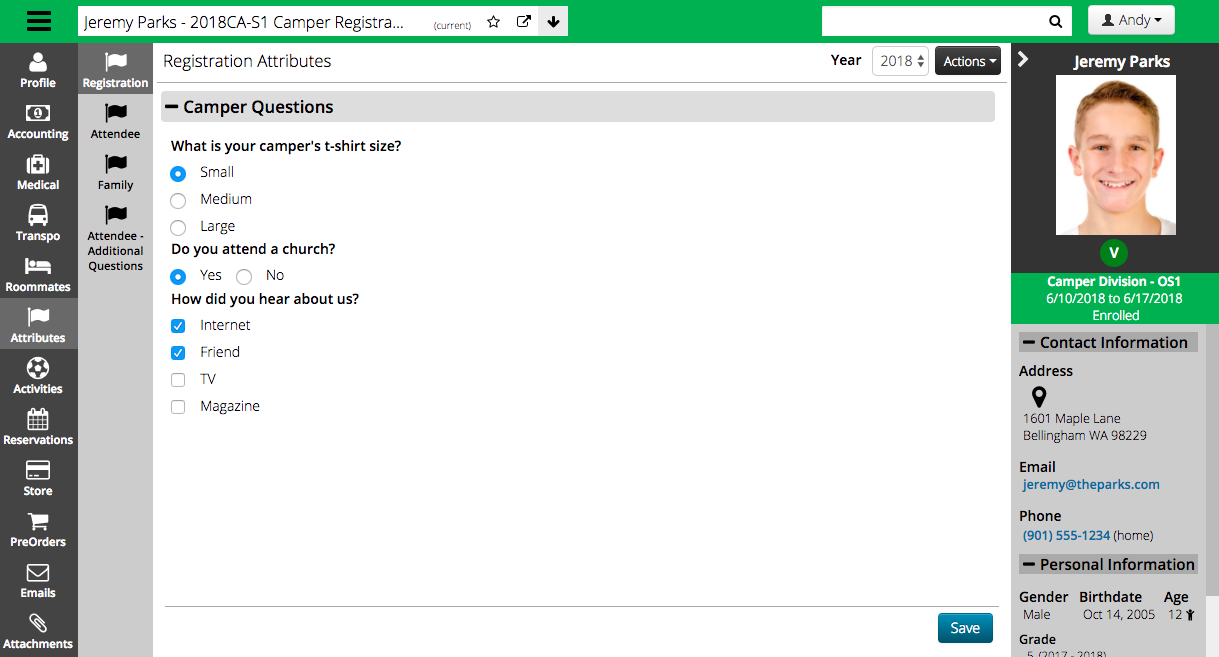
- Attribute Type – Select the type of Attribute that you want to fill out: Registration, Attendee, Family, or Attendee – Additional Questions.
- Year – For year based Attributes, select the Year next to the Actions menu.
- Save – Once you have made updates, select Save.
Activities
There are two types of Activities that can be reserved as part of a Registration: Scheduled and Unscheduled.
Scheduled
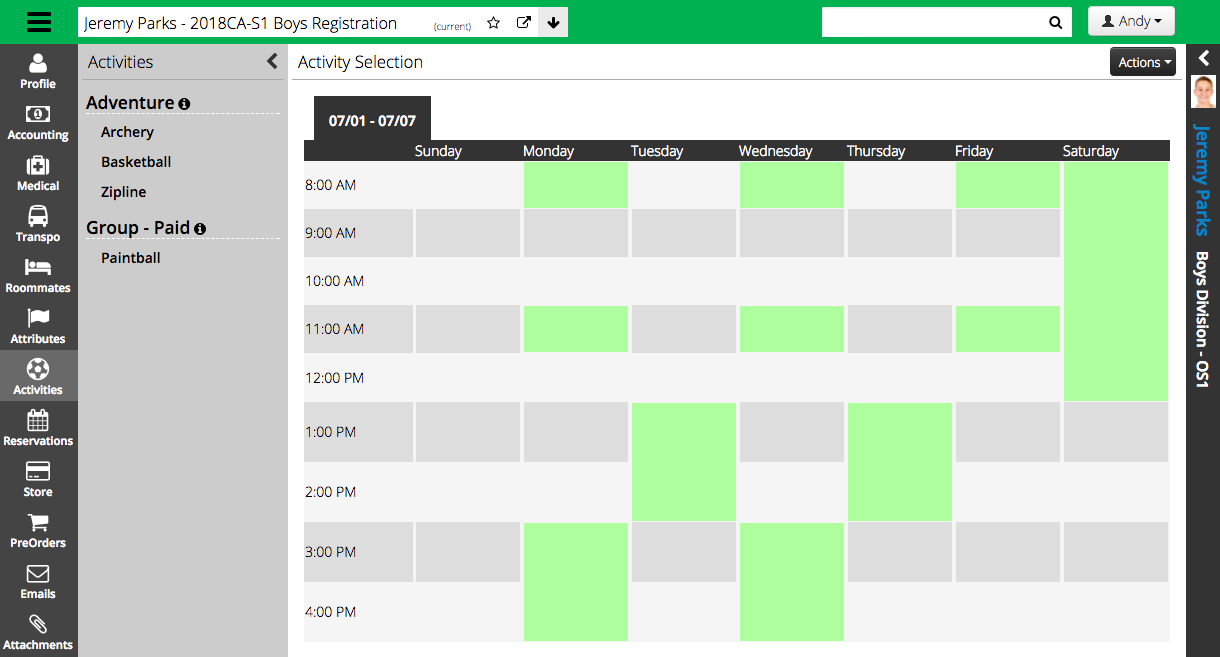
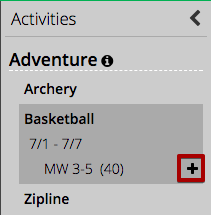
- Activity List – The left hand column has a list of available Activities for the Registration.
- Schedule – Available Activity blocks are shown in green. Multiple week Events will display the next week as a tab across the top of the Schedule.
Add Activity
There are two ways to add an Activity to the Schedule.
- From the Activity List, select the name of the Activity and select the + icon to add it to the schedule. If there are multiple options for the Activity, select the desired class.
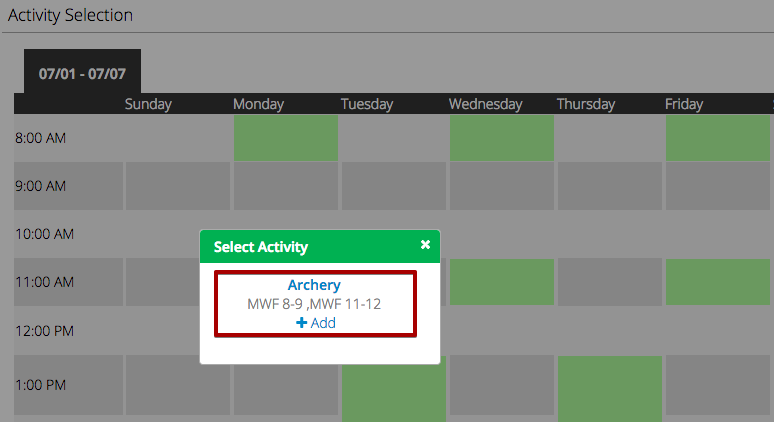
- From the Schedule, select a green box and then select an Activity that is available during that time frame.
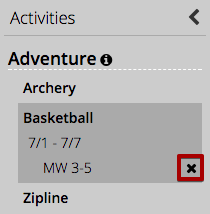
Remove Activity
- On the Activity List, select the name of the Activity and select the X button.
Unscheduled
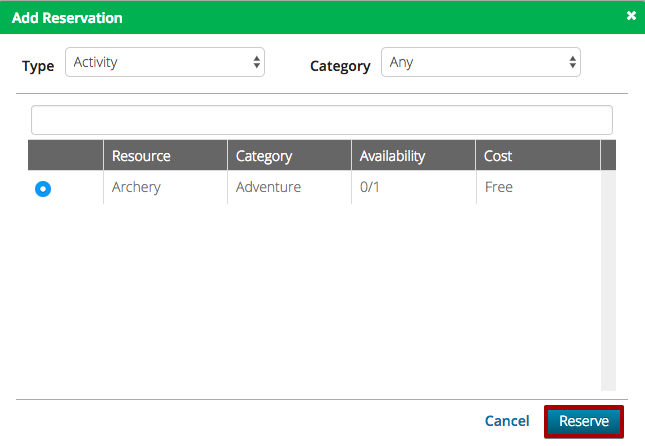
For Events that have Unscheduled Activities, follow these steps to make a Reservation.
- In the lower right hand corner, select
 .
. - Select a Type and then choose an Activity from the list and select Reserve.
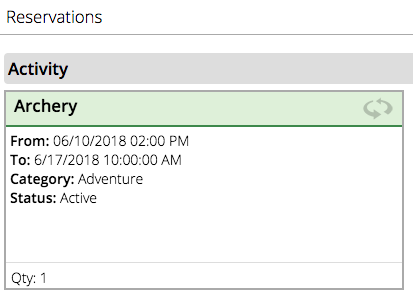
- The Activity Reservation will display. Select the header to flip the card for more actions.
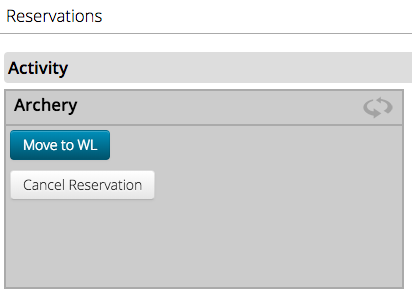
- Choose to move the reservation to the Wait List or Cancel.
Reservations
Add other Reservations to the Registration.
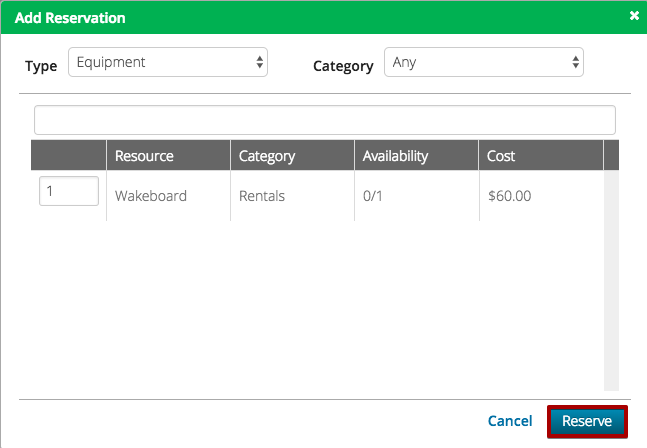
- In the lower right hand corner, select .
- Select a Type and then choose an item from the list and select Reserve.
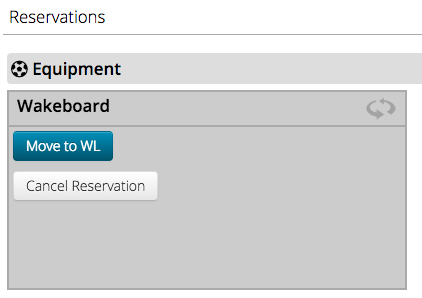
- The Reservation will display. Select the header to flip the card for more actions.
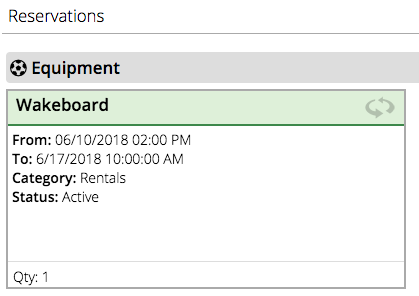
- Choose to move the reservation to the Wait List or Cancel.
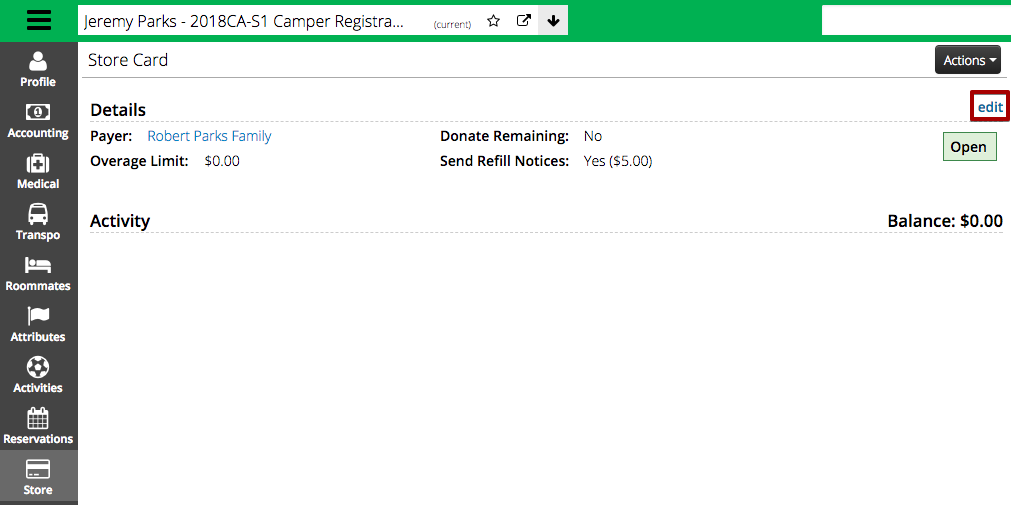
Store
Add or reduce Store Card credit or see a list of purchases for an Attendee under this section.
Adjustment
- To add or reduce Store Credit, click on Edit in the upper right hand corner.
- Enter an Adjustment [either positive or negative] and then select Save.
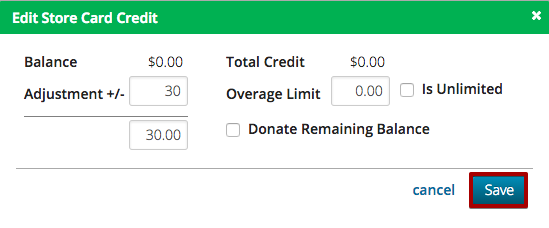
- Overage Limit – Set the amount that the Attendee is allowed to go over their credit limit.
- Unlimited – Remove the Overage Limit and set to unlimited.
- Donate Remaining Balance – Choose to donate the balance during the End of Event process.
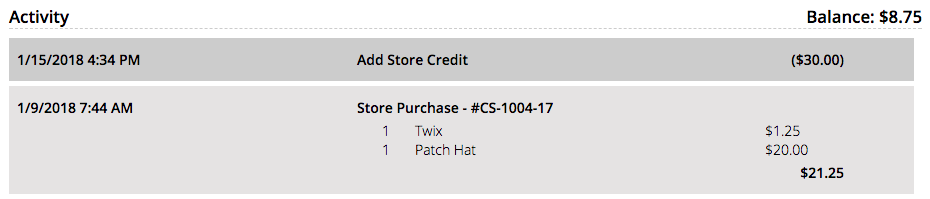
Purchases
Any purchases that are made as well as Store Credit that is added or removed will be displayed in the Activity section. The current Store Card balance is displayed in the upper right hand corner.
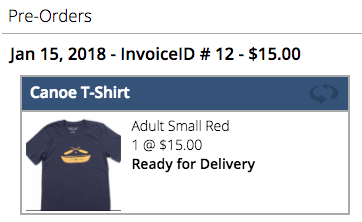
Pre-Orders
Sell merchandise to Attendees before they arrive for their Event and then deliver to them when they are on site.
Place Order
- In the lower right hand corner, select
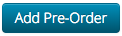 .
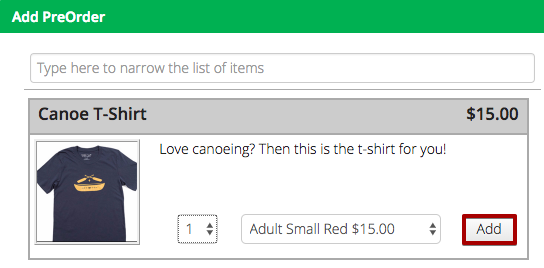
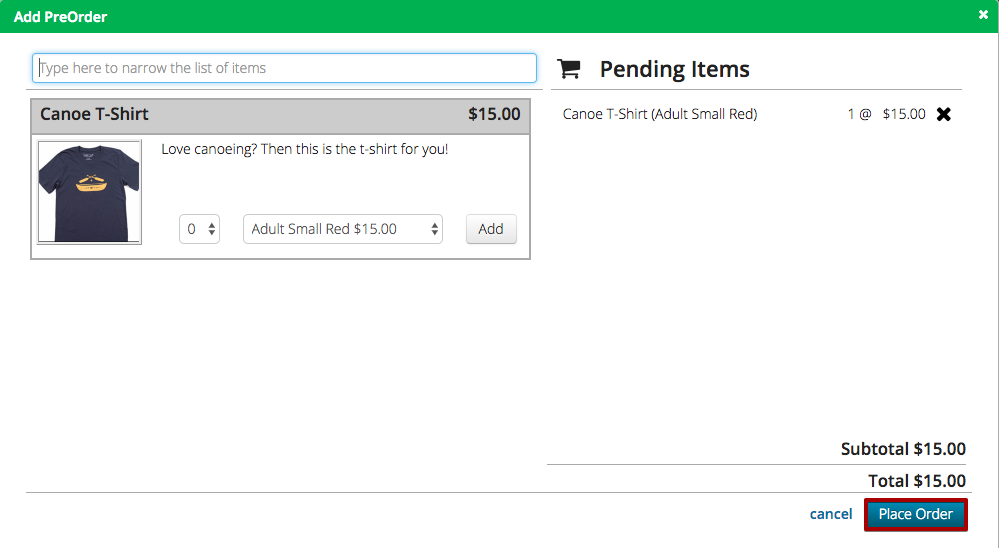
. - Select a Pre-Order from the available list of items, select the quantity and dimension and then select Add.
- Review the order and then select Place Order.
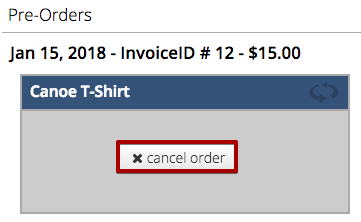
Cancel Order
- Select the header to flip the card over.
- Select Cancel Order.
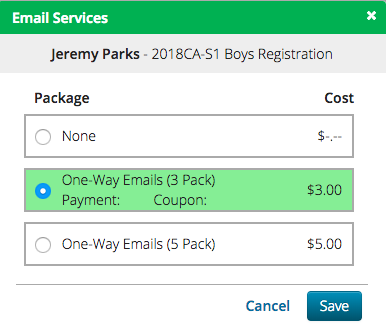
One-Way Emails
Add a One-Way Email package to a Registration for a parent.
- In the lower right hand corner, select
 .
. - Select a package and then select Save.
- Once an email is sent from a parent, it is displayed in the Email History.
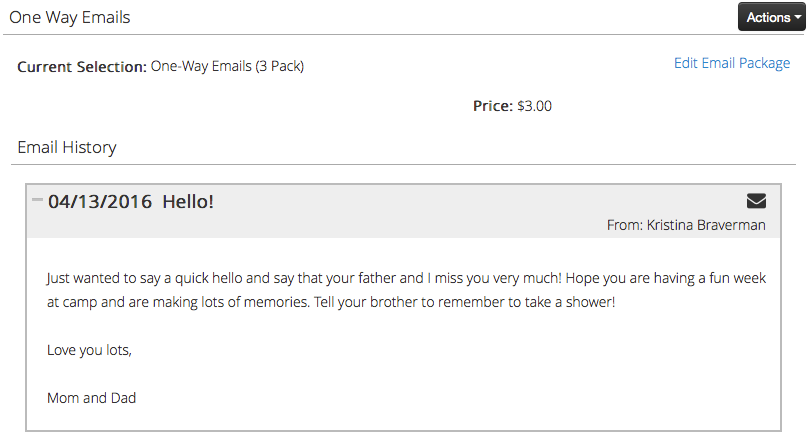
- Click Edit Email Package to upgrade a parent to a different level.
- Once an email has been batched with the Attendee Emails in the Nightly Process, the icon will change from
 to
to  to alert you that it has been printed.
Attachments
To add an attachment to a Registration, follow these steps:
- In the lower left hand corner, select
 .
. - Either choose Select files or drag and drop a file into the dark grey box.

- Attachment File – Either click Select File or drag and drop file to upload.
- Name – Pulls from name of file that is uploaded. Update as needed.
- Attachment Category – Select the Attachment Category to filter the available Attachment Types.
- Attachment Type – Select from the list of Attachment Types.
- Expiration Date – Set the date that the Attachment expires.
- Notes – Add any comments for internal reference.
- Once you have filled out all the required field, select Save.
- Once uploaded, you can view details on the card.
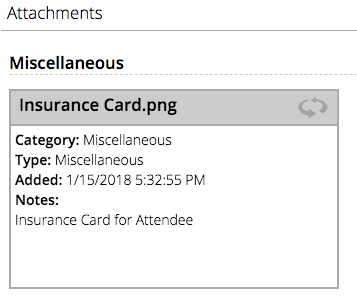
- Flip the card by clicking on the header for available actions.
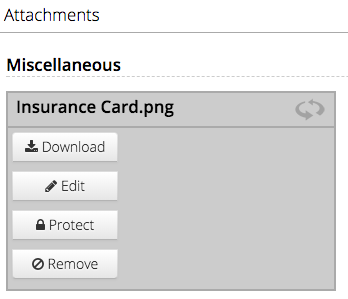
- Download – Choose to download the Attachment.
- Edit – Open the Attachment to edit.
- Protect / Un-protect – Takes out the option to Remove.
- Remove – Remove the Attachment from the Itinerary.