Want to learn about how to use Point of Sale in CT6? You have come to the right place! Below are details on how to use the various features.
Contents
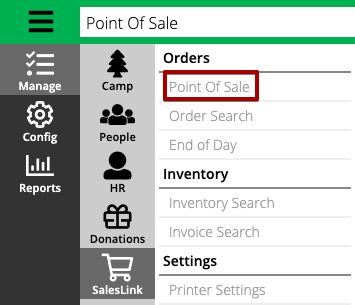
Go to menu and select Manage > SalesLink > Point of Sale.
Customer Search
Type in the name of a customer or scan their wristband to pull their account.
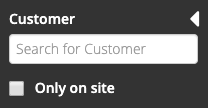
- Search – Enter the name of a customer. A customer can be an Attendee or Staff.
- Only on site – Select to return Attendees currently attending an Event or Staff currently hired.
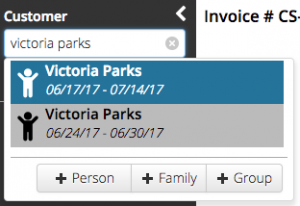
- Multiple Events – If the customer has multiple Events that they are registered for, they will display with a date range in the list.
- Add Person – You can add a customer by selecting Add Person.
- Walk-In Customer – If no customer is selected, then they are considered a Walk-In Customer.
Account
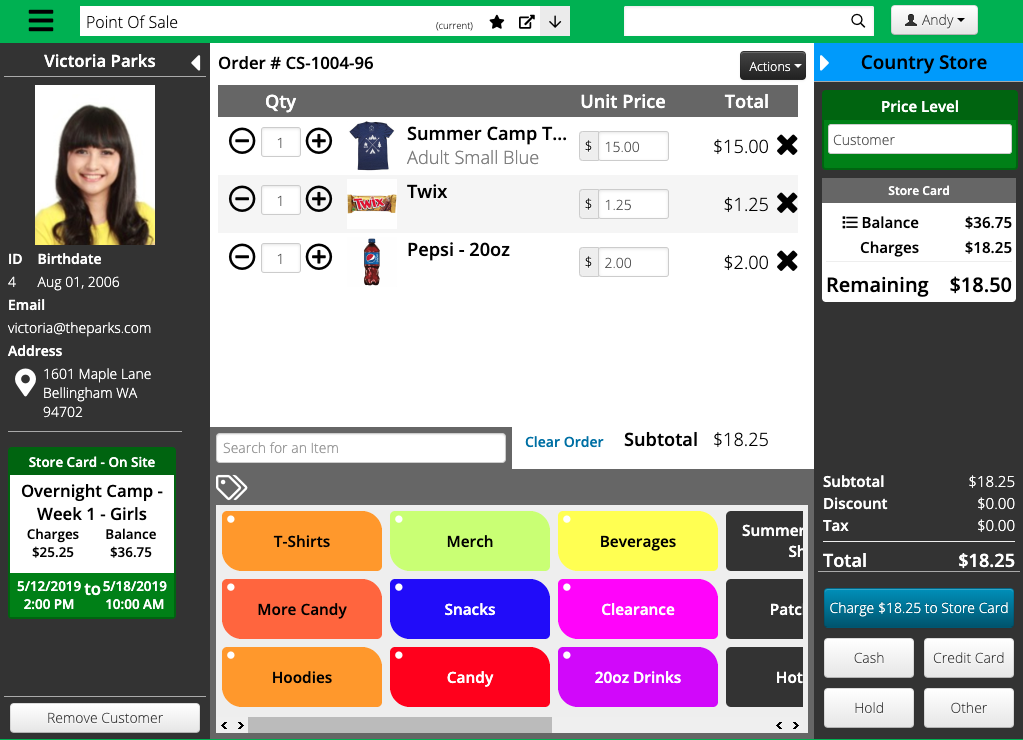
Once you have a customer selected, you can reference important information concerning their account and Store Card.
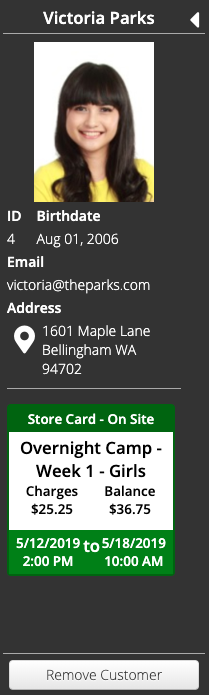
Select Remove Customer to remove the current one and select another.
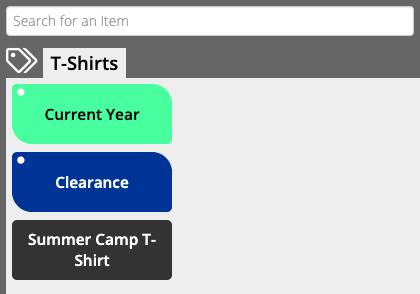
Tags
Tags are useful in organizing your inventory as well as making frequently purchased items easily accessible.
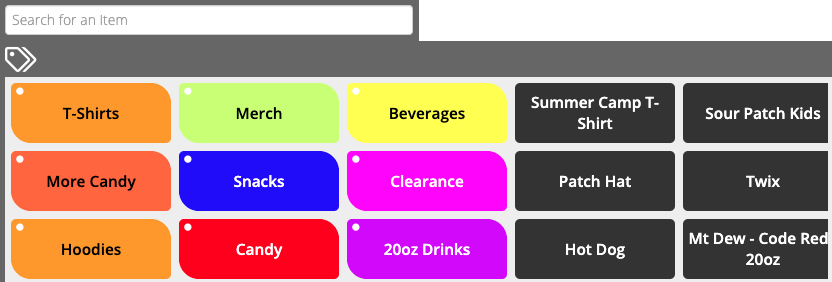
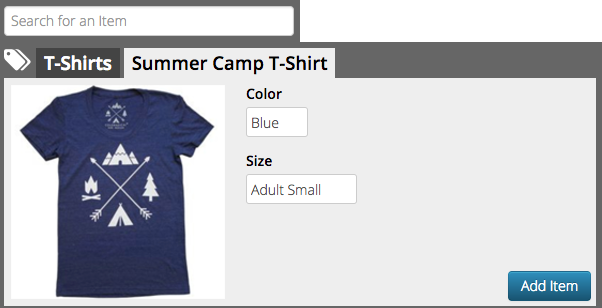
- Select a Tag to see items.
- Select an Item to choose dimensions and then select Add Item to add to order.
Modifiers
If you have an item that has Modifiers configured, here is how you can use them when you select an item.
- Select an item that has Modifiers configured.
- The Modifiers that are set as default will be highlighted.
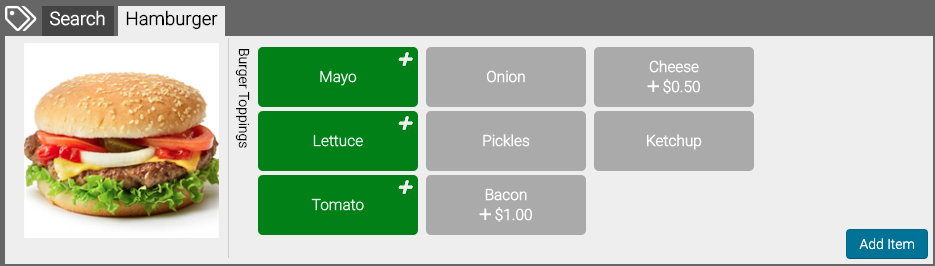
- Make any changes needed and then select Add Item.
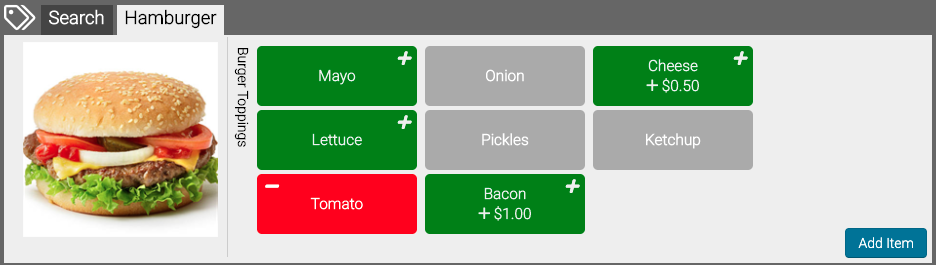
- After the item is added to the order, it will display the Modifiers along with any additional charges. To edit, select
 .
.

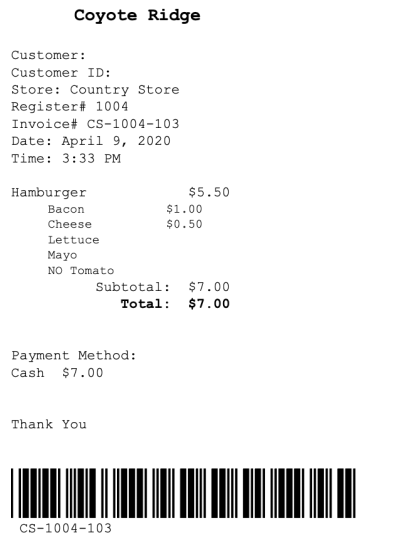
- The receipt will display the Modifiers. For any default Modifiers that have been removed will be preceded by NO.
Order Details
Add items to an order by either scanning a barcode or through using Tags.
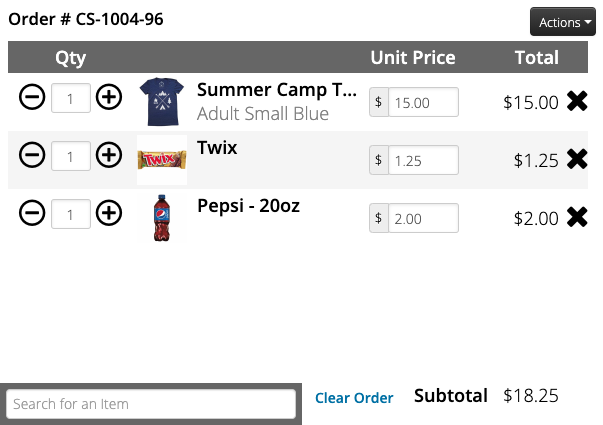
- Update Quantity – Use the
 or
or  buttons to increase or decrease the quantity or select the box and enter a new quantity.
 - Unit Price – Update the price for the item.
 – Removes item from order.
- Clear Order – Select to remove all items from order.
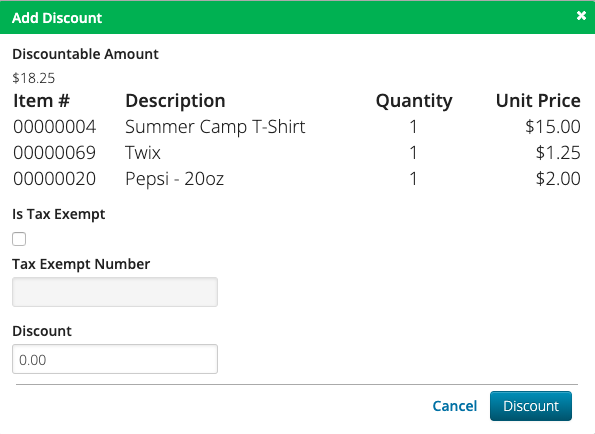
Apply Discount
To apply a discount to the order, select Actions > Add Discount.
Order Summary
Price Level
Select a Price Level for the order. The different prices correspond to the prices set on an Inventory Item.
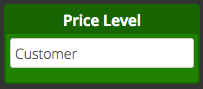
- Customer – Price 1
- Staff – Price 2
- Full Time Staff – Price 3
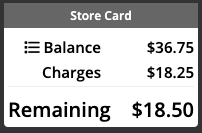
Store Card
If selling to a customer with a Store Card, see a running balance of their charges and their remaining credit.
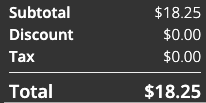
Total
See a breakdown of the Subtotal, Discount, Tax and Total.
Checkout
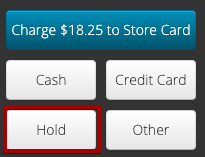
Once the customer is ready to complete their order, select a Tender Type.
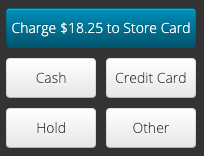
Charge to Store Card
Select Charge to Store Card to check customer out with one tap. After the button is selected, you will go directly to Order Complete.
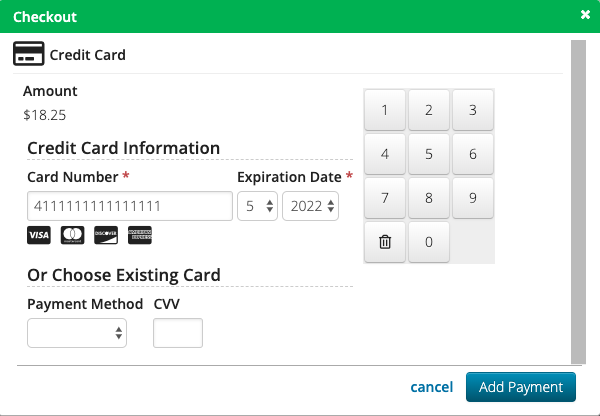
Credit Card
Enter a new credit card or select an existing one tied to the account. Select Add Payment to proceed to the Process Order screen.
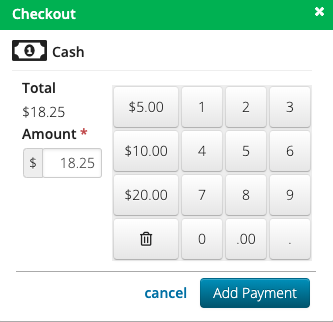
Cash
Enter the amount of cash and select Add Payment to proceed to the Process Order screen.
Other
When you select Other, you will be able to choose from all the available Tender Types including Store Card, Check and Charge to Department.
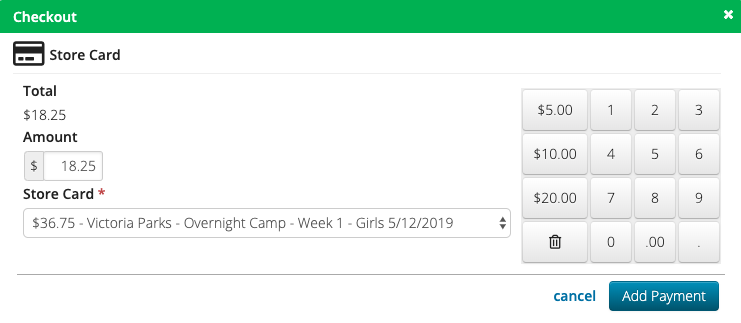
Store Card
Enter the amount to apply to the default Store Card or select a different Store Card from a different Event or family member. Select Add Payment to proceed to the Process Order screen.
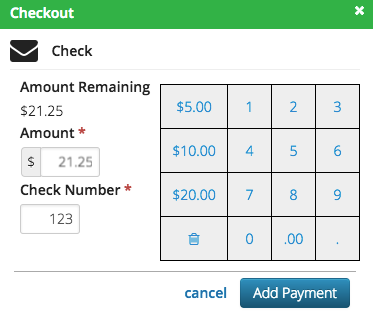
Check
Enter the amount and check number and then select Add Payment to proceed to the Process Order screen.
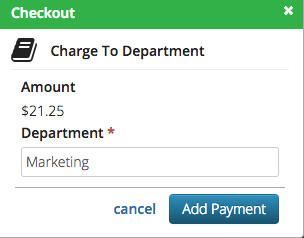
Charge to Department
Choose a department from the list and then select Add Payment to proceed to the Process Order screen.
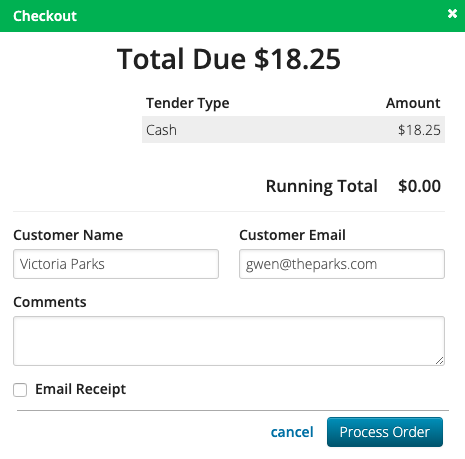
Process Order
After you have added a payment, the final checkout box will appear. You can record the customer name, email the customer a receipt and add comments, then select Process Order.
Order Complete
Once you complete an Order, you will see Order Complete. To start a new order, either scan an item or search for a customer.
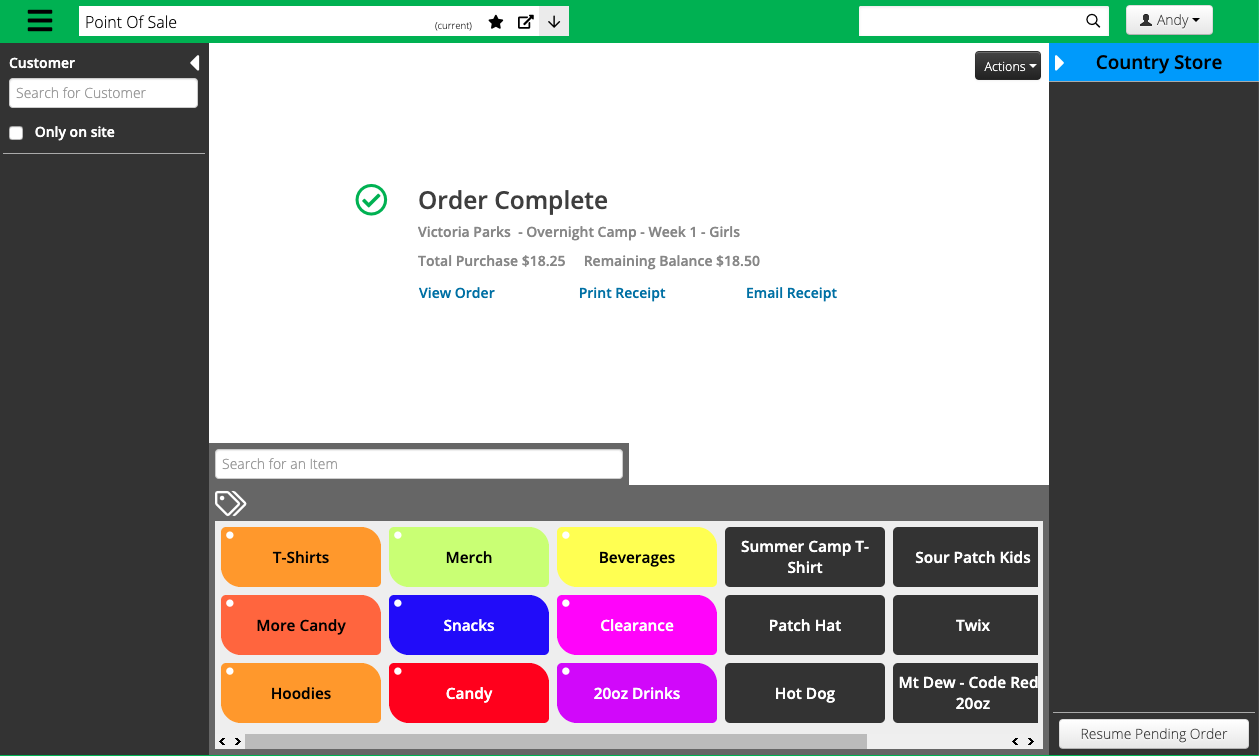
- Customer Name & Event – If customer is selected, their name and Event attending will appear.
- Total Purchase – The total purchase amount of the order.
- Remaining Balance – If using a Store Card, the remaining balance on the card.
- View Order – Select to see the Order Details to make a return.
- Print Receipt – Select to print a receipt of the order.
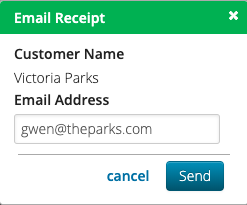
- Email Receipt – Select to email a receipt to the customer.
Split Tender
If there is a remaining balance, you can apply another tender by selecting Add Tender Type.
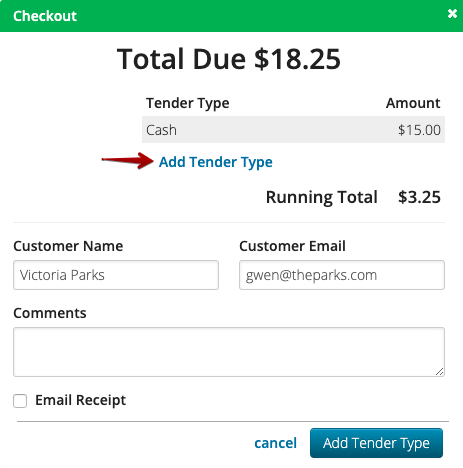
Once the total tender equals the order total, select Process Order.

Hold Order
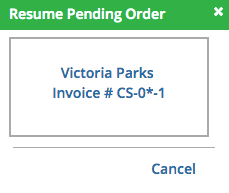
If you need to hold an order to resume at a later time, select Hold.
To continue a held order, select Resume Pending Orders and select the order from the list.