Navigation
To configure SalesLink, click on the menu and go to Config > SalesLink.
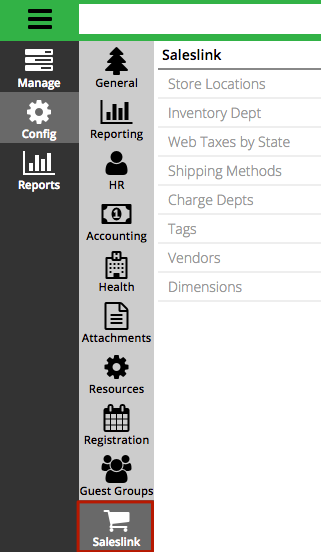
Store Locations
Create different locations where you can sell inventory from.
- Select Add Store Location.
- Enter the required fields.
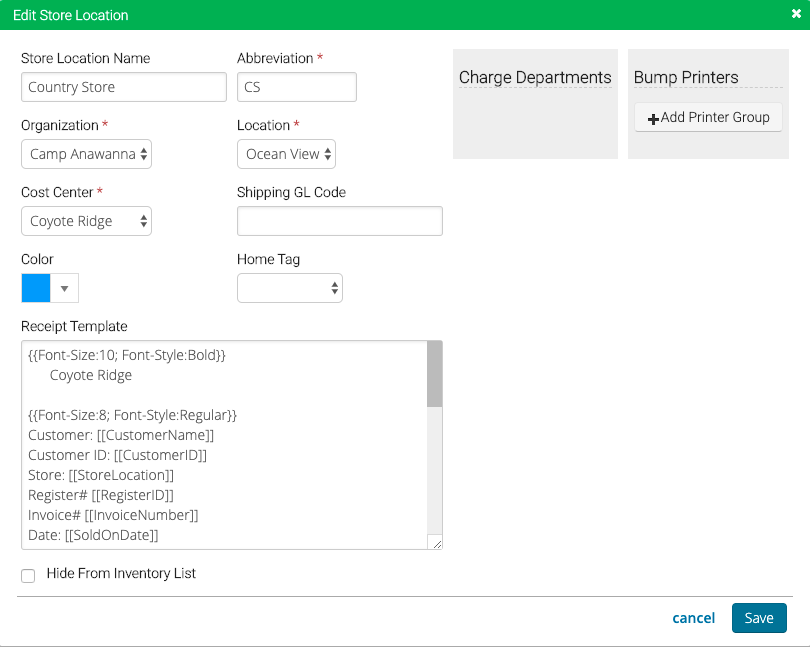
- Store Location Name – Name of the location.
- Abbreviation – A short name that is used as part of Invoice Number.
- Organization – Select from the list of configured Company Divisions. Used to determine payment processor used.
- Location – Select a Location.
- Cost Center – Select a Cost Center that will be used when selling inventory.
- Shipping GL Code – Enter a code that is applied to any shipping charges.
- Color – Select a color that will be used in POS to differentiate the Store Location.
- Home Tag – Set a default Tag to show up in POS.
- Receipt Template – If using a receipt printer, enter the code for template.
- Charge Departments – Select departments that are available to charge to during Checkout process.
- Bump Printers – Learn how to configure a Bump Printer.
- Hide from Inventory List – Check box for Store Locations such as Shrink or Damage where you do no want to receive inventory to.
- Select Save.
Inventory Department
Create different departments to organize your Inventory.
- Select Add Inventory Department.
- Enter a name for the department.
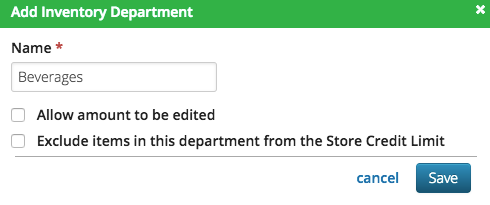
- Name – The name of the department.
- Allow amount to be edited – Select if you want the ability to manual enter a price for an item.
- Exclude items in this departments from the Store Credit Limit – Items in these departments will not count towards a Store Credit limit.
- Select Save.
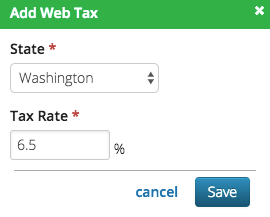
Web Taxes
Set different tax rates for different states for sales from the Webstore.
- Select Add Web Tax.
- Select a State and then enter a Tax Rate and select Save.
Shipping Methods
Set different methods of shipment that are available for orders on the Webstore.
- Select Edit Shipping Methods.
- Select a method, enter a Flat Fee Amount and select Send Shipped Email.
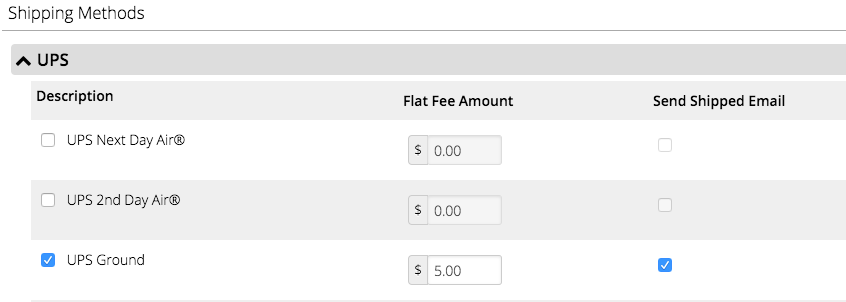
- Select Save Shipping Method.
Charge Departments
Create internal departments to charge sales to.
- Select Add Charge Department.
- Enter a name for the department and select Save.

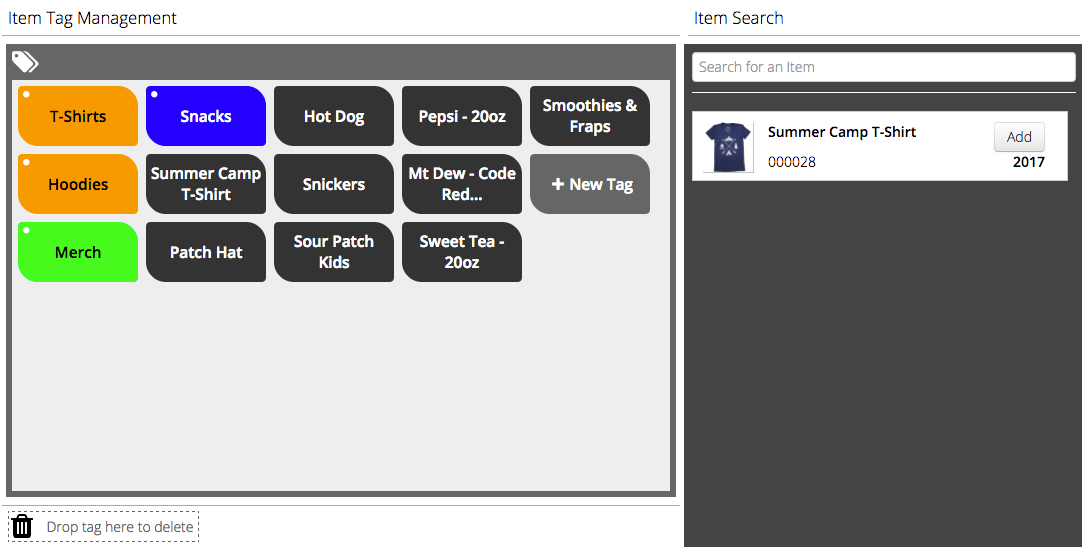
Tags
Organized your tags and add frequently used items for easy addition to an order in Point of Sale.
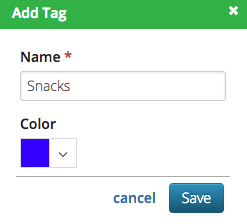
New Tag
- Select New Tag.
- Enter a name and choose a color and then select Save.
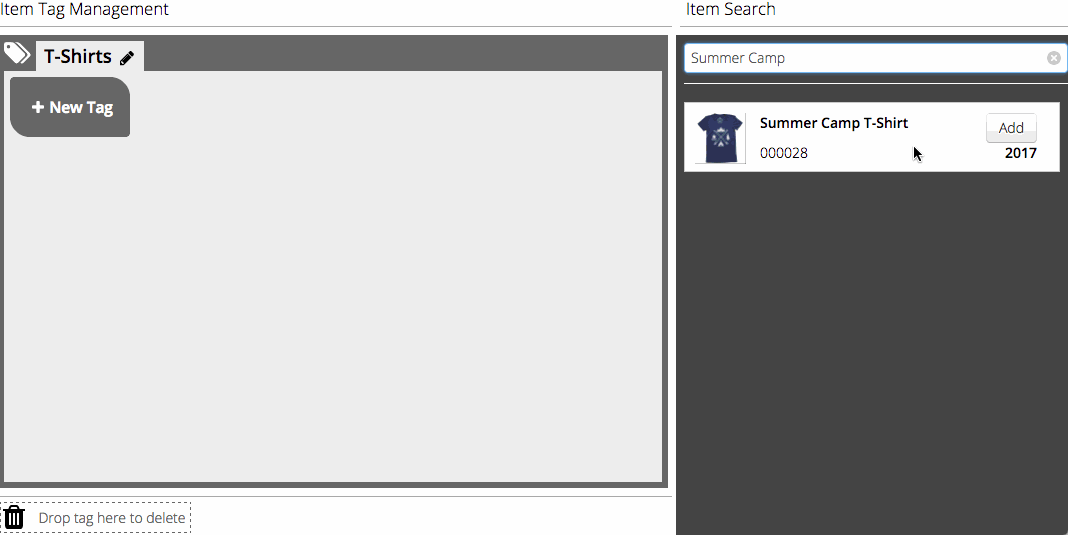
Assign Tags
Items can be assigned multiple tags which allows you to find them by accessing different tags. For example a T-Shirt, could be tagged as T-Shirt and Clearance.
- On Tag Management, select a Tag.
- Under Item Search, search for an Item.
- Select Add or drag and drop the item.
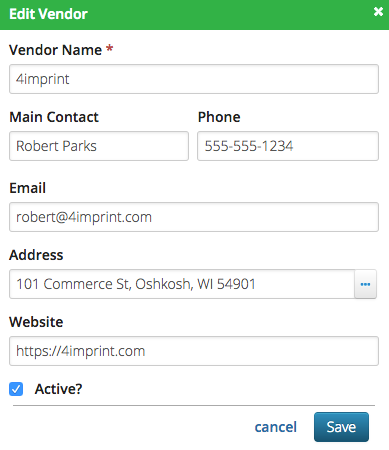
Vendors
Add a list of vendors that you purchase inventory from.
- Select Add Vendor.
- Enter the information in the fields and select Save.
Dimensions
Dimensions allow you to determine the different types of options for items such as color and size. An item can have multiple dimensions such as size and color [large, blue t-shirt].
- Select Add Dimension.
- Enter a name for the dimension as well as the names for the various options. Add a three digit code for each option.
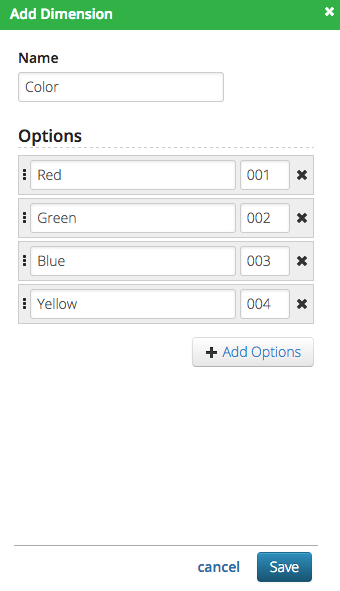
- Select Save.
Modifiers
Review the following article on how to configure Modifiers for an Inventory Item.