Contents
A Medical Form Configuration is a set of specific Conditions, Immunizations, Attributes and Emergency Contacts you can associate with an Event to be asked on the Registration Site. You can also add a Medical Release to have customers sign electronically when they fill out the form.
If you have Events that need to collect different information, you can create various Medical Forms
Sections
Below is an example of each section on CT6 Registration Site that can be configured on the Medical Form.
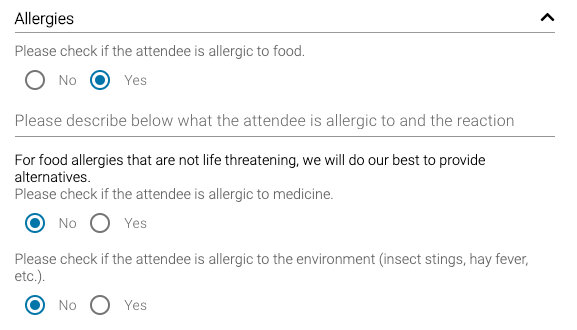
Conditions
Conditions are set up as Yes/No questions that allow for further explanation if a customer selects Yes.
Medications
Track Medications that an Attendee will be taking while they are at your Event. Medications in the Medical Form will be available to be checked-in when an Attendee arrives at Check-In and then tracked throughout their stay via Scheduled Medications.
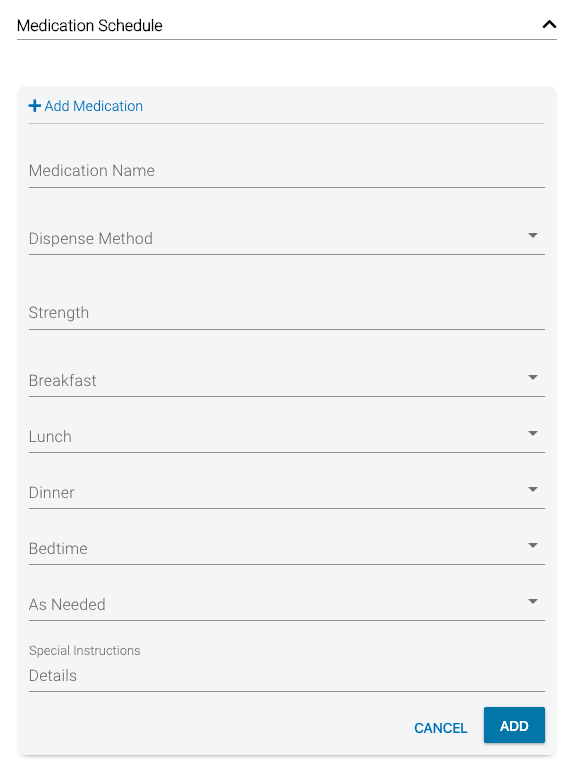
- Medication Name – Enter the name of the medication.
- Dispense Method – Select between the following:
- Tablet
- Drop
- Teaspoon
- Puff
- Spray
- Shot
- Patch
- Cream/ointment
- Capsules
- Other
- Chewables
- Strength – Enter the strength of the medication.
- Meals – Enter the dosage for each meal from the following options.
- 0.25
- 0.5
- 0.75
- 1
- 1.5
- 2
- 2.5
- 3
- 3.5
- 4
- 4.5
- 5
- 5.5
- 6
- 7
- Special Instructions – Enter any instructions on how to administer the medication.
Immunizations
Allow customers to add Immunization History for the Attendee.
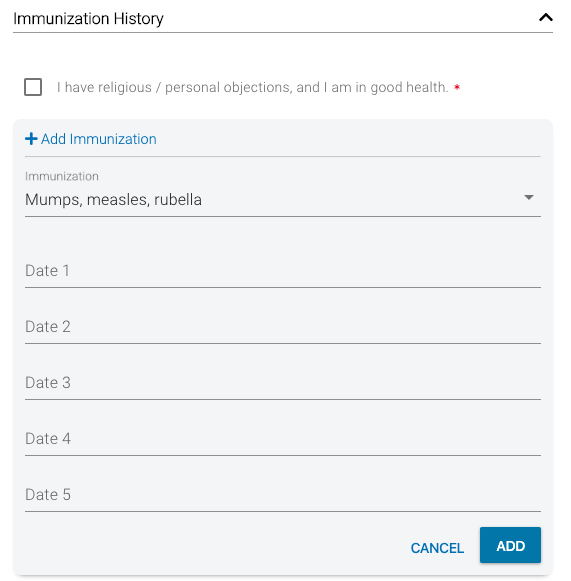
- I have religious personal objections… – Allows customer to opt out of providing Immunization history. Label is a content field that can be customized.
- Immunization – Select from a list of Immunizations.
- Dates – Enter dates of Immunization shots.
- Add – After selecting Add, you can add additional Immunization history.
Emergency Contacts
Enter information for people to contact in case of an emergency having to do with the Attendee. Set a required number that need to be added.
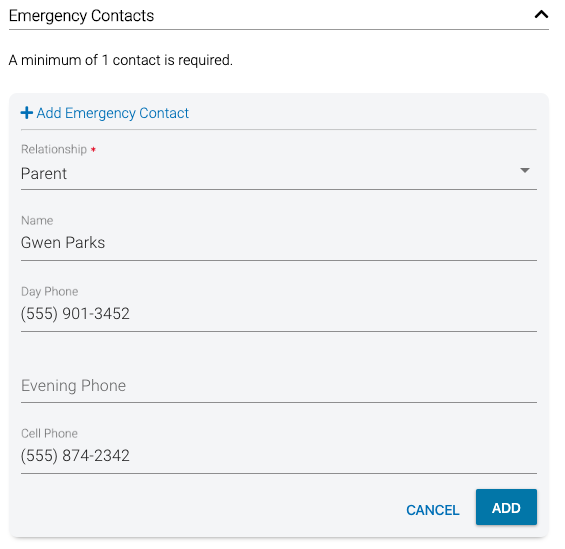
- Relationship – Select a relationship for the Emergency Contact to the Attendee.
- Parent
- Step Parent
- Grandparent
- Child
- Grandchild
- Aunt/Uncle
- Ex-Spouse
- Friend
- Cousin
- Niece/Nephew
- Spouse
- Sibling
- Legal Guardian
- Stepchild
- Significant Other
- Husband
- Wife
- Single
- Foster Parent
- Other
- Name – Enter the name of the Emergency Contact.
- Phone Numbers – Enter at least one phone number in one of the three options.
- Add – After selecting Add, you can add additional Emergency Contacts.
Attributes
Configure Attributes to be shown on the Medical Form by setting the Attribute Category Type to Medical. Use Attributes to collect information like insurance and names of primary doctors.
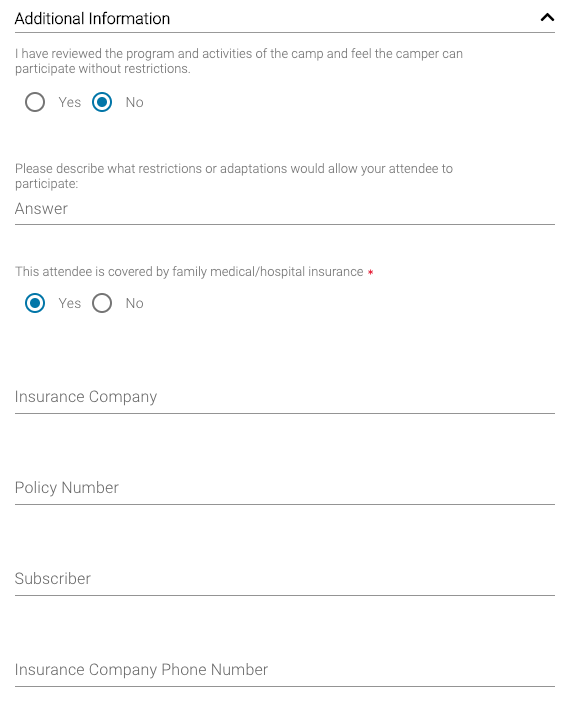
Medical Release
Add legal text for a customer to sign electronically.
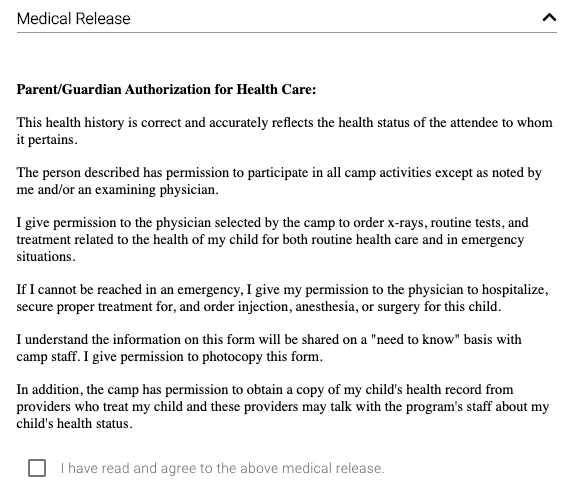
- Sign – Check box to sign electronically.
Before You Start
There are a few items that are helpful to complete before creating a Medical Form. Configure each of these (if being used) before you start.
Add Form
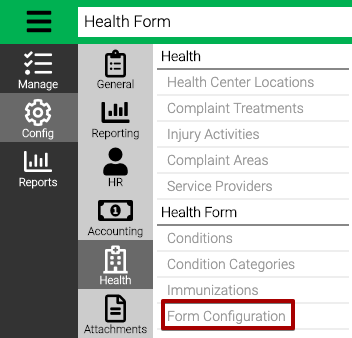
- Go to Config > Health > Form Configuration.
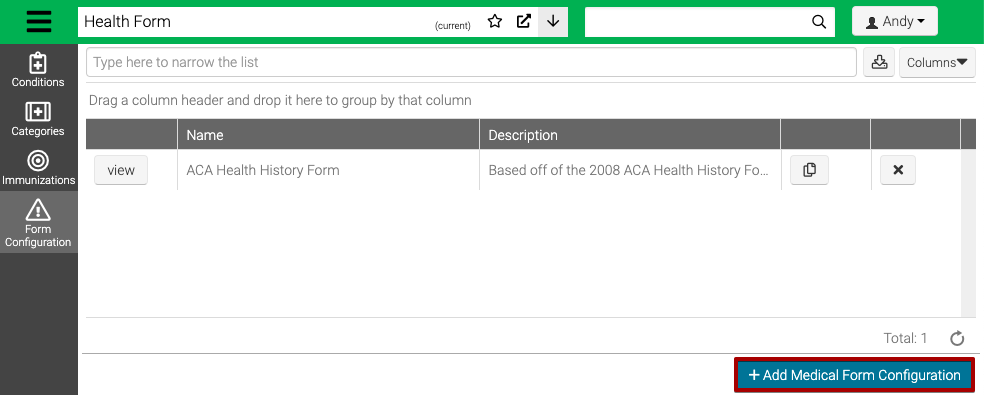
- Select Add Medical Form Configuration.
- Enter the required fields.
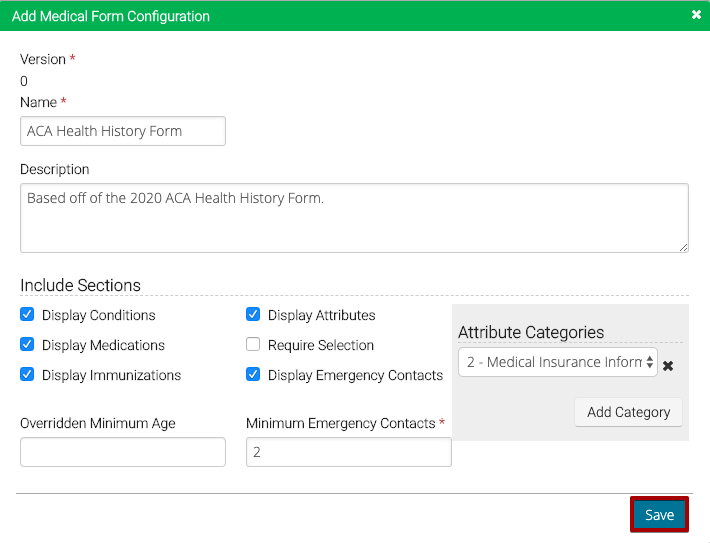
- Name – Enter a name of the Medical Form Configuration.
- Description – Enter a description.
- Include Sections – Check box next to sections to include. Example above.
- Require Selection – Select to require that Conditions are marked either Yes or No anytime that a Medical Form is opened by the customer. By default, all answers for Conditions will default to No.
- Attribute Categories – If Display Attributes is checked, select Attribute Categories from the list.
- Overridden Minimum Age – Enter an age to allow for signature of Legal Terms under Medical Form.
- Minimum Emergency Contacts – If Display Emergency Contacts is checked, enter the number of required Emergency Contacts.
- Select Save.
Add Conditions
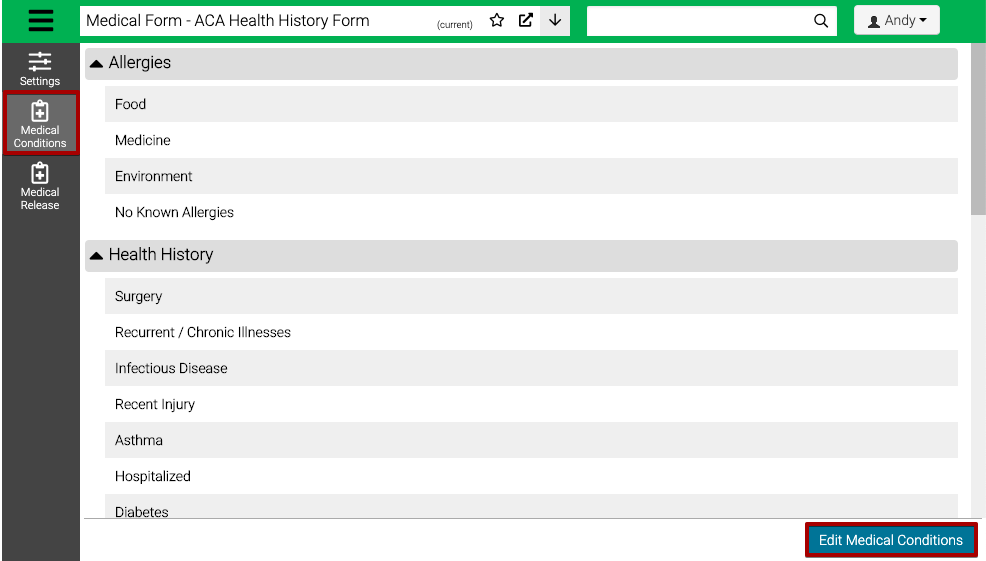
Once the Medical Form is created, you can assign Conditions.
- Select Medical Conditions and then Edit Medical Conditions.
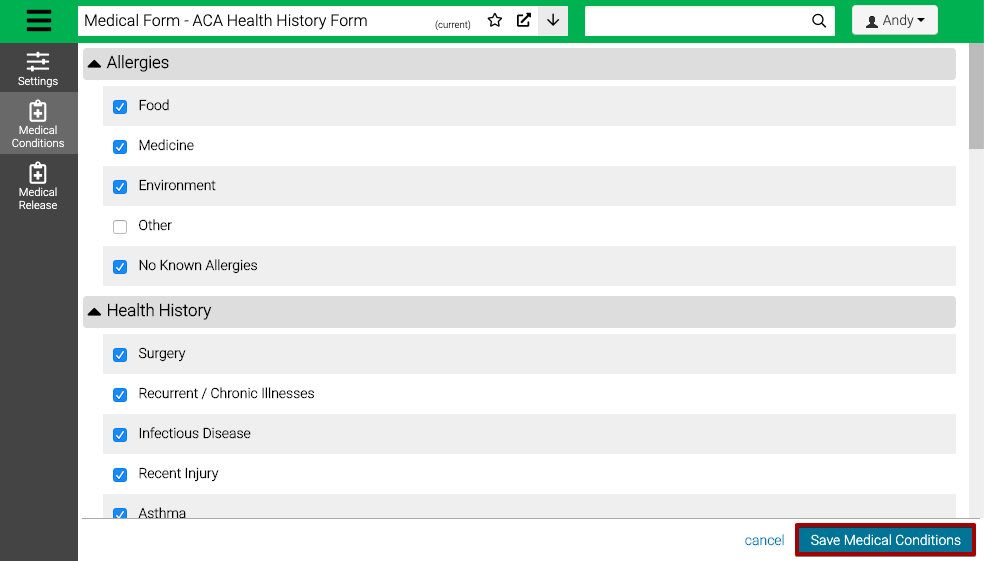
- Check the boxes next to the Conditions that you want to include and then select Save Medical Conditions.
Add Medical Release
The last step is to add text for a Medical Release for customers to sign electronically.
- Select Medical Release.
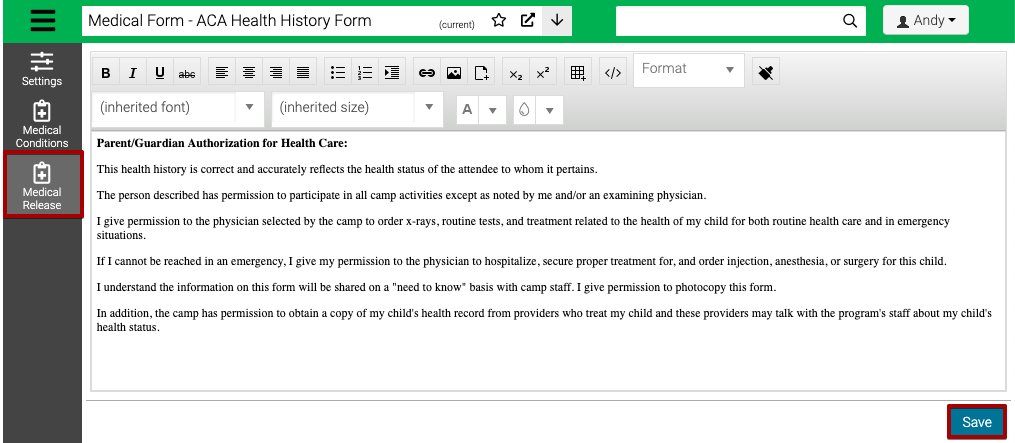
- Update the text and formatting and then select Save.