Contents
A Group Leader has several tools available to them to help manage their registrations. The first step to access these tools is to login to their account.
Sign In
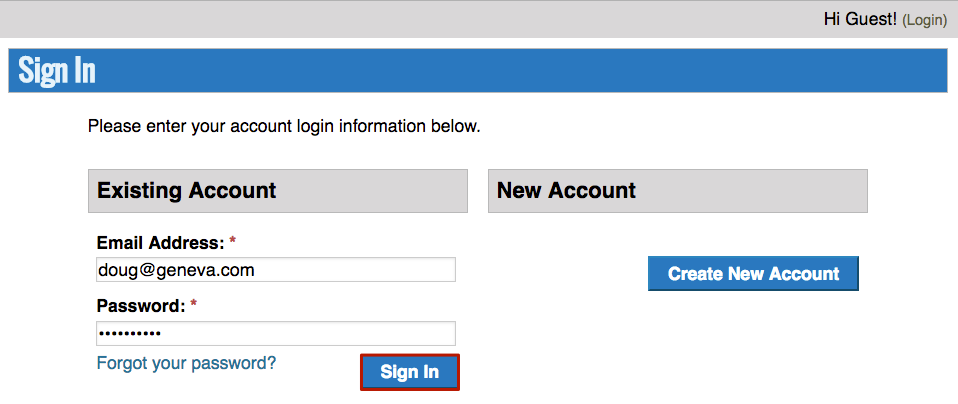
- Go to the Sign In page found at https://register.circuitree.com/YourCamp/account/.
- Enter email and password and click Sign In.
- On the Account Dashboard, select View Itineraries.
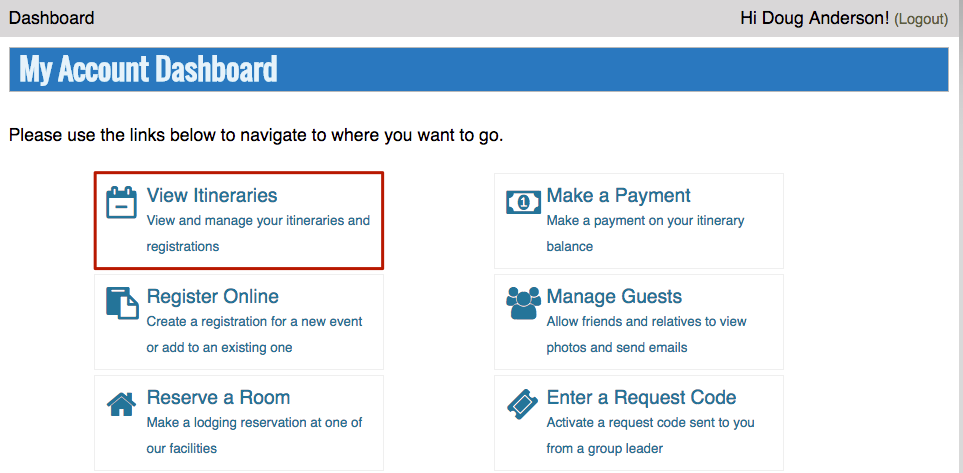
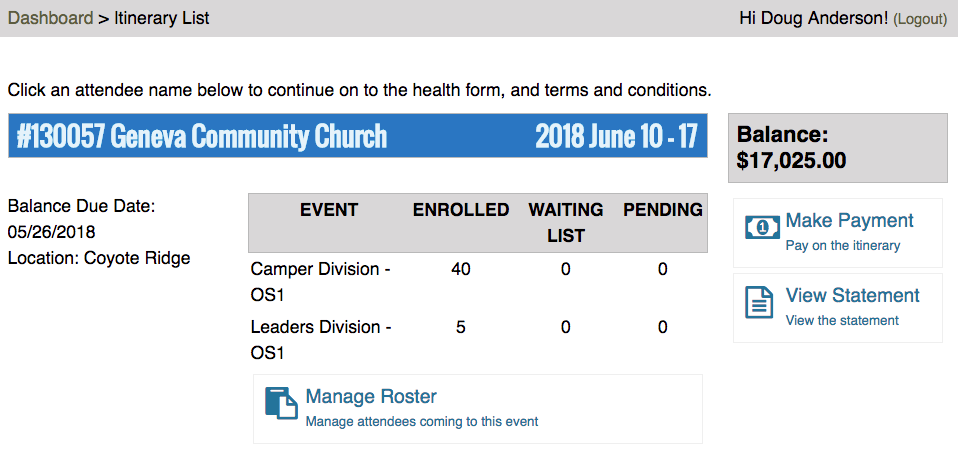
- The Itinerary List give you an overview of all of the Itineraries for your group as well as the ability to perform actions such as:
- Manage Roster – Invite individuals to attend an Event as part of your group.
- Make Payment – Apply a credit card or e-check payment to your remaining balance.
- View Statement – See a breakdown of the current charges or print a statement if needed.
Manage Roster
Manage Roster gives you the tools to be collect registration information from your Attendees, see the status of existing registrations and print forms.
- From the Itinerary List, click Manage Roster. There are three main section to the Group Roster.
- Itinerary Status – Either set to Public or Private.
- Roster – List of individuals that are attending the Event.
- Forms – Useful Reports specific to the Group.
- Filters – Used to narrow down the list of Attendees.

Collecting Names
One of the primary function of Manage Roster is to give the Group Leader an easy way to collect information from Attendees that are coming to the Event. There are three different ways to collect the name of the Attendee as well as any other important information that is required.
- Public Itinerary Link
- Anyone with the link that meets the age and gender requirements of the Event is eligible to register using this method.
- Useful when there are a large number of unnamed registrations for the group.
- Not as useful if only a limited number of spots are still available and greater control is needed.
- Group Leader Time – Low
- Private Request Code
- One time use code is generated and emailed to parent, guardian or individual if over 18.
- Useful when there are limited unnamed registrations available and where more control is needed to make sure that specific people get registered.
- Not as useful when there are a large number of unnamed registrations for the group.
- Group Leader Time – Medium
- Name Attendee
- Enter the Attendee Information and create an account for a family member to login and complete the registration.
- Useful when entering information when parent’s don’t have access to be able to go through the process themselves.
- Not recommend if the person being added has attended an Event previously since this could cause duplicates.
- Group Leader Time – High
Public Itinerary Link
The Public Itinerary Link allows any customer who clicks on the link to register as part of the group. This link can be distributed by the Group Leader through an email or by posting it on a website.
- To turn on the Public Itinerary Link, chance the status to Public.
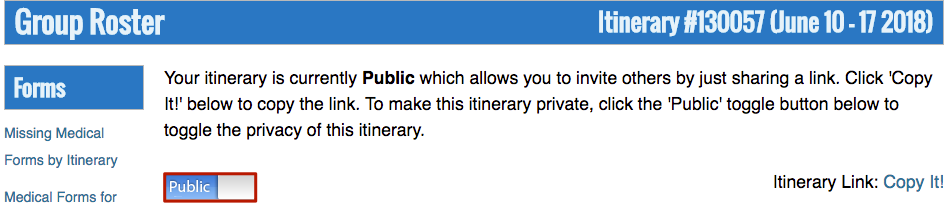
- Click on Copy It! to open up a popup that contains the link to the Itinerary.
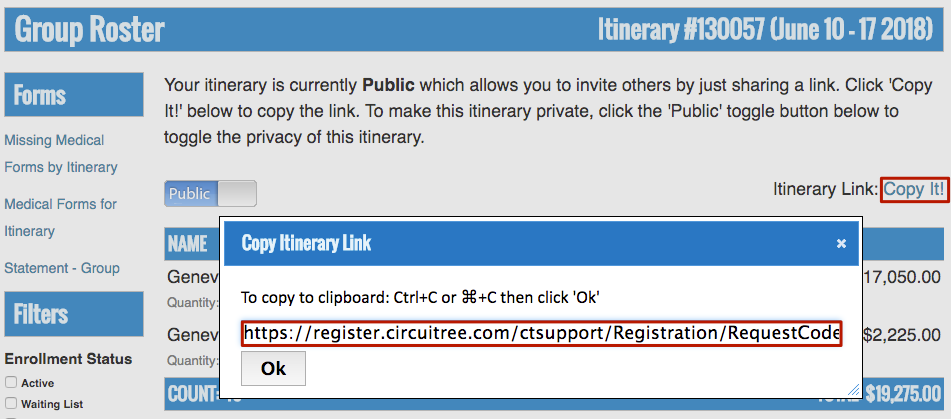
- Copy the link and distribute as needed.
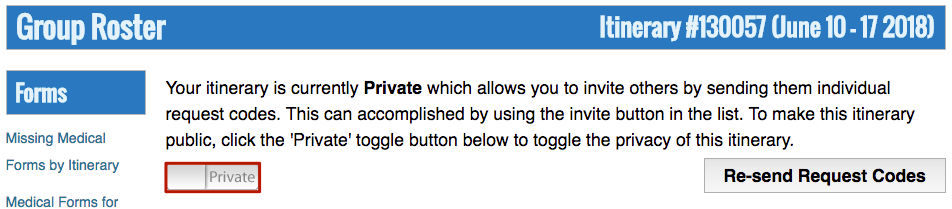
Private Request Codes
If you want to control who is allowed access to register on your Itinerary, Private Request Codes are what you will want to use. You will need to collect email addresses for each person to send a Request Code.
- To turn on Private Request Codes, change the status to Private.
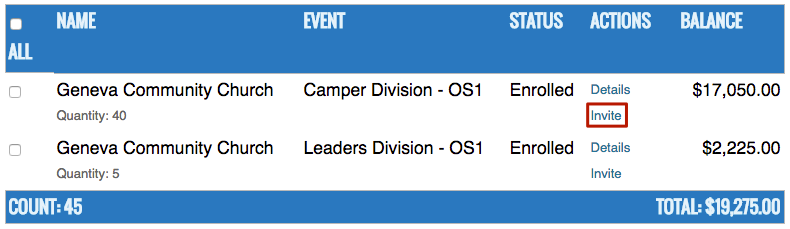
- To send a Request Code, find the Event Division that you want to send one from and click Invite.
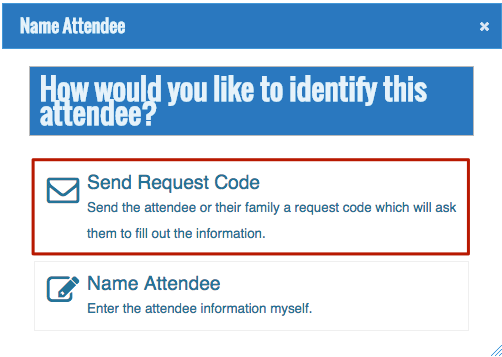
- Select Send Request Code.
- Enter the following information and click Send Request.
- Email Address – Enter the email address where you want the Request Code sent. For a minor, this would be the parent’s email address.
- Attendee Name – The name of the person attending the Event.
- Attendee Status – Choose either Minor (under 18) or Adult.
- Guardian Name – Only required when Minor is selected.
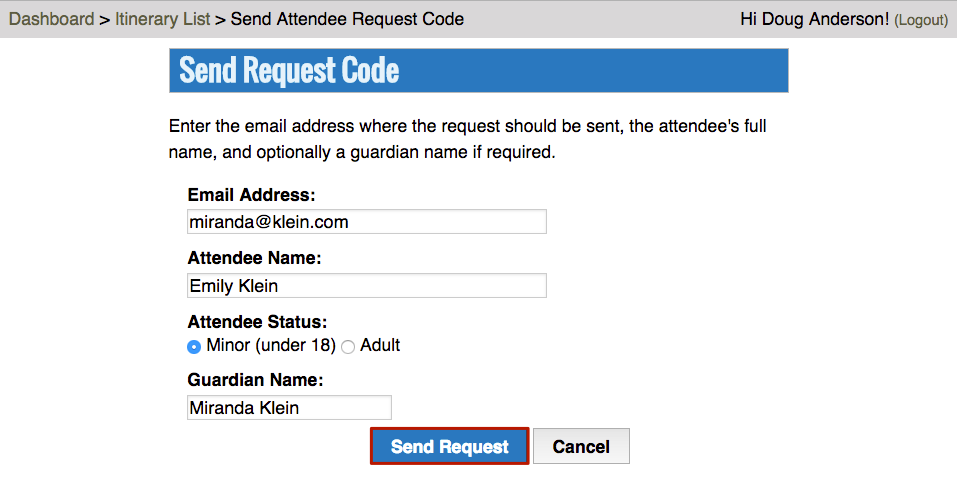
- The Group Attendee Request Code Automated Email will be sent and the request added to the Group Roster.
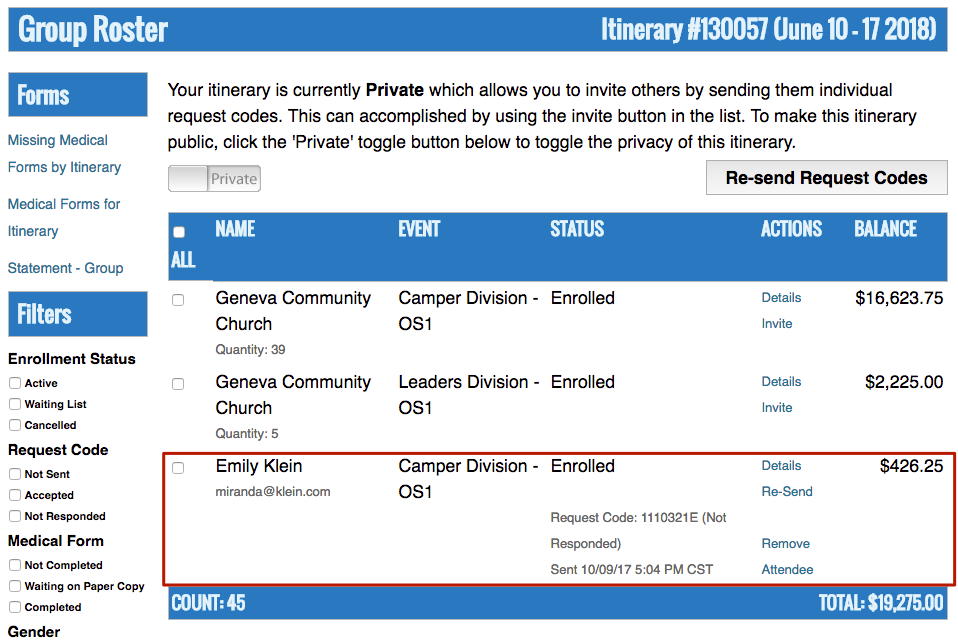
Re-send Request Codes
If an Attendee hasn’t replied to the Request Code, you can always re-send it if needed.
- Find and individual and under Details click Re-Send.

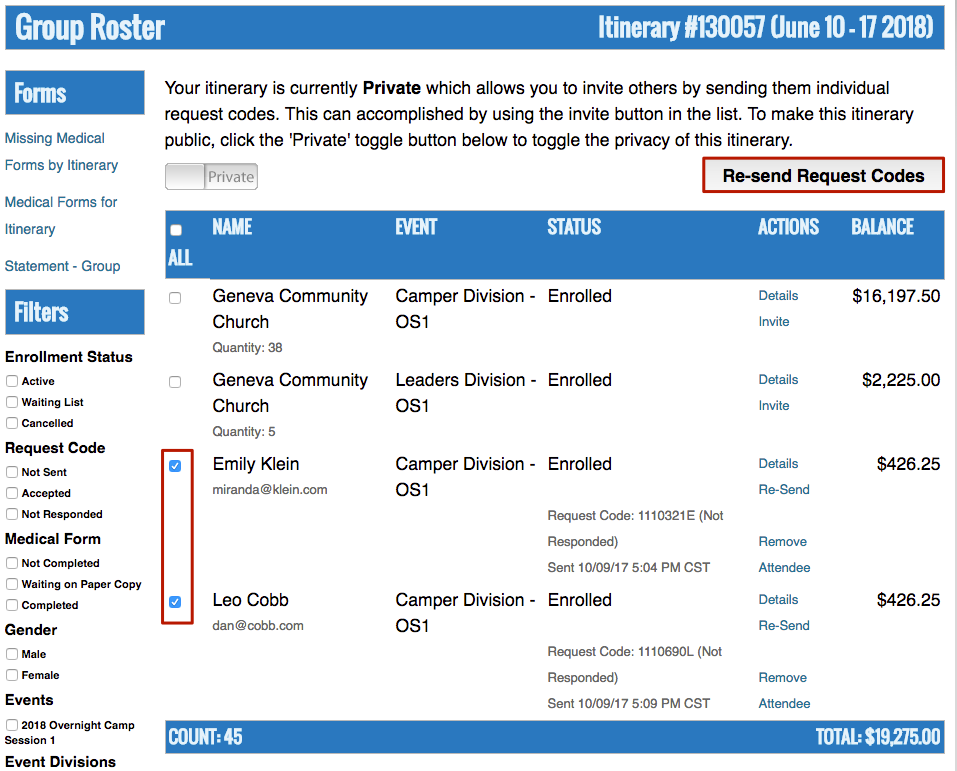
To re-send multiple Request Codes at the same time, follow these steps.
- Either click ALL in the header or select Individuals and then click Re-Send Request Codes.
Name Attendee
If you as the Group Leader want to fill out information for the Attendee, you can do so by naming the Attendee.
- Set Itinerary Status to Private.
- To name an Attendee, find the Event Division that you want and click Invite.
- Select Name Attendee.
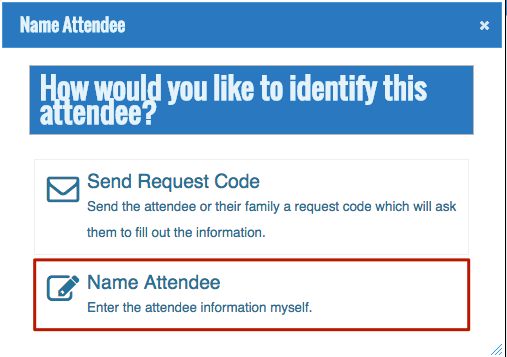
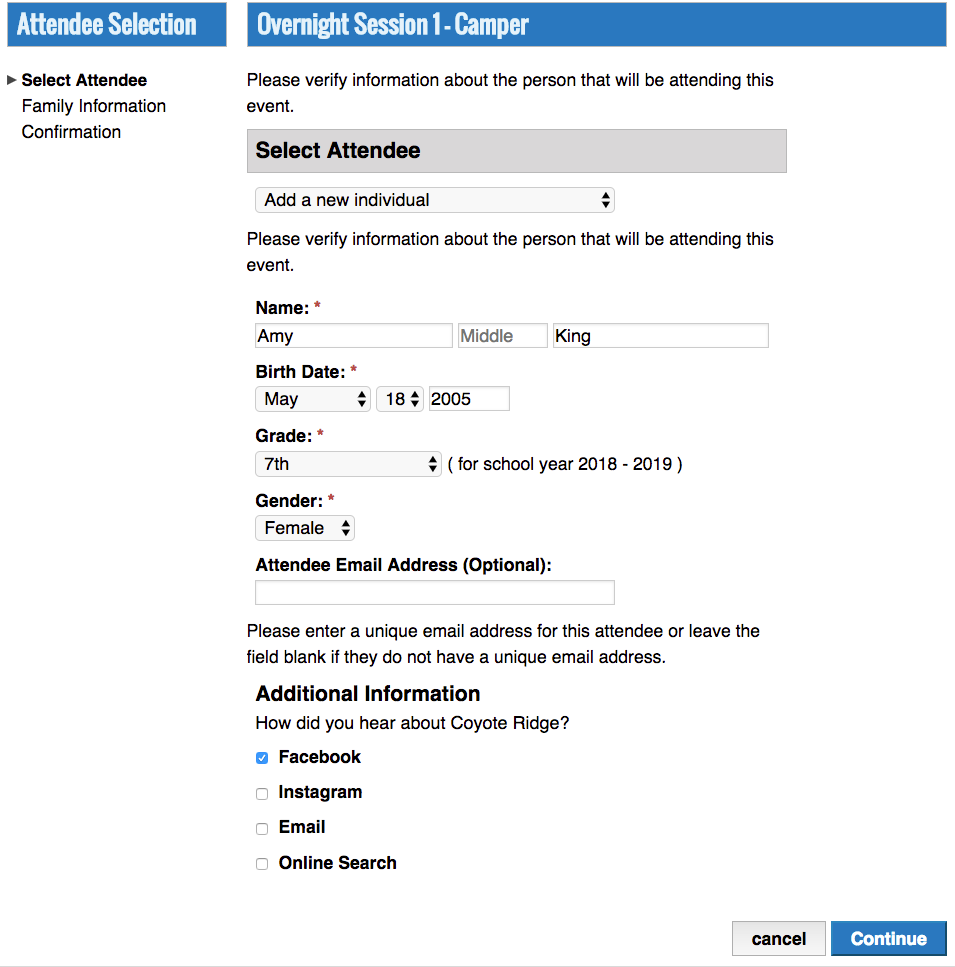
- Choose Add a new individual from the drop down menu and enter the information for the Attendee then click Continue.
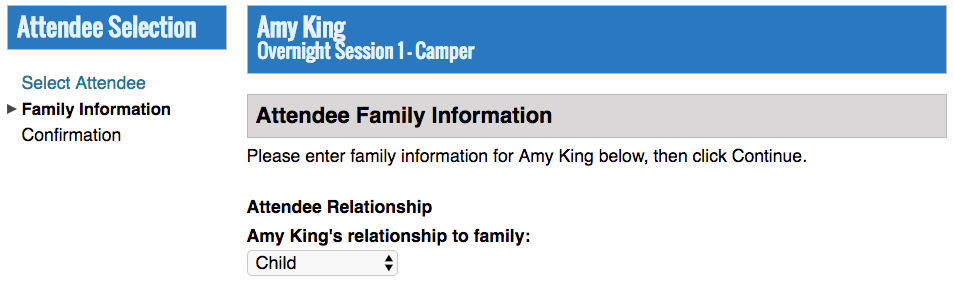
- Select a relationship for the Attendee to the Family.
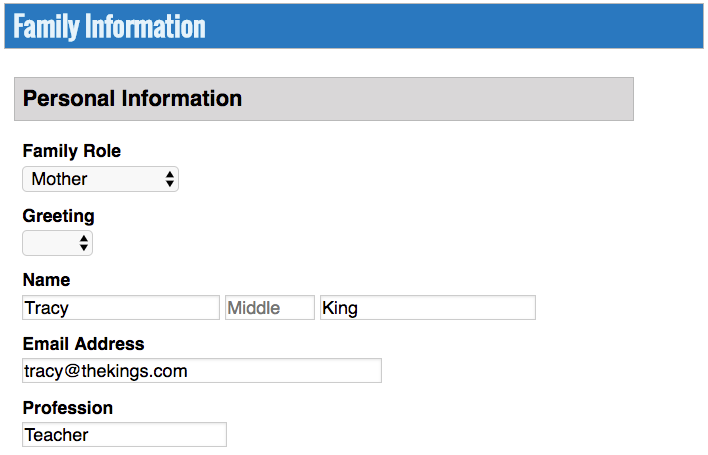
- Enter the family information for the Attendee including the Personal Information for the Administrator on the Attendee’s account.
- Fill out the Primary Address for the Family as well as phone number. Click Add Spouse to add an additional Administrator to the account. Once complete, click Continue.
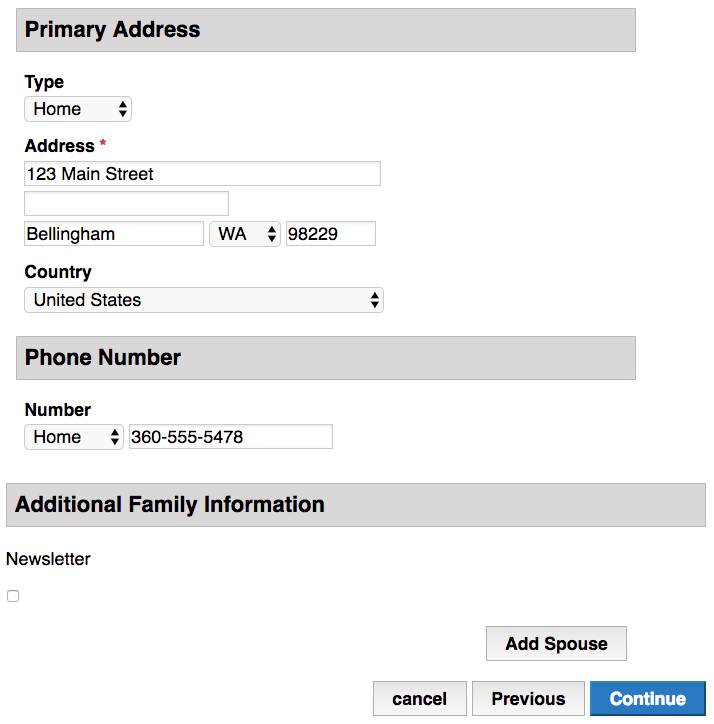
- The Parent Account Creation Invitation Automated Email will be sent to the email address set under Personal Information to allow the parent to login and access the Registration.
Remove Attendee
- If you need to need to remove an Attendee and be able to add a new one, click Remove Attendee.
