Did you know that you can send professional looking emails using a MailChimp account and the Mandrill integration through CircuiTree? By creating a template, you can keep your branding consistent across your organization for all your Automated, Scheduled and Mass Emails.
How does it work?
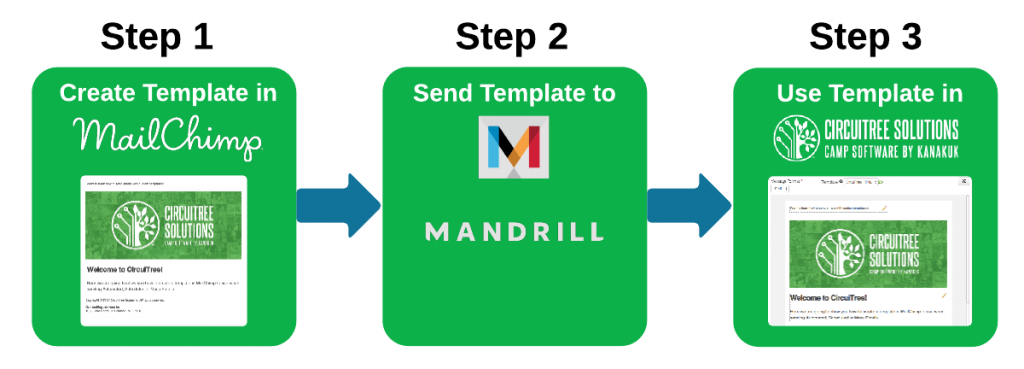
There are three steps to start sending emails with custom templates in CircuiTree:
The template that is created will have content areas that you will be able to edit in CircuiTree. You can create a generic template to use for all your emails or a specific template for a Mass Email Campaign.
What do I need to start?
Before you get started, you will need to set up an account with Mandrill and MailChimp as well as grant API access.
Mandrill
Setting up this integration will allow you to send all of your transactional emails [Automated, Scheduled and Mass Emails] through Mandrill. This will improve deliverability to make sure your emails get to your customers.
- Go to Mandrill and sign up for an account.
- Login to your account and go to Settings > SMTP & API Info and click
 .
.
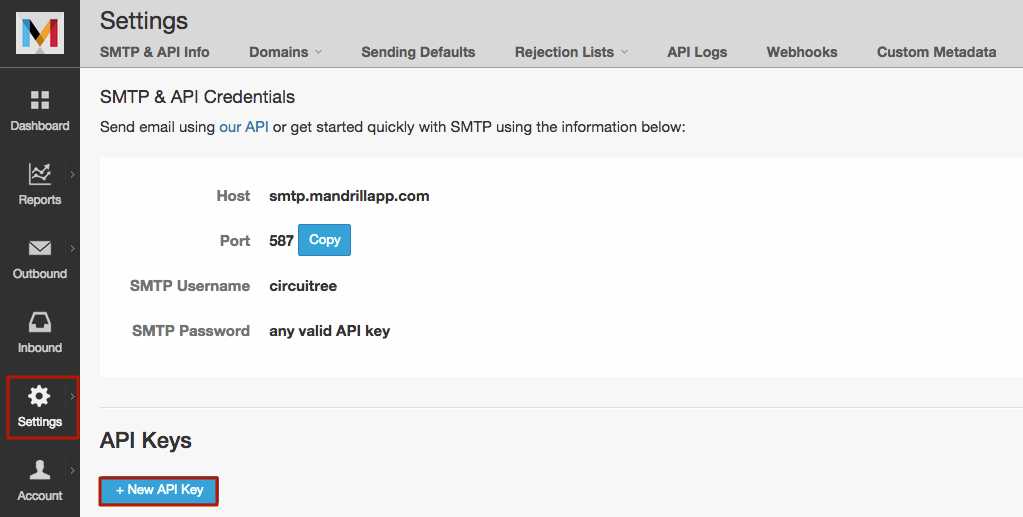
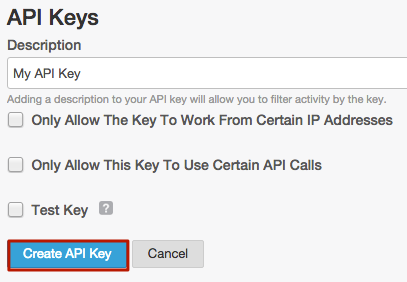
- Add a description and then click
 .
.
- Once the API key is created, copy the code.
- Login to CT6 and go to Configure > Automated Email Configuration.
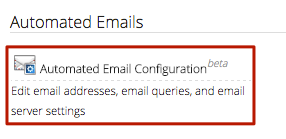
- Click on Settings and enter the key in the Mandrill API Key field.

- Once entered, click Save.
MailChimp
- Go to MailChimp and sign up for an account.
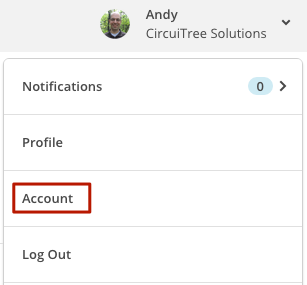
- Click on your name and select Account.
- In the menu bar, click on Integrations.

- Click on the Mandrill logo and then click Authorize Connection.
- You’ll be redirected to the Mandrill login page to enter your Mandrill username and password.
- After providing your Mandrill username and password, you’ll see a message asking if you’d like to grant MailChimp access to your Mandrill account.
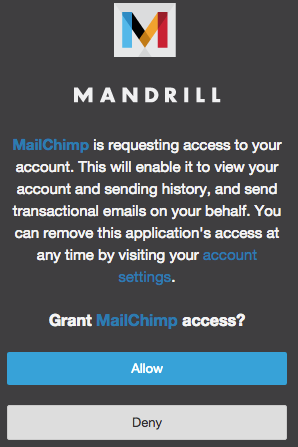
- Click Allow. Now your MailChimp and Mandrill accounts are integrated.
Create Template in MailChimp
- Login to MailChimp.
- In the top toolbar, click on Templates.

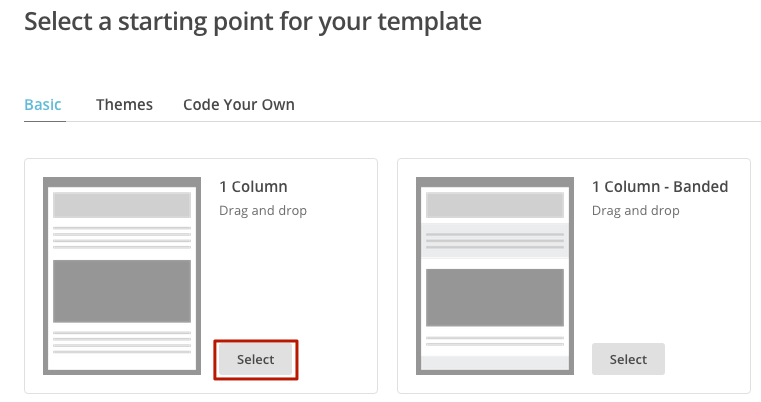
- Click Create Template.

- Select an option from the Basic section. If you select Code your Own, skip to this section. Themes are not supported.
- Edit the template with any pictures or text that is desired.
- Once your changes are complete, in the lower right hand corner, click
 .
.
- Name your template and then click Save.
Export HTML
In order to add a custom tag to the template, you will need to convert it to a Custom Template.
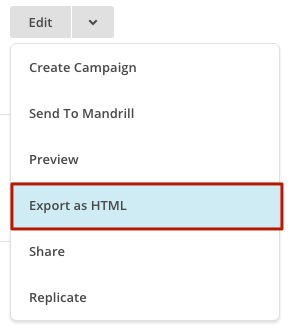
- Under Templates, locate your template in the list then click on Edit and select Export as HTML.
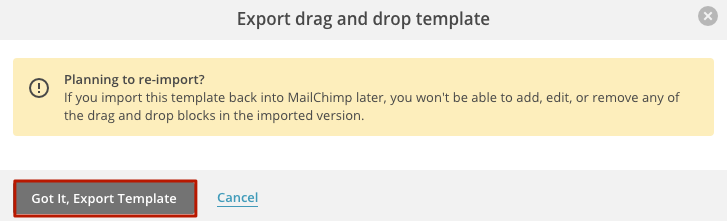
- If you are exporting a Drag and Drop template, a warning appears before the template can be exported, click Got it, Export Template.
Create HTML Template
- After the file has downloaded, click on Create Template.
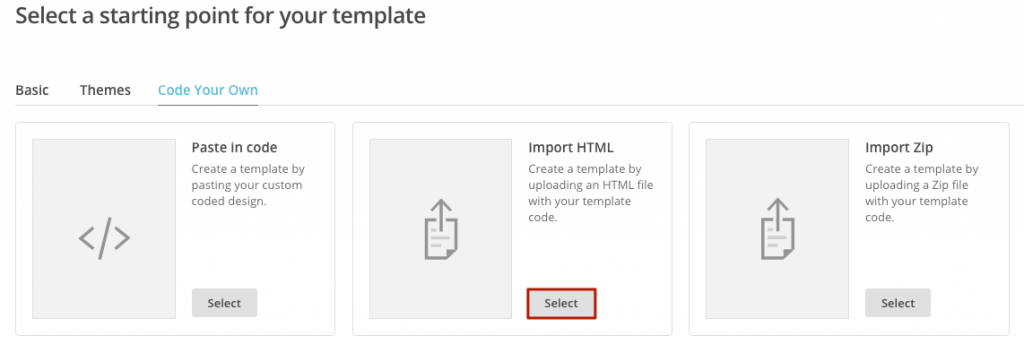
- Click Code Your Own and then select Import HTML.
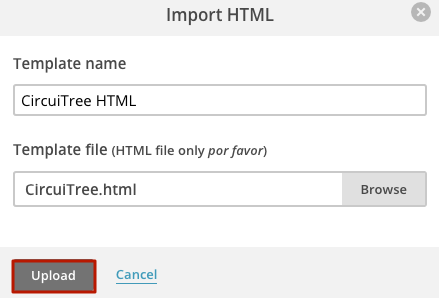
- Click Browse and choose your HTML file. Then name your template and click Upload.
Add <div> Tag
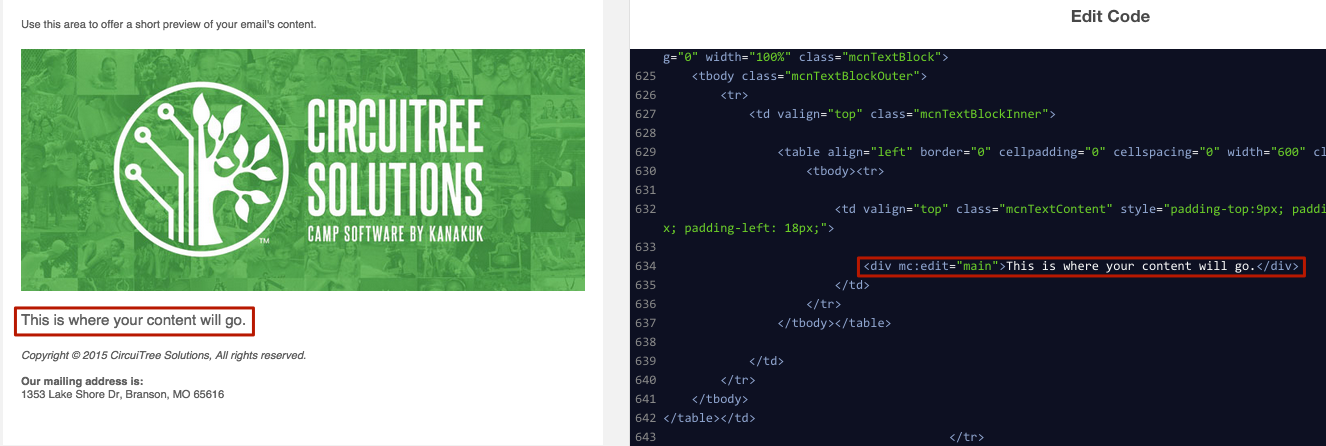
- The template will open and show a preview on the left and code on the right. If not, at the bottom of the page, click on Edit Code.
![]()
- Find the spot in the code with your placeholder text and then add the following <div> tags:
- <div mc:edit=”header”>Header sample content</div>
- <div mc:edit=”main”>Body sample content</div>
- <div mc:edit=”footer”>Footer sample content</div>
- After adding all the needed <div> tags, click .
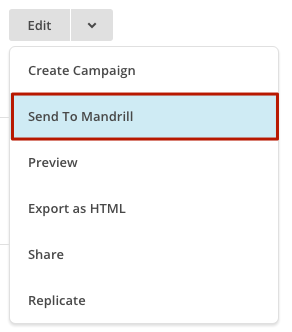
Send Template to Mandrill
- Under Templates, locate your template in the list then click on Edit and select Send to Mandrill.
Use Template in CircuiTree
Now that the template has been sent from MailChimp to Mandrill, it will show up in your list of templates in CT6.
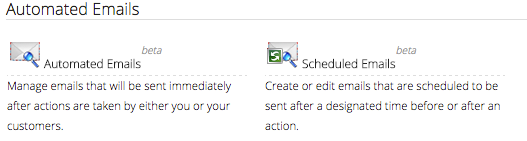
- In CT6, go to Manage > Camp > Automated Emails or Scheduled Emails or in CT5 go to InfoLink > Mass Emails > Actions > New Mass Email.
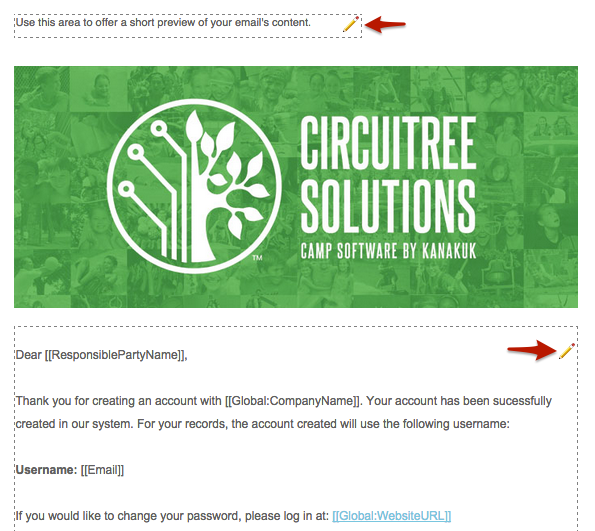
- Below the Subject, select the Template from the drop down menu.

- Click on the
 icon to edit any of the content fields.
- Use the toolbar to make any changes to the content as needed and then click Save.
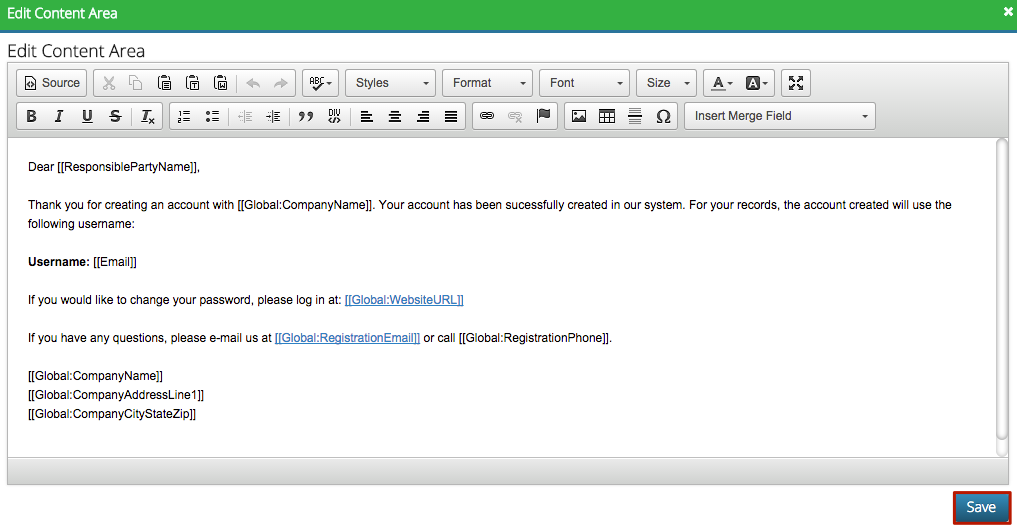
- Your email is now ready to be sent!