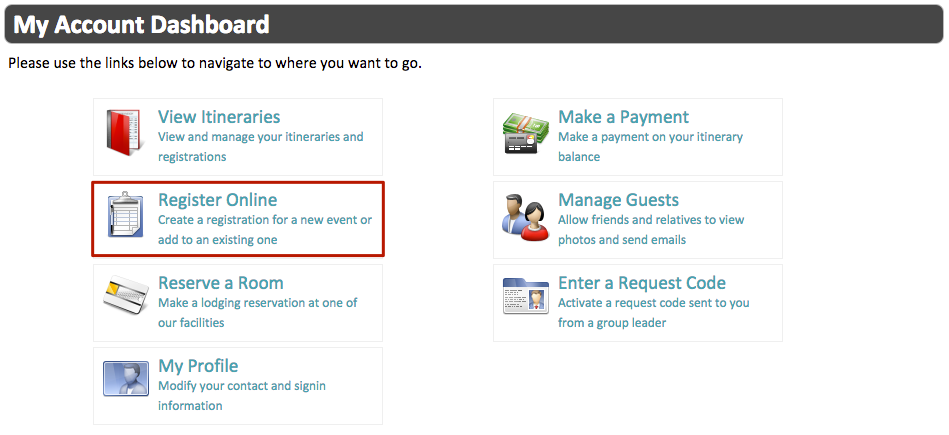
After you login, you will be taken to the My Account Dashboard. This is where customers can access several different areas, including viewing itineraries, making a payment and managing guests.
- Click Register Online.
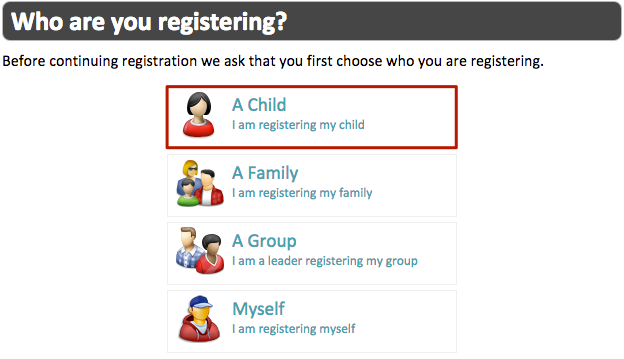
- Select who you are going to be registering. For this example, click A Child.
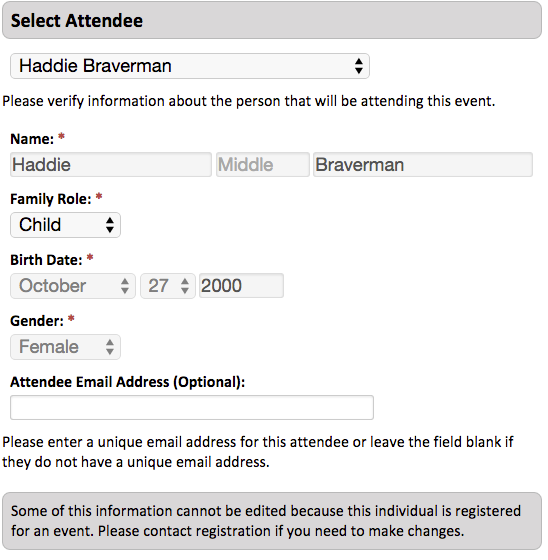
- The next screen will give you an option to select an Attendee from your family member or allow you to create a new one. Select one of the children in your family, verify the information and click Continue.
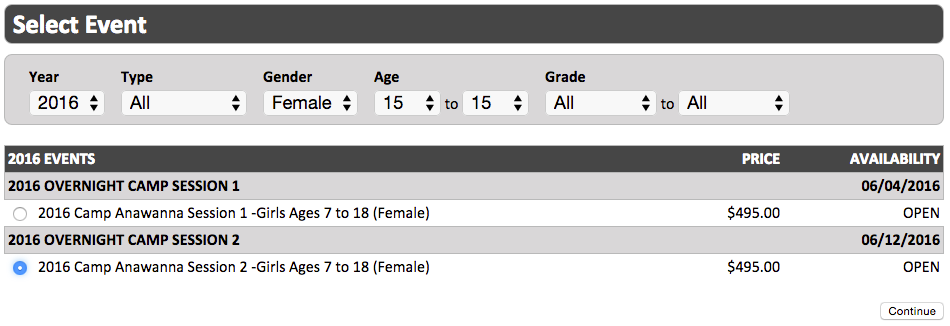
- Notice that the Events are filtered based on ones that Haddie is eligible for. In this case, Event Division for 15 year old females. Select an Event and click Continue.
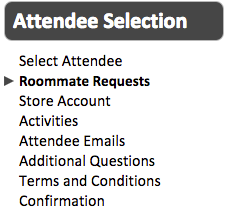
- Next, you will go through the Attendee Sections that are setup during Event Division creation. Only those set to Show During Registration will show up here.
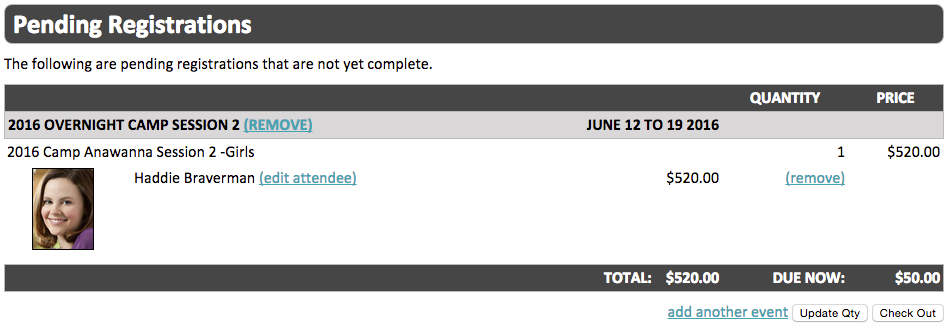
- After completing all the Attendee Sections, the Pending Registrations page will appear. This will allow you to confirm the Event selection. Once confirmed, click Checkout.
Checkout
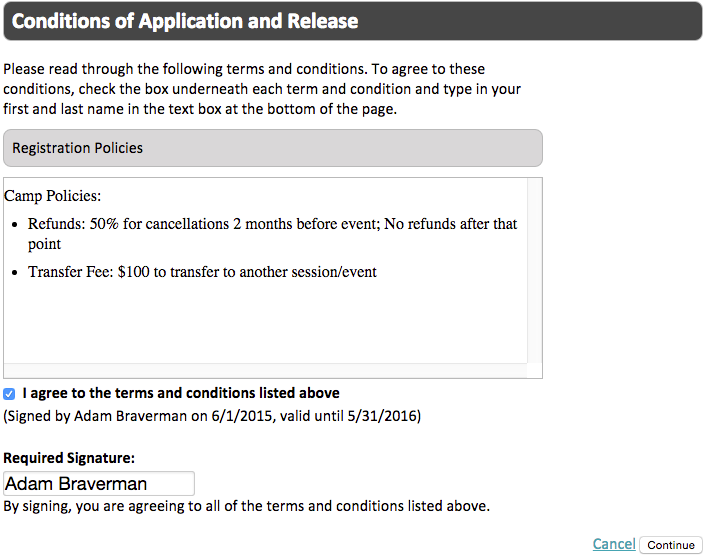
- Any Terms and Conditions added to Checkout will be displayed. Check the box to agree, enter your name and click Continue.
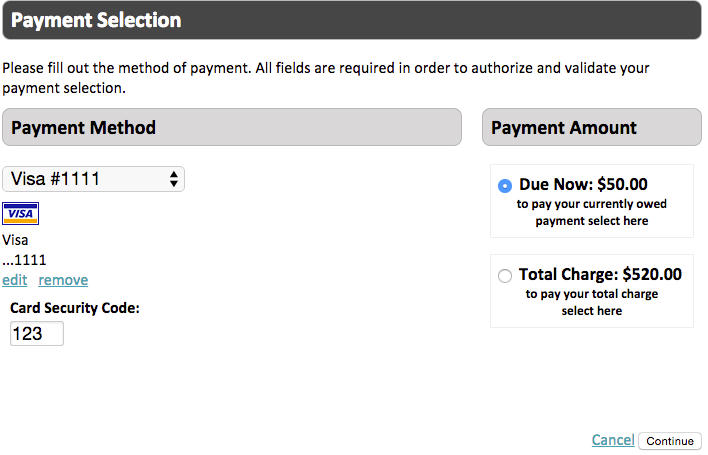
- Select or add a Payment Method from the dropdown list. You will also be given the option to pay what is Due Now or the Total Charge. After you have made your selections, click Continue.
- Card Number – 4111 1111 1111 1111
- Expiration Date – Any future date
- Security Code – Any 3 digit number
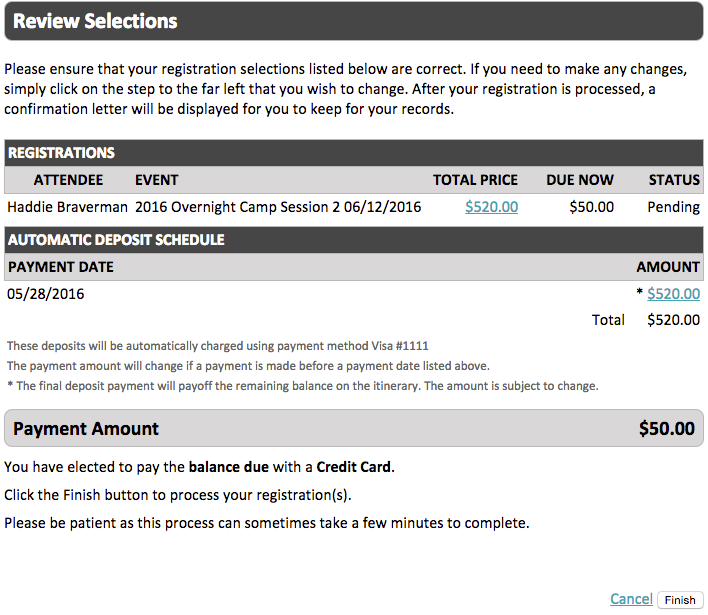
- Review the selections. Notice that the registration is in Pending status until the Due Now amount is paid. Clicking Finish will process the payment, change the registration to Active and send a confirmation email.
Confirmation
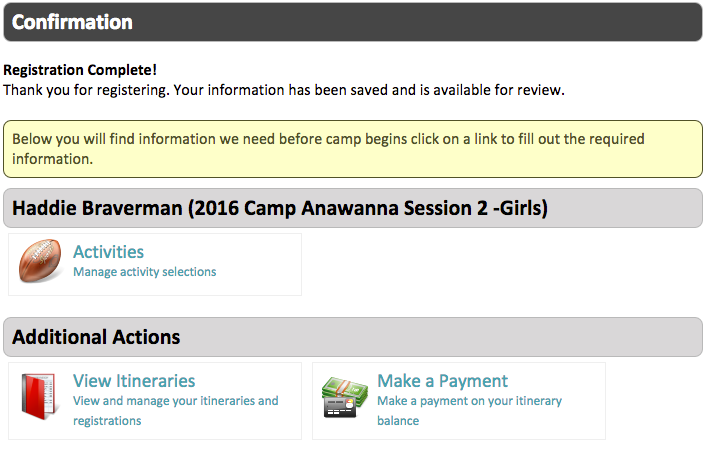
After checkout is complete, a confirmation page will be displayed. Any Attendee Sections that are set to Skip During Registration will display here. You can also View Itineraries or Make a Payment.
Try It Yourself!
Go through and register one of the children in your family for an Event. You will be able to see what a parent will experience once you go live with your Registration Website.
Next Steps
Congratulations! You have completed your Introduction to CircuiTree. Now it’s time to get to work on customizing CircuiTree to fit the needs of your organization. Refer to the following articles to get into more detail.
