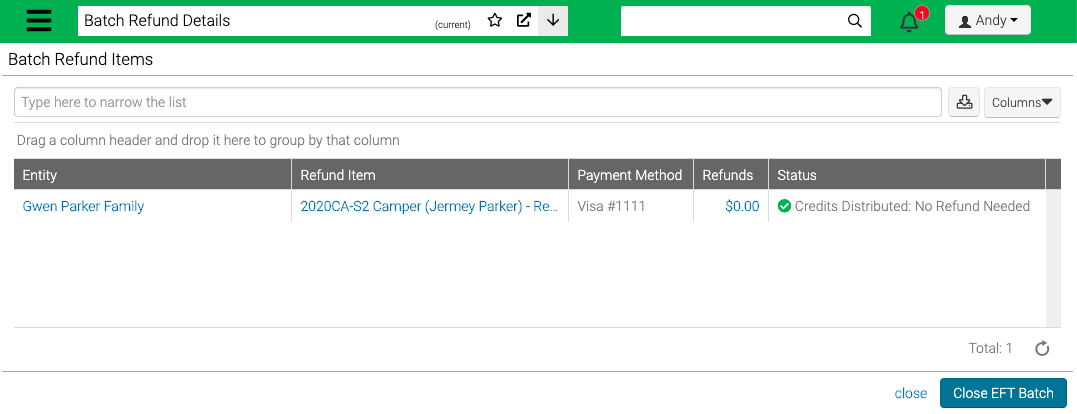
When you have a large number of refunds you wish to process (e.g., after you close an event), you can use the Batch Refund Process to return the money, either electronically or by paper check. It is recommendation that you perform this action after running the End of Event process.
Navigation
- Go to Management > Accounting > Process Batch Refunds.
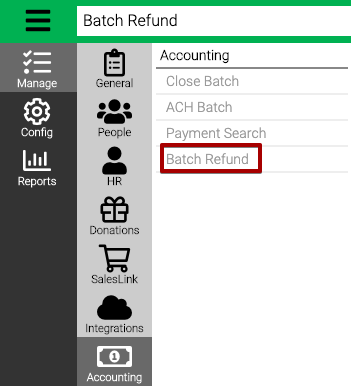
- Use the Criteria to filter which Registrations to refund and then select Find.
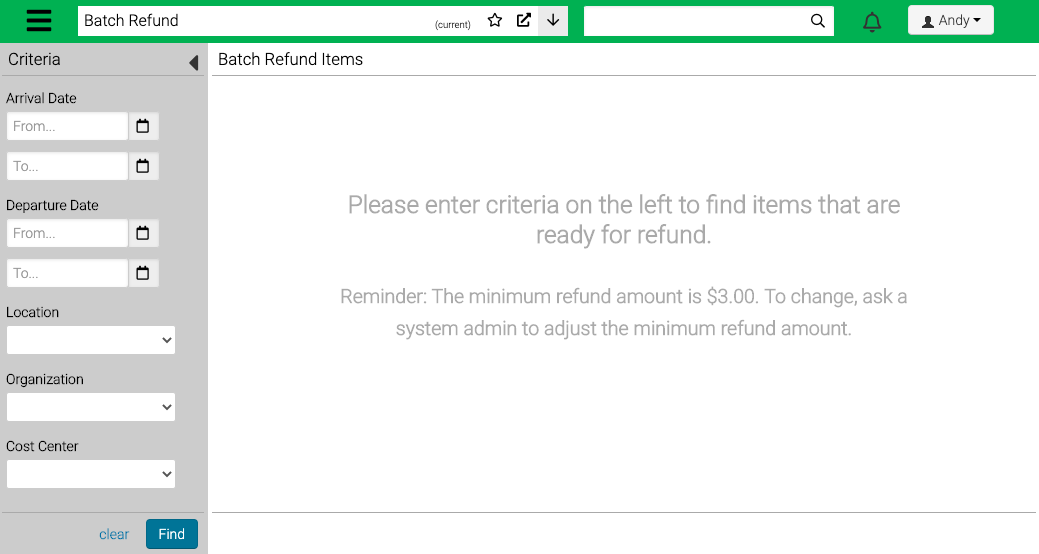
- Arrival Date – Set a date or range of dates for when Events began.
- Departure Date – Set a date or range of dates for when Events ended.
- Location – Select a Location.
- Organization – Select an Organization.
- Cost Center – Select a Cost Center.
Quick Tip – To change the minimum refund amount, go to Application Settings and change the Refund Check If Amount Is Over setting.
Refund
- Review the list of Registrations to refund.

- Include – By default, all will be selected. Uncheck a box to exclude or the column name to uncheck all.
- Distribute – By default, all will be selected. Uncheck a box to exclude or the column name to uncheck all.
- The Distribute process applies credits to other Registrations or Reservations that have a balance on the families account before refunded.
- Entity – Select the name of the Entity to go to their Profile.
- Refund Item – Select the name to go to where the credit is.
- Payment Method – Select to change the Refund Method.
- Refunds – The total amount that will be refunded.
![]()
- Starting Check Number – If paper check refunds are needed, a box to enter the starting check number will be available to add one.
- Once review is complete, select Refund.
- Review the Refund Confirmation and then select Refund.
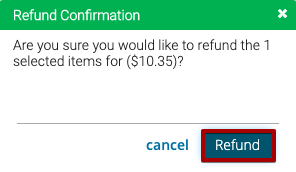
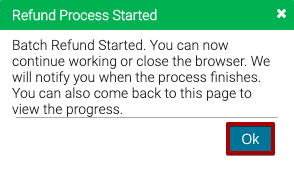
- A confirmation will display noting that the refund process has started, select OK.
Process Complete
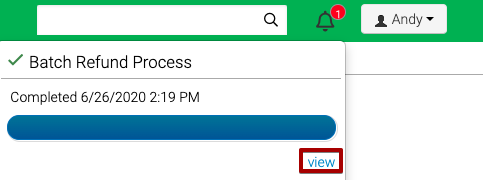
- Once the refund process is complete, you will receive a notification in the menu bar.
![]()
- Select View to see the results.
- Review the status of the refunds. If processing paper check refunds, you can select Close EFT Batch in order to close your batch.
