Before creating Payroll batches for Staff, it is important to make sure and note any Time Off Requests. Here is the process for adding and approving a Time Off Request:
Check-In Staff

- To display a list of all Staff for a particular Location, set the following parameters in the Search Criteria:
-
- Date Type – select All to see all of the Staff.
- Location – select the location of the Staff.
- Individual Type – select Staff.

- Search for a Staff member and then click View next to their name.
- If needed, click Check-In.
- Click View Employment.
Quick Tip – You can also reach this screen by using the Search Box in the top of CT6 to find a Staff Member and then click on Employment and choose their Job Posting.
Add Time Off Request
- Under the Employment tab, select Add Time Off Request.

- Enter the Start and End Date as well as any comments.
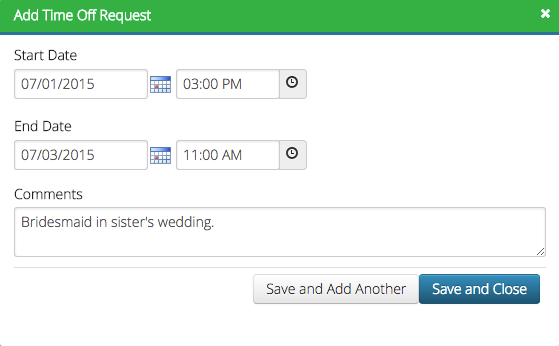
- To add more requests, click Save and Add Another, otherwise click Save and Close.
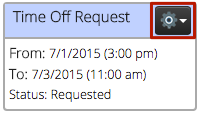
- To edit or remove a request, click on the gear icon next to the Time Off Request.
Quick Tip – If you add a request that spans multiple Work Periods, multiple Time Off Requests will be added.
Approve Time Off Request
Depending on the Security Group that you are part of, the staff members that you will have access to will change:
- HR – Only displays Staff where User is assigned as their Manager.
- HR Manager – Displays all Staff.
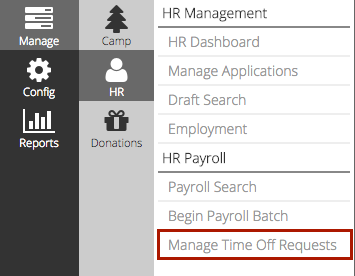
- Go to Manage > HR > Time Off Requests.
- Enter your Time Off Criteria and click Find.
- Click Advanced to set criteria for Manager, Job Posting and/or Location.
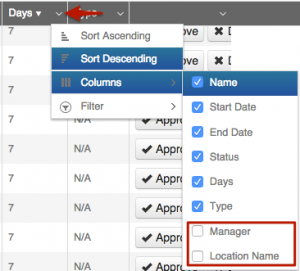
- After the results are displayed, Manager and Location are hidden columns. To view them, click on the arrow and select Columns and then check the box to the desired field.
- If the Leave Dates section has been added during Onboarding, the list will show any requests added by Staff as well as any manual entries by Directors.
- The list will display the following fields:

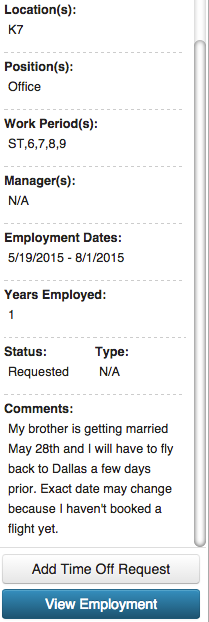
- After a Staff Member is selected, the Time Off Summary will be displayed with information as well as the ability to Add Time Off Request and View Employment to see other Time Off Requests.
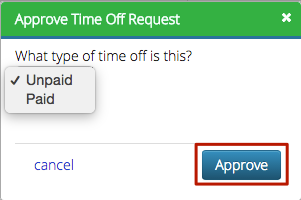
- To approve the request, click Approve.
- Select the Type, either Unpaid or Paid, and click Approve.
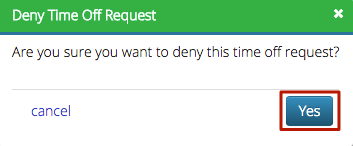
- To deny the request, click Deny and in the popup box, click Yes.
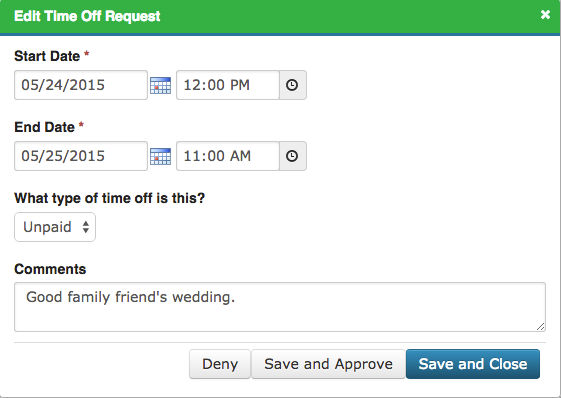
- To edit the request, click on Edit. After making any changes, click Deny, Save and Approve or Save and Close.