Cancellation reasons are useful to track why a customer has cancelled their registration. These reasons will appear in a drop down menu when a registration is cancelled manually and during the End of Event process.
Create Reasons
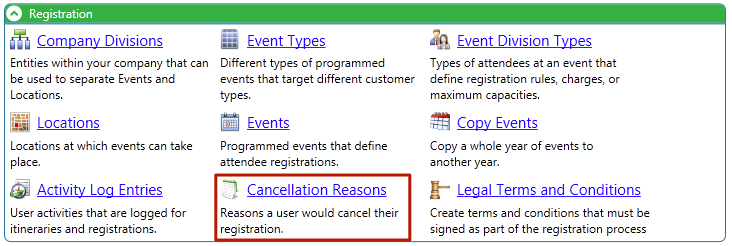
- Go to Configuration > Registration > Cancellation Reasons.
- Click Actions > New Registration Cancellation Reason.
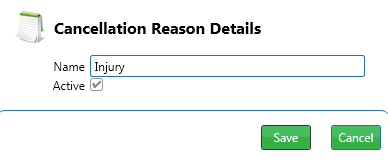
- Enter a name and click Save.
Deactivate
- To deactivate a reason, click the
 icon next to the reason to open the Cancellation Reason Details box.
 - Uncheck the Active button.
- Click Save.
When do I assign Cancellation Reasons?
Manual Cancellation
- Go to Registration > Actions > Cancel.
- Select a Cancellation Reason and click Next to perform the cancellation.

End of Event
- Go to Management > Registration > End of Event to start the process.
- During the process, select the Cancellation Reason to apply for all Pending and Waitlist registrations.
