A Fund is used to group similar donations together so that they can be classified under the same GL code for export to your main accounting system. Funds are associated with both a Cost Center and an Organization for proper classification.
Examples
- Youth Middle School Scholarship Fund
- Capital Fund
- General Donation Fund
- Camp Sponsor Memorial Fund
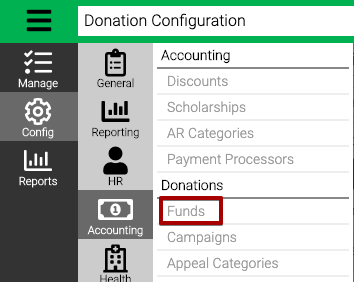
- Go to Config > Accounting > Donations > Funds.
Search
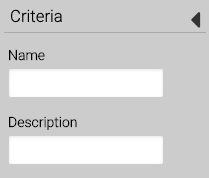
- Use the Criteria to filter the list if needed and select Find.
- Results will be displayed in the center section. Use the filter at the top of the screen to narrow the results.
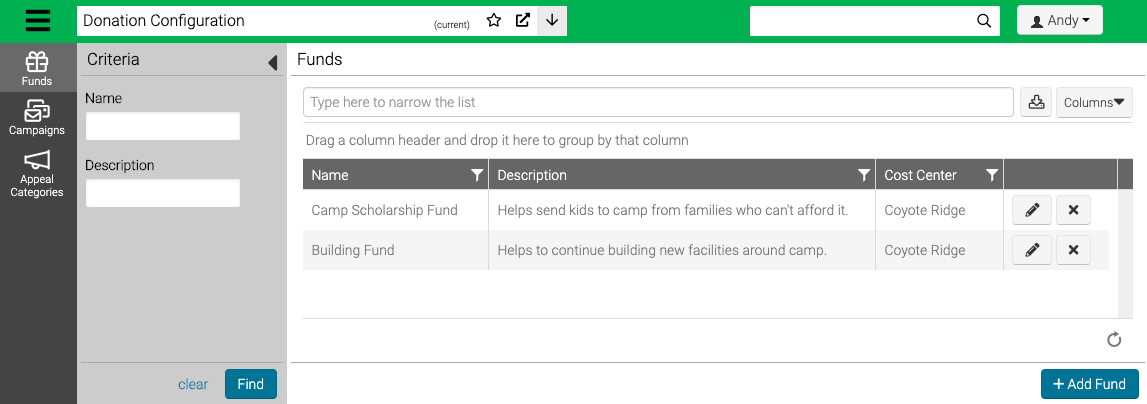
- Select
 to edit,
  to delete or Add Fund.
Add Fund
- From the search screen, select Add Fund.
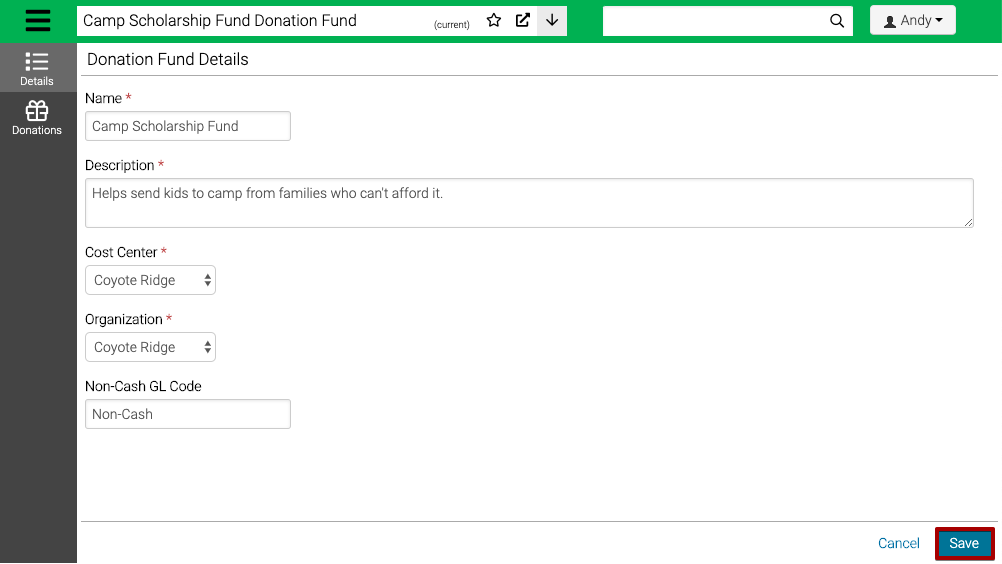
- Enter the required fields.
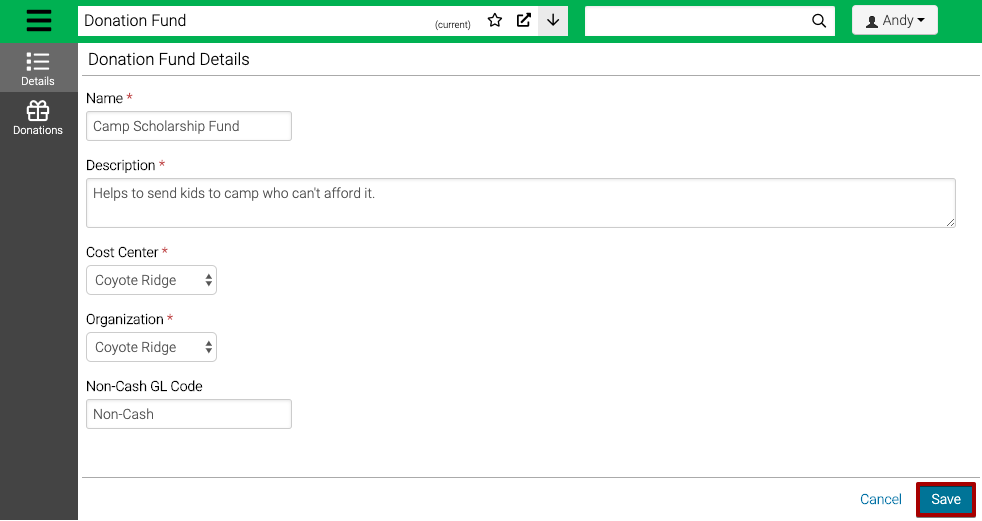
- Name – Enter the name of the Fund.
- Description – Enter a description of the Fund to be shown on the Registration Site.
- Cost Center – Select a Cost Center where Donations will be coded under. How do I manage Cost Centers?
- Organization – Select an Organization that will be used to process payments. How do I configure Organizations?
- Non-Cash GL Code – Enter a GL Code to be used when there are non-cash donations.
- Select Save.
Assign GL Codes
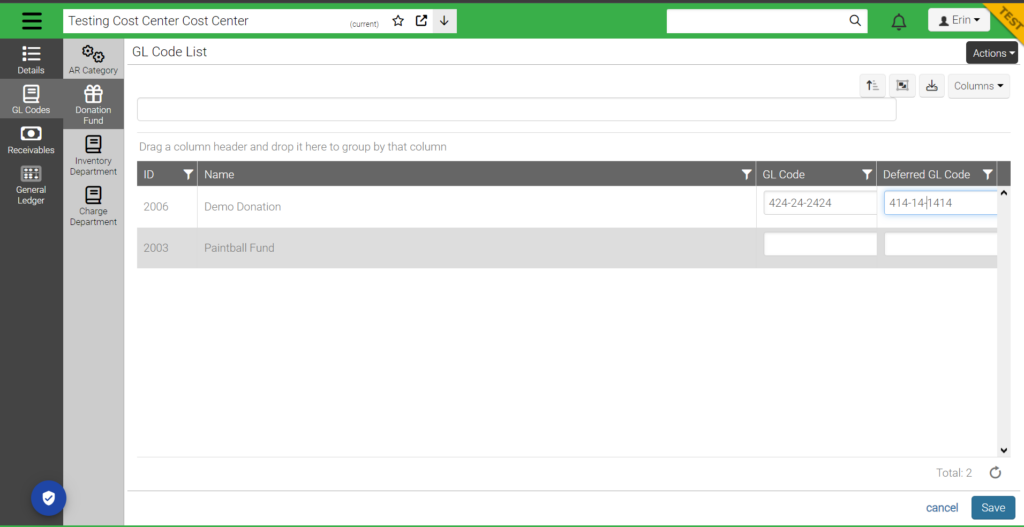
After you have created a Fund, it is important to assign GL Codes to the Fund. When donations are processed, they will be assigned the GL Code that you configure for the Fund.
- Go to Configuration >Registration>Cost Centers
- Hit the pencil icon by the cost center set on your fund

- Go to GL Codes>Donation Fund
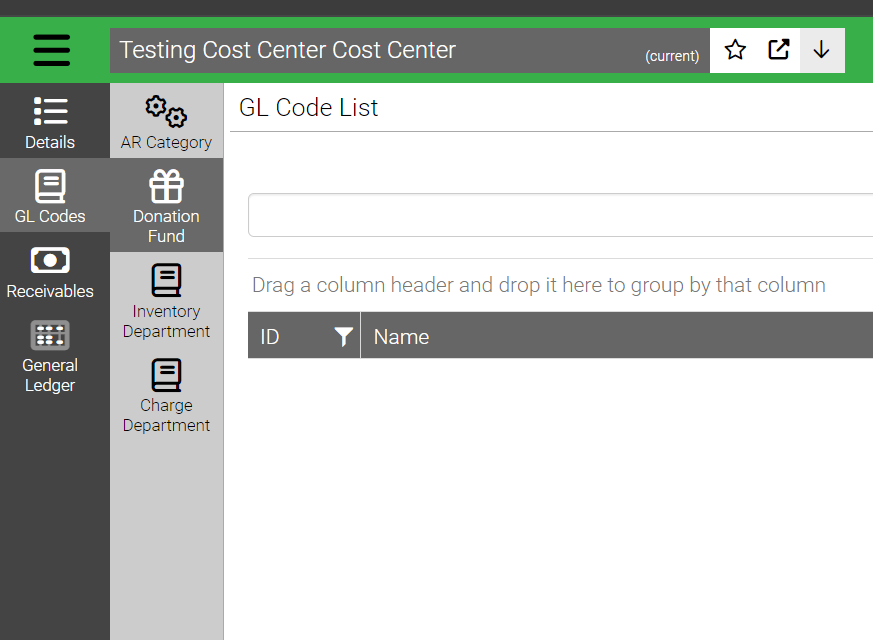
- Hit Edit Codes in the bottom right hand corner
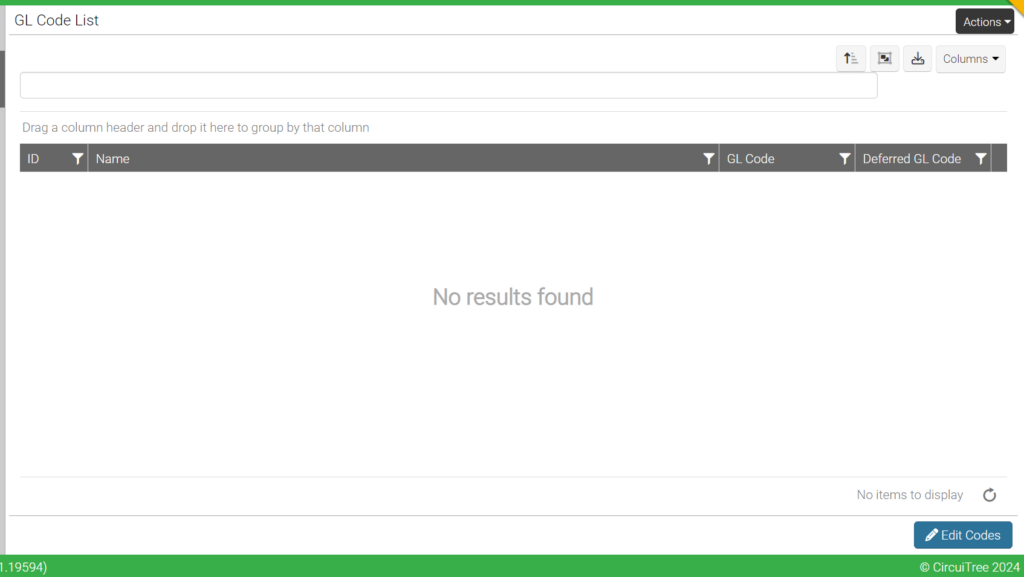
- Add your GL Codes and Save
Edit
- From the search screen, find a Fund and then select
 .
. - Select Edit Fund.
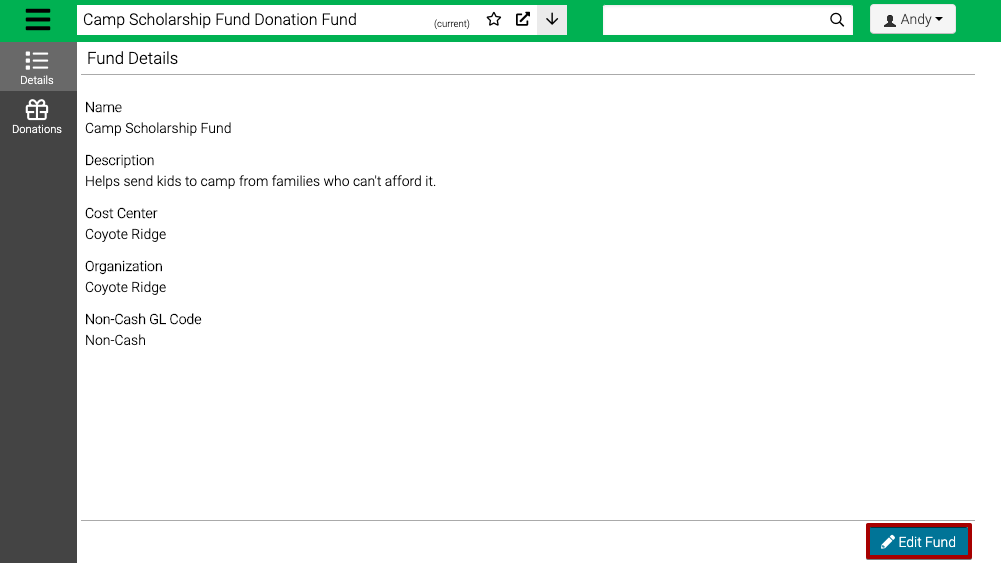
- Update the needed fields and then select Save.
Delete
- From the search screen, select
 .
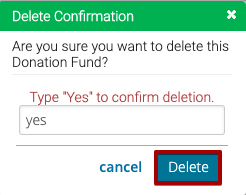
. - Type yes and then select Delete.
Quick Tip – Funds with donations cannot be deleted.
View Donations
- From the search screen, select Edit and then go to Donations.
- View the list of existing donations to the Fund.
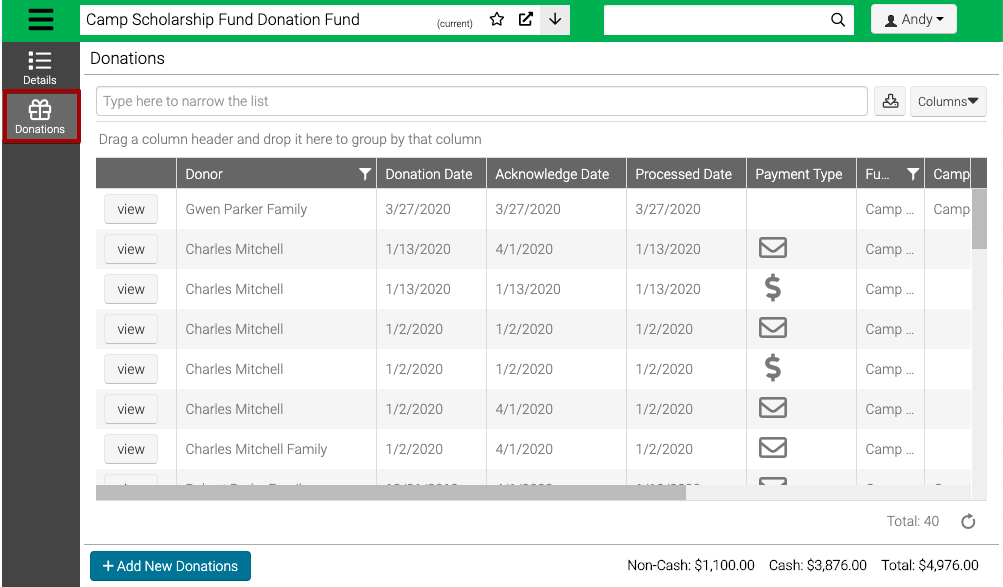
- Select Add New Donations to add new donations.
