Locations are used to represent physical locations for your organization. They are required for Event, Resource and Store Location configuration.
Examples
Here are some examples of why you would create multiple Locations.
- Different sections of your organization at the same address [Summer Camp versus Day Camp]
- Different addresses for physical locations
- Different tax status [multiple counties or states]
Navigation
- Go to Menu > Config > Registration > Location.
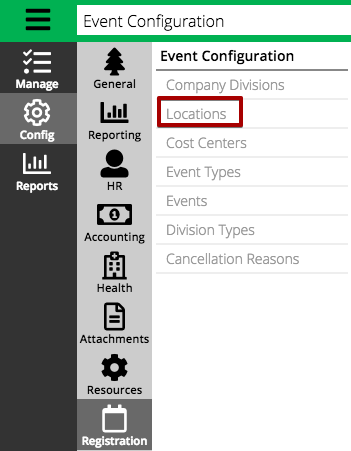
- To add a new Location, select Add Location in the lower right hand corner.
- Enter the information in the fields and then select Save Location.
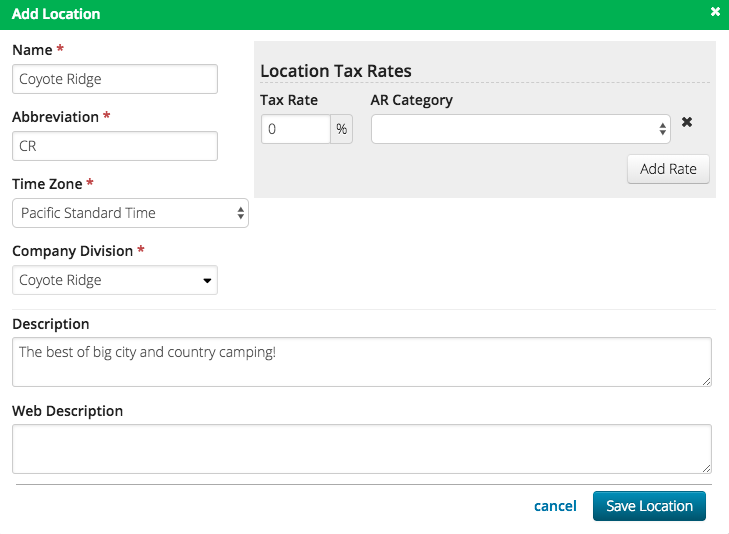
- Name – Enter the name of the Location.
- Abbreviation – Enter a short abbreviation for the Location.
- Time Zone – Set the time zone to use for the Location.
- Company Division – Assign a Company Division.
- Description – Enter an internal description of the Location.
- Web Description – Enter a description of the Location that can be used during Event Selection on the Registration Site. By default this field is not shown on the Registration Site.
- Tax Rate – Enter an amount.
- AR Category – Assign an AR Category for the Tax Rate. Make sure that the AR Category is set to Taxable.