Need to send out an email to a segment of your customers letting them know some important information? Mass Email allows you to do so! You can customize emails with HTML or use a Mandrill Template. Personalize the email to the recipient or include other important dynamic information using Place Holders. Here is the process to send a Mass Email.
- STEP 1 – Add Email – Enter the subject and who the email is from.
- STEP 2 – Select Recipients – Choose a Mass Email query to select the recipients to send to.
- STEP 3 – Add Content – Create the content for your email.
- STEP 4 – Send Preview – See what the email will look like before you send it.
- STEP 5 – Send Email – See the results of the email that you sent.
Navigation
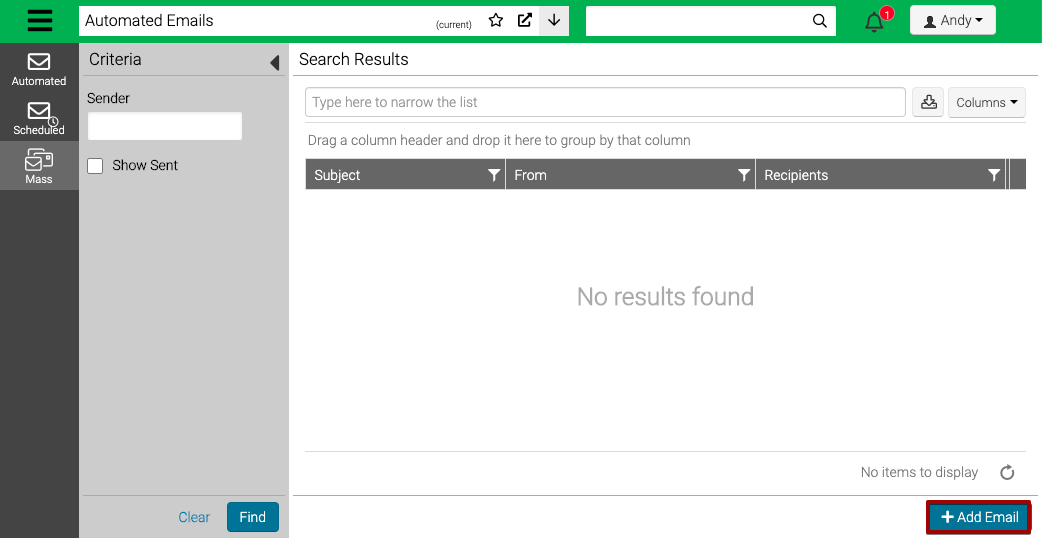
- Go to Manage > General > Automated Emails > Mass Email.

- Use the Criteria to filter the results and select Find.

- Sender – Filter by the name of the sender.
- Show Sent – Select to show previously sent Mass Emails.
Add Email
- In the lower right hand corner, select Add Email.
- Enter the information in the fields.
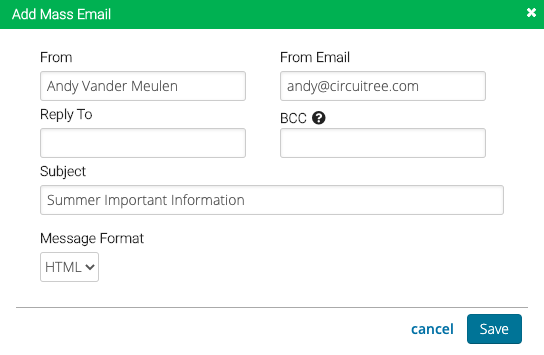
- From – Defaults to the user’s name.
- From Email – Default’s to the user’s email address.
- Reply To – Enter an email address for replies to go to.
- BCC – This is a semicolon separated list of email addresses; the last email in the queue will be blindly sent to this list.
- Subject – Enter a subject for the email.
- Message Format – Select HTML or Text.
- Select Save.
Select Recipients
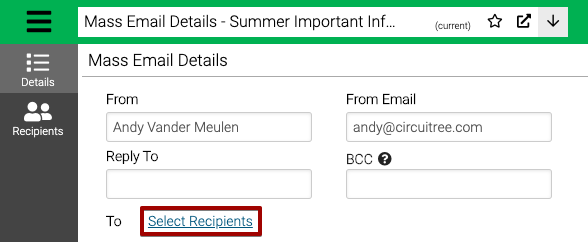
The next step is to select a query to narrow down the list of recipients and then enter the content of the email.
- Click Select Recipients to choose a query to send to.
- Filter the list of queries and highlight a query and select Continue.
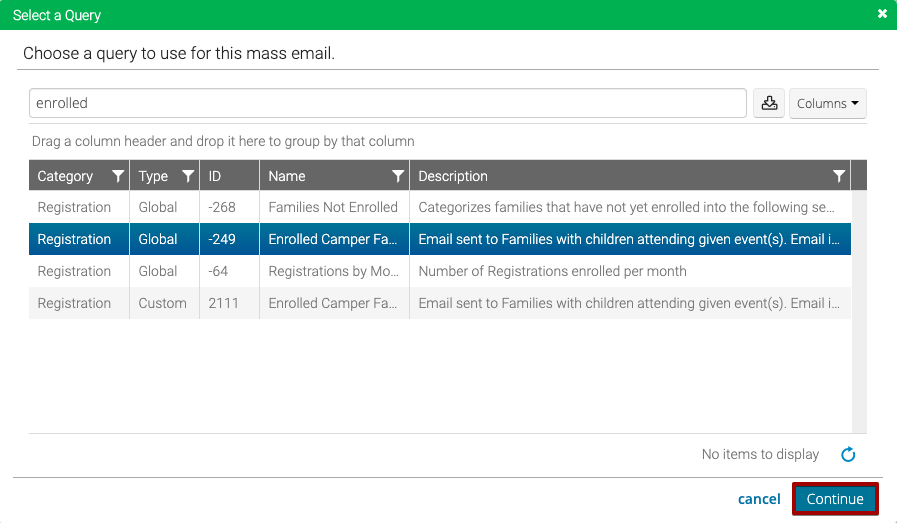
- Enter the Criteria for the query to return the list of recipients that you want to send to and then select Save.
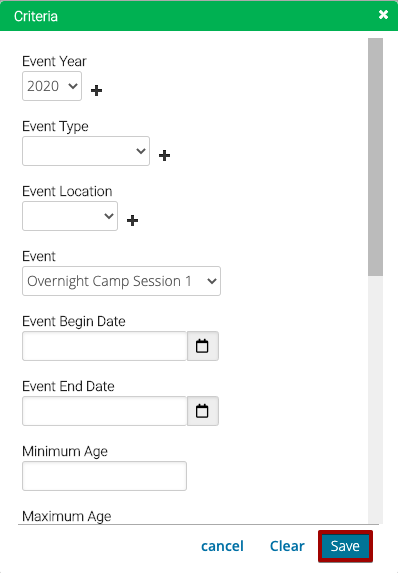
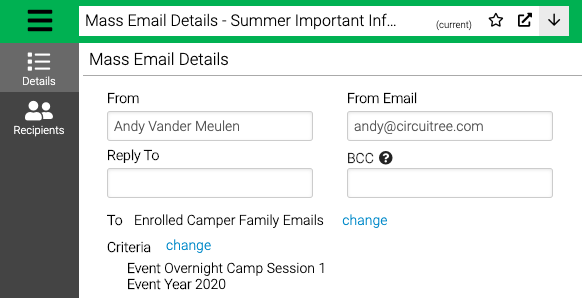
- Select Change to update the query or criteria.
Receive Email Notification of Completion
When a mass email is completed, an optional automated email can be sent to the notify the completion. The notification will be sent to the CT user who sends the mass email.
- On the Mass Emails Details screen, select Send email notification after processing

- Once selected, this setting will default for any future emails created by the user. The CT user will receive both the automated email notification and see the completion indicated by the notification icon in CT6 (The automated email will use the same text that is displayed by the notification icon)


Add Content
Next, add content to your email.
- Add your content to the text editor.
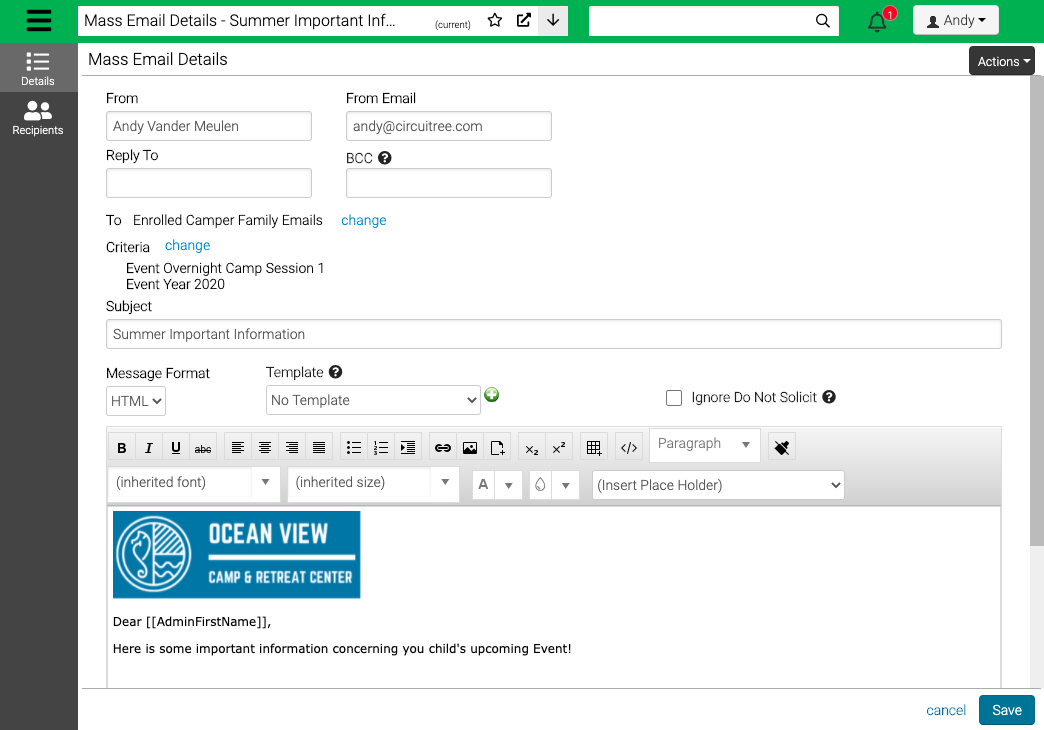
- Template – Select a template. How do send an email using a MailChimp Template?
- Ignore Do Not Solicit – Check box to send to all customers regardless if they have Do Not Solicit checked on their account.
- Insert Place Holder – Place holders allow you to enter dynamic text into your email like the name of the recipient or the name of an Event.
- Select Save.
Send Preview
To see a preview of what your recipients will see, follow these steps.
- Select Recipients.

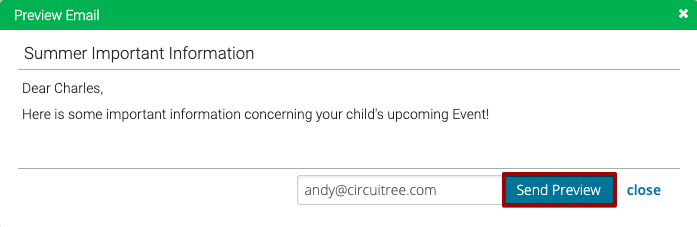
- To see a preview of what the email will look like, select preview.
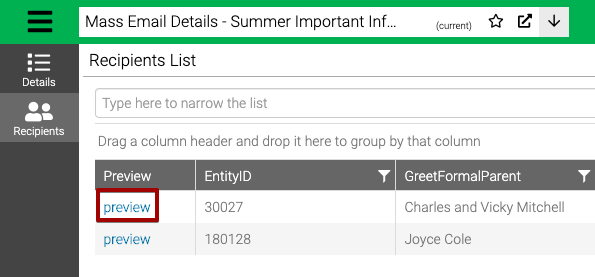
- The details of the email will display with the placeholders populated. To send a preview of the email, select Send Preview.
Send Email
Now you are ready to send your email!
- From either the Details or Recipients tab, select Send Email.
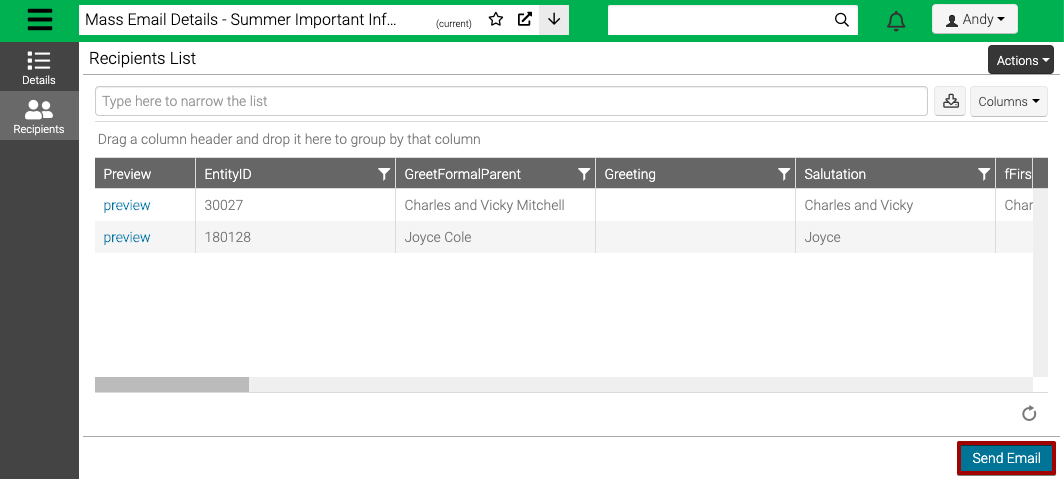
- The next screen will show a list of recipients to include in the email. By default, Include is selected to send to all recipients. To exclude a recipient, uncheck the box next to their name.
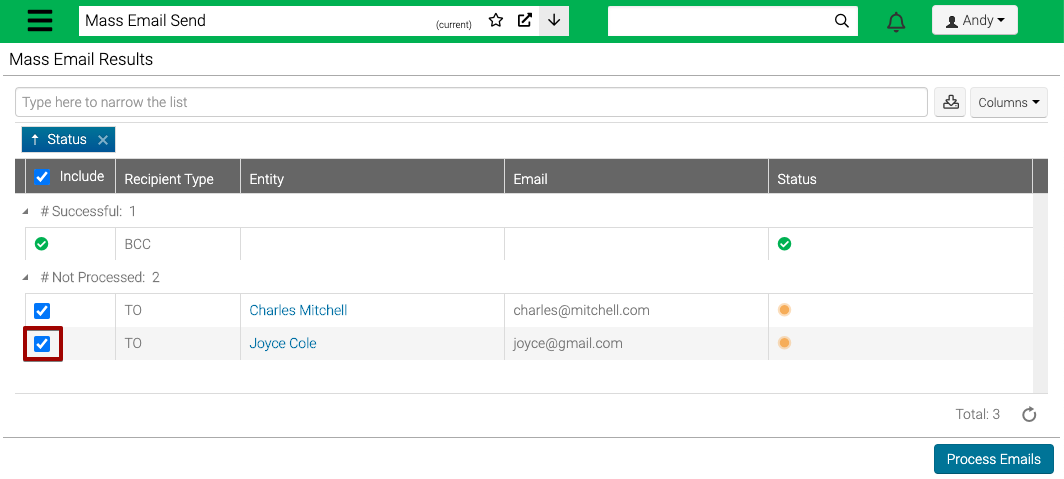
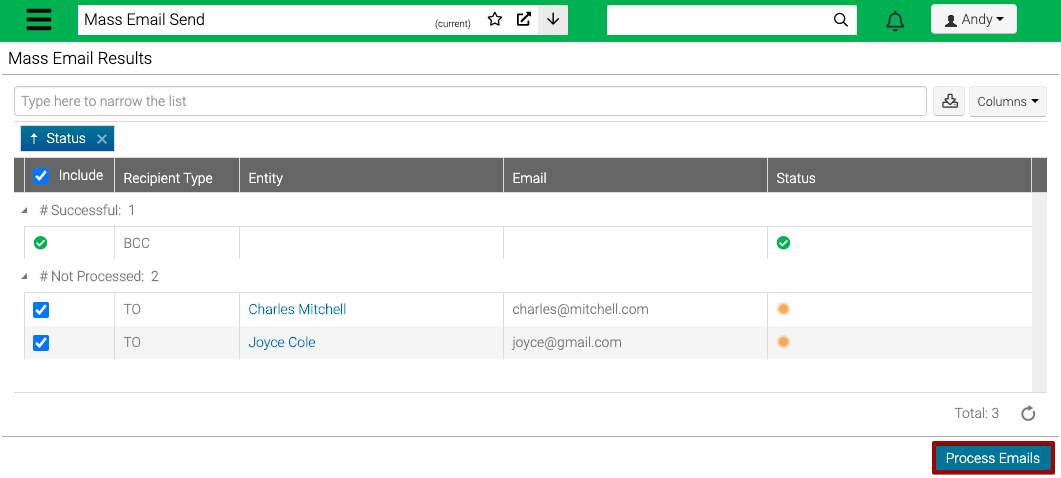
- To send the email, select Process Emails.
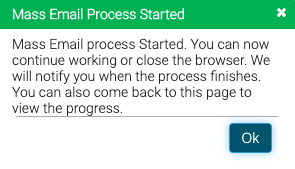
- The following notification will display, select Ok.
Results
- If you leave the screen and want to see an update on the status of the email, refresh your browser and next to your profile name, select the notification bell.

- View the information about the email.

- When the email is sending and after it is complete, you can see a list of the results.

Resending Emails
- If an email doesn’t complete sending to all recipients, users have the ability to resend the email to those who didn’t originally receive the mass email.
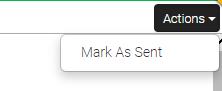
- To do so, open the mass email that didn’t complete, go to Actions and Mark As Sent.
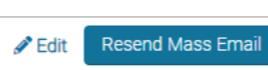
- Now you will have an option to Resend Mass Email. Selecting this button only sends to the recipients who did not originally receive it.
Related Articles