Contents
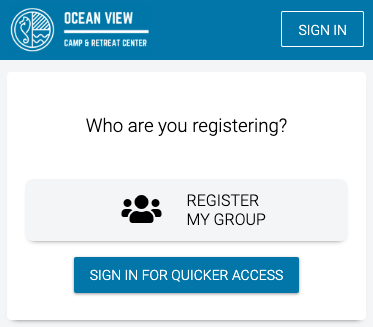
Follow these steps to register a Group.
- Select Register My Group.
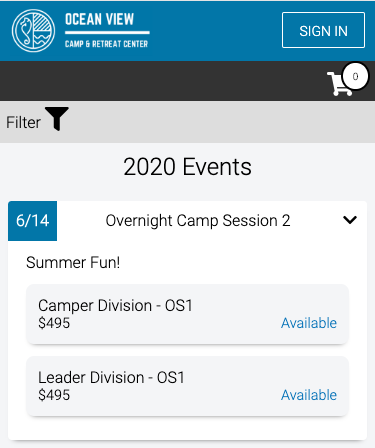
Event List
- On the Event List, select an Event to see available Divisions. Once you found the one that you want to register for, select the Division.
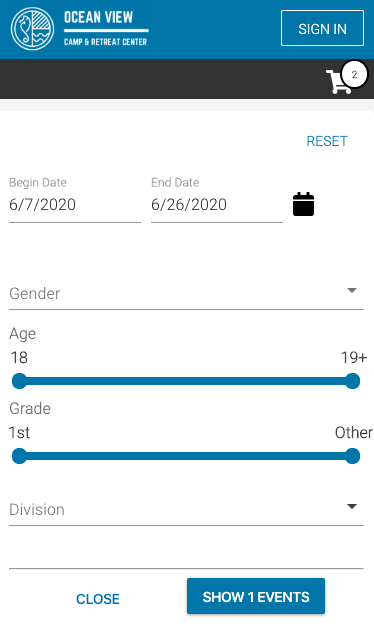
Filter
To filter, select Filter, update the options and then select Show Events.
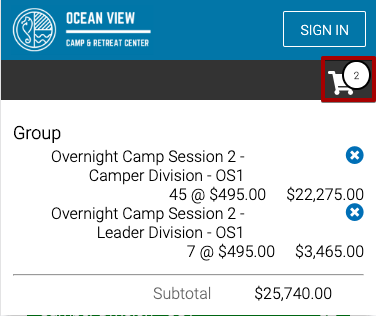
Edit Cart
To remove a Registration from your Cart, select the Cart icon and then select the X.
Select Divisions
- Enter the number of registrations for the Division and then select Add.
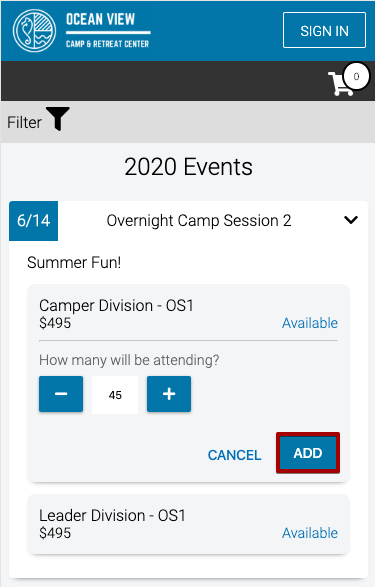
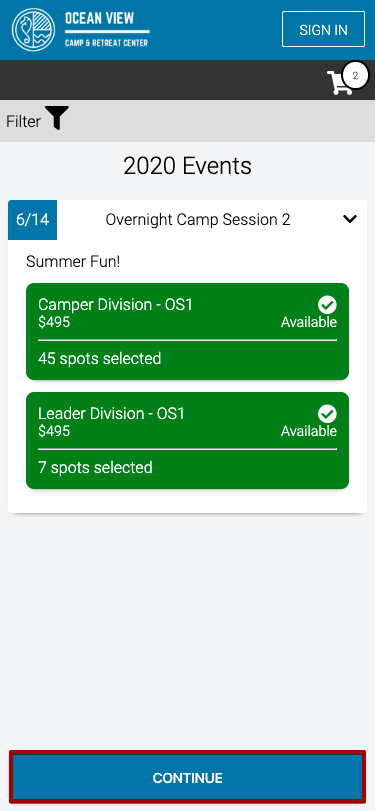
- Add Registrations for any additional Divisions and then select Continue.
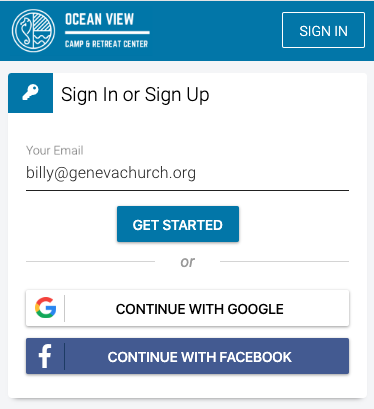
Sign In or Sign Up
- Enter your email to either Sign In or Sign Up and select Get Started or sign in using Google or Facebook.
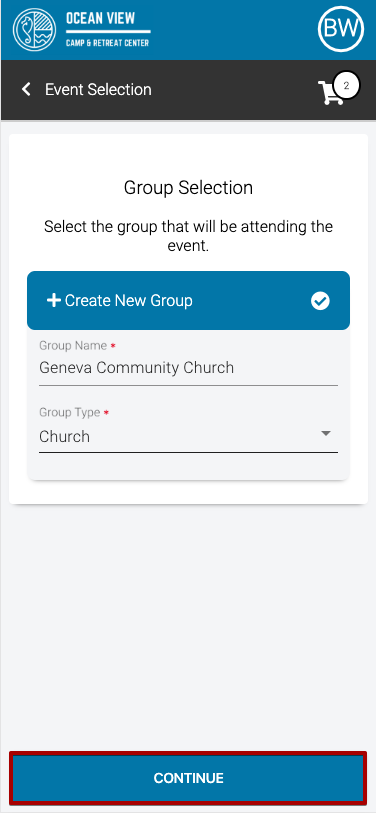
- Enter the name of your Group and Group Type and then select Continue.
Checkout
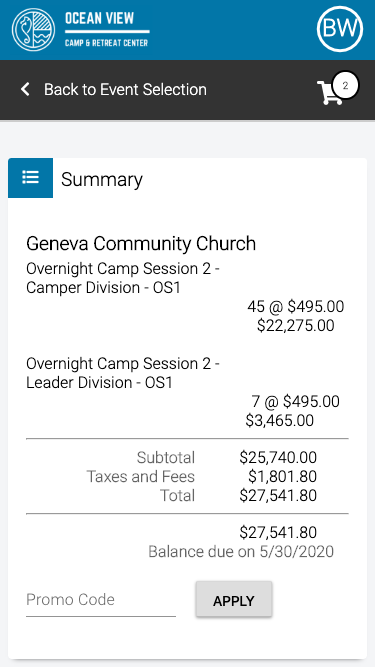
During Checkout, review the summary, enter a payment amount, select a payment method and sign any terms and conditions.
Summary
View charges for the Event and any from Addons in the Summary. To apply a Promo Code, enter the code and then select Apply.
Payment Amount
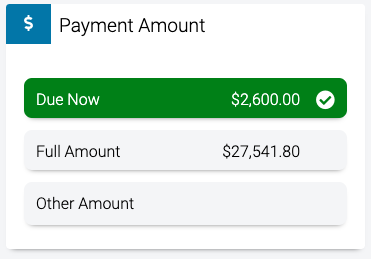
Select one of the options to set the Payment Amount.
-
- Due Now – The deposit amount that is required.
- Full Amount – The full balance due for the Registrations.
- Other Amount – Enter any amount between Due Now and Full Amount.
Payment Method
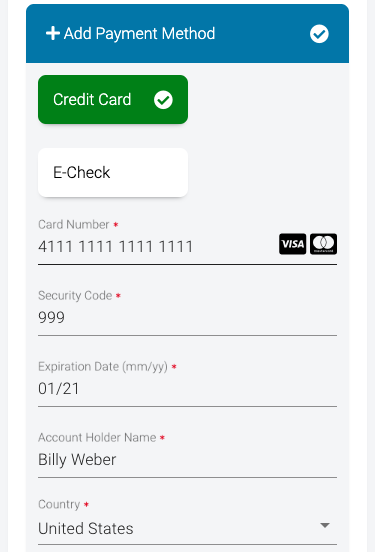
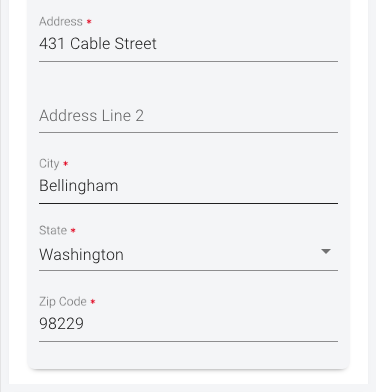
Select either Credit Card or E-Check and then enter the payment information. If you have previously used a Payment Method, select from the list. Learn how to pay with an eEcheck.
Terms and Conditions
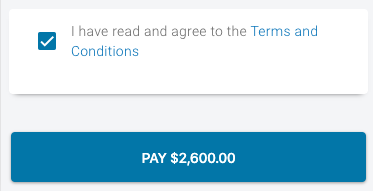
Check the box next to Terms and Conditions to sign. To view the terms, select the link.

Payment
Once you are ready, select Pay. The amount shown will be the amount set under Payment Amount.
Spots Saved
- Once payment is complete, your spots are saved!
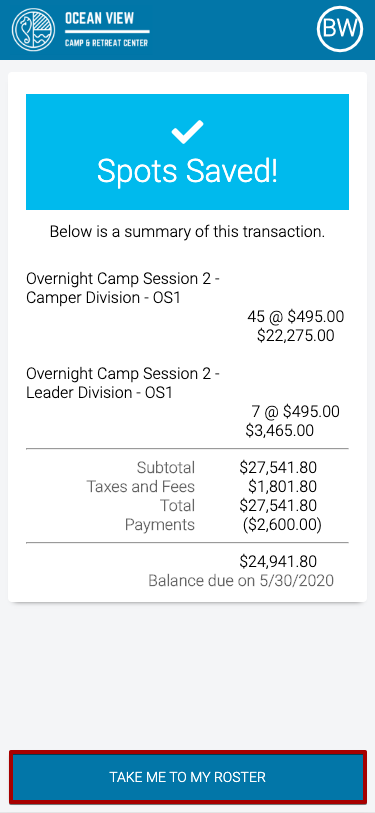
- To view your Roster, select Take me to my Roster.
Roster
From the Roster, you are able to manage your Group’s Registrations. You can add more spots, send invites, or update Attendee information.
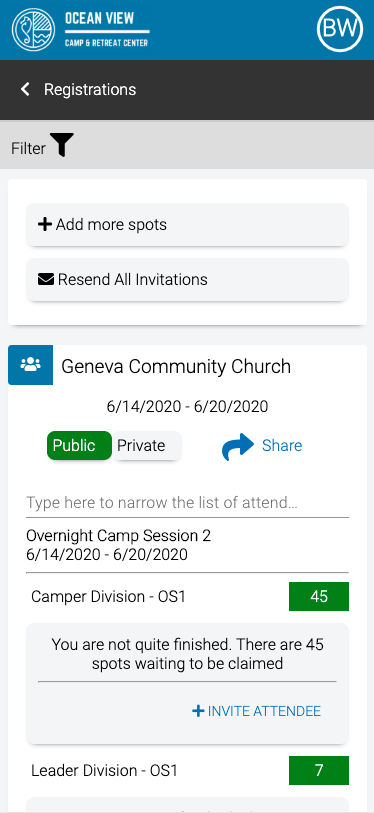
- Add more spots – Select to add more registrations for the current Event.
- Resend All Invitations – If your Event is Private, select to send invitation emails to Attendees to complete their registration.
Filter
- Select Filter to update the list of Attendees.
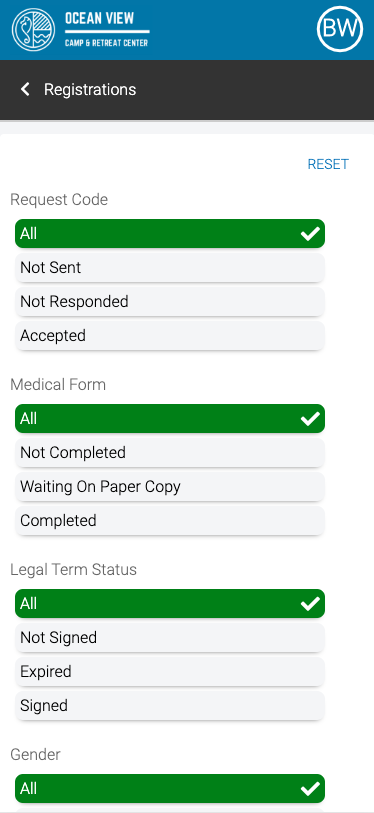
- Select the criteria that you want to filter and then select Filter.
- Request Code
- Medical Form
- Legal Term Status
- Gender
- Enrollment Status
