The Reservation Wizard will help you create reservations without the need for an event. It typically begins from the resource calendar, although it can also be invoked in a couple of other contexts. You can reserve any resource that you have defined and for which you have available capacity. You can cycle through the wizard to include several resources or types of resources in the same reservation. The result of the wizard is an itinerary with all elements included.
Step 1: Start the wizard from the Resource Calendar or an itinerary
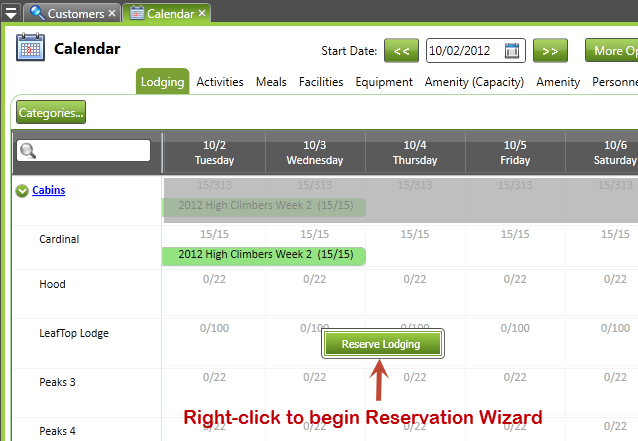
To begin, choose an appropriate area on the resource calendar grid and right-click. Depending on the tab at the top, you’ll see something like “Reserve Lodging” or “Reserve Meal” or similar. Choose that option to begin.
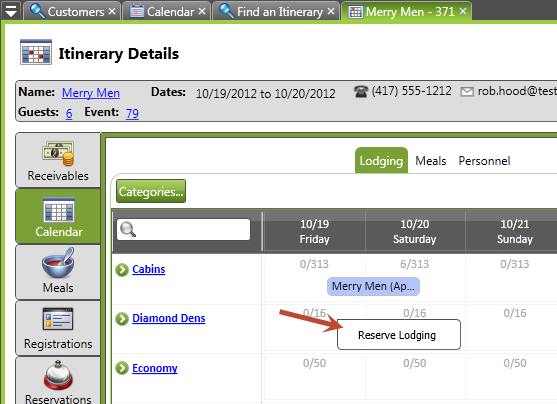
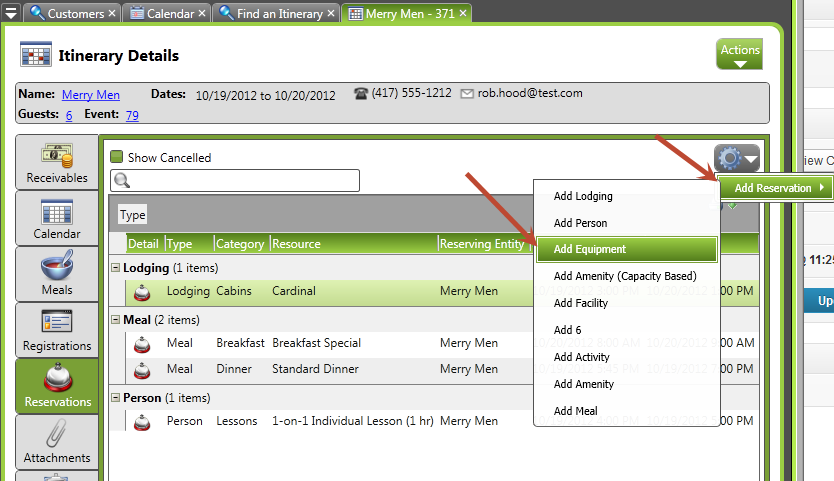
You can also begin this from the Calendar tab on an itinerary or from the Reservations tab on an itinerary (use the small gear Actions menu to start.)
Step 2: Select the resource and make any needed adjustments
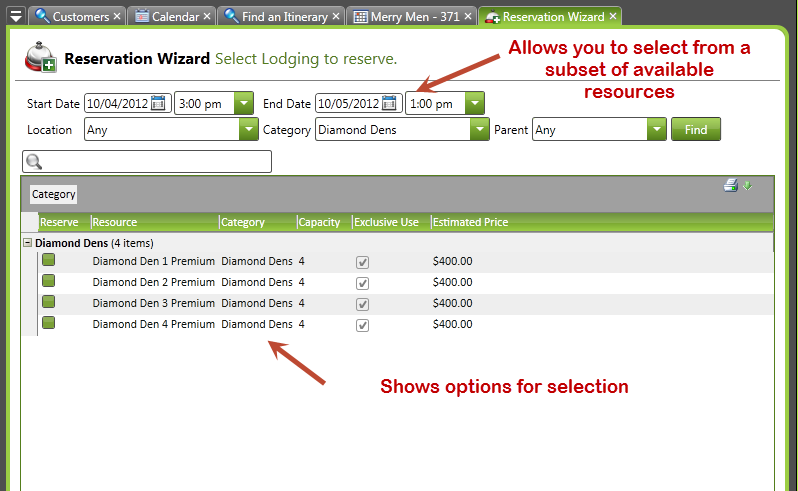
Depending on the initial resource type tab on which you began, your next screen will ask for the resource(s) in question you wish to reserve. For some resource types, it will also ask you to specify the date/time range for the reservation:
Then you’ll select the resources to be reserved. Each screen will have a top half which will let you narrow the range of resources to be selected and a bottom grid which will let you select those resources and make certain adjustments (like exclusive use of a resource or price overrides.) Select one or several resources, depending on the needs of your client.
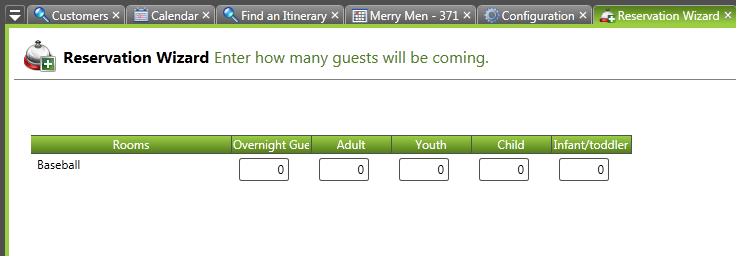
Finally, this step may also ask for additional information. Many resource types will ask for numbers of guest in your various guest categories.
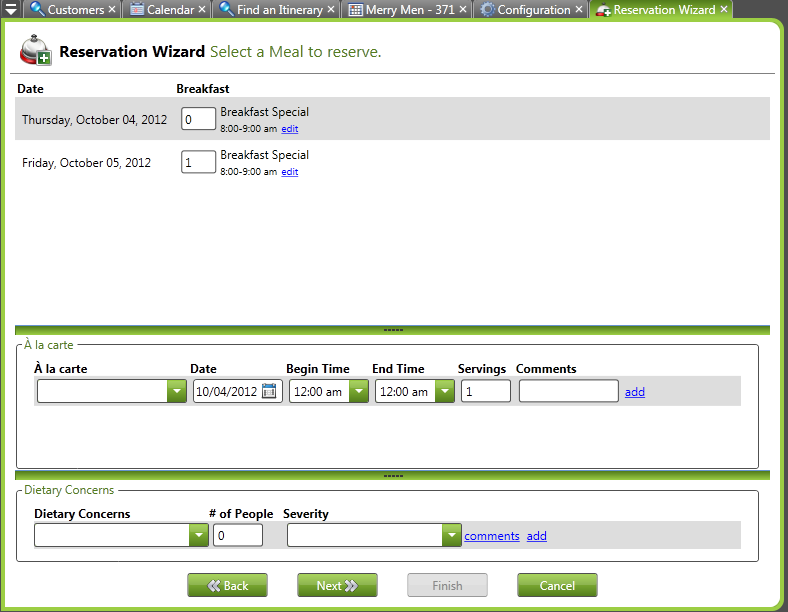
Reserving meals, on the other hand, lets you adjust the number of meals, add a la carte items, and express any dietary concerns at this stage. Consult the specific reservation wizard information page (listed below in Related Topics) for more detail.
Step 3: Select the customer for whom the reservation is made
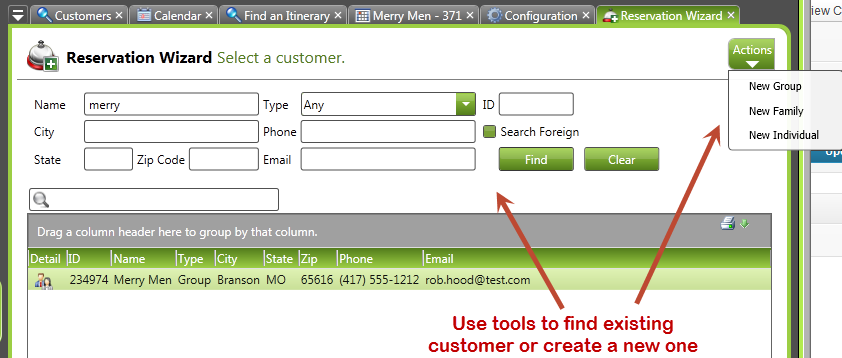
After the initial resource has been selected and any adjustments are made, the next step is to select the customer for whom the reservation is made. This can be an existing customer (using the search tools to find and select that customer) or a new one which can be created from the Actions menu.
Step 4: Add another resource type and/or finish the reservation
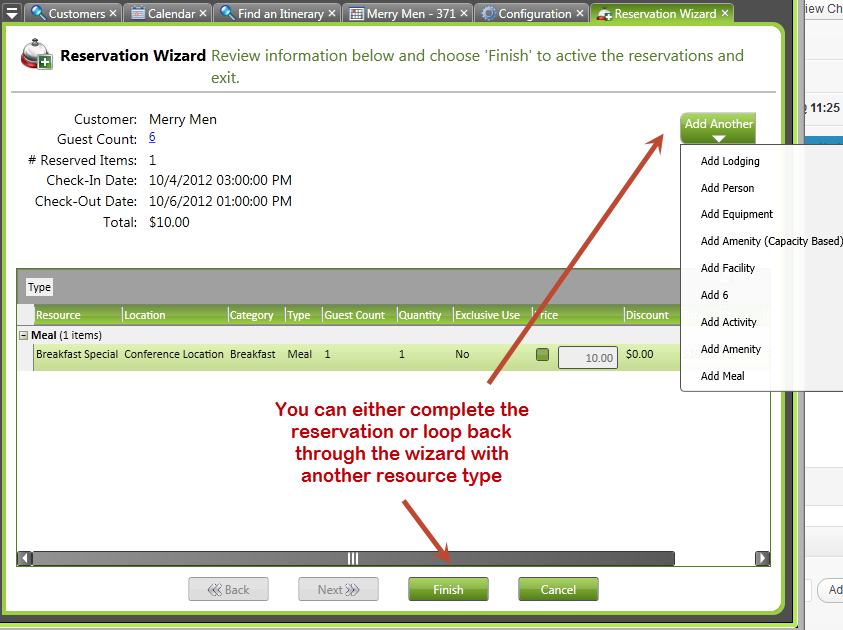
Review your existing selections to make sure they match the customer’s needs. If the customer requests more resources of a different type, click the Add Another actions button to begin the wizard again with that reservation type which will then be added to the existing one. Please note that if you press the Cancel button during that process, it cancels the entire reservation, not just the additional resource with which you’re working. If you have no more resources to add, click Finish to complete the process and create the resulting itinerary.

