Welcome to the activity scheduling screen! The screen will allow you, as camp attendee, to select and modify activities that are available for you to attend while you are at the event.
Step 1: Select an Activity
To get started, you should select the activities that interest you the most by selecting an Activity on the left side of the screen. The different activities will be grouped by an Activity Category, and additional information like the category description sits at the top of the list.
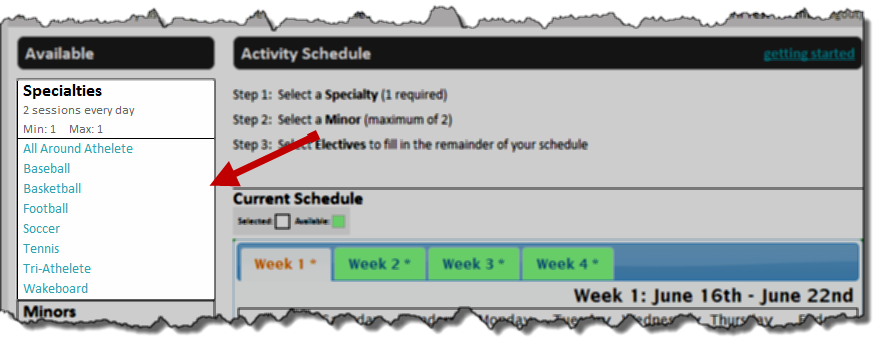
List of Activities grouped by Category
Step 2: Select a Class Time
Once an activity is selected, you will be presented with a list of dates/times that the class is available.
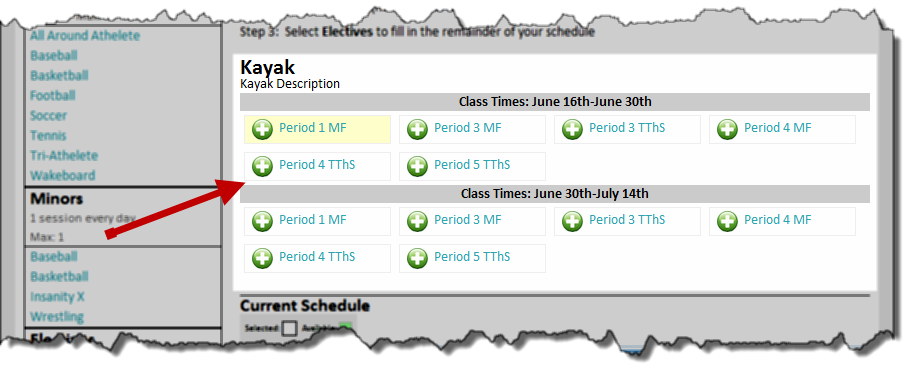
List of Class times
Depending on how classes are offered during your event, they may be broken down into different time periods. Hovering over a class time in the list will display its representation on the calendar. Clicking an open class that doesn’t conflict with any other selections you have made will reserve it for you.
There are several different statuses that a class time can have.
![]() Available: If the class is open and is available for selection, it will have an image to indicate that it is available. Hovering over that class will show you where it will be added to your schedule. Clicking on the class will reserve the activity for that class time.
Available: If the class is open and is available for selection, it will have an image to indicate that it is available. Hovering over that class will show you where it will be added to your schedule. Clicking on the class will reserve the activity for that class time.
![]() Conflicts : If a class cannot be selected, it is because of one or more conflicts that prevent you from selecting the class time. Clicking on the class will display a dialog with information about why the class cannot be selected. If the conflict is because of another class that overlaps, you will be able to select that class in the dialog and remove it. Once all the conflicts are resolved, the class will show as available.
Conflicts : If a class cannot be selected, it is because of one or more conflicts that prevent you from selecting the class time. Clicking on the class will display a dialog with information about why the class cannot be selected. If the conflict is because of another class that overlaps, you will be able to select that class in the dialog and remove it. Once all the conflicts are resolved, the class will show as available.
![]() Full : This class is not able to be selected due to reaching its capacity.
Full : This class is not able to be selected due to reaching its capacity.
![]() Selected : If the class has already been selected, this image will be displayed. Clicking on this class will remove the class from your schedule.
Selected : If the class has already been selected, this image will be displayed. Clicking on this class will remove the class from your schedule.
Step 3: Select a class for each time period
Another way of selecting classes is to initiate the action from the calendar itself.
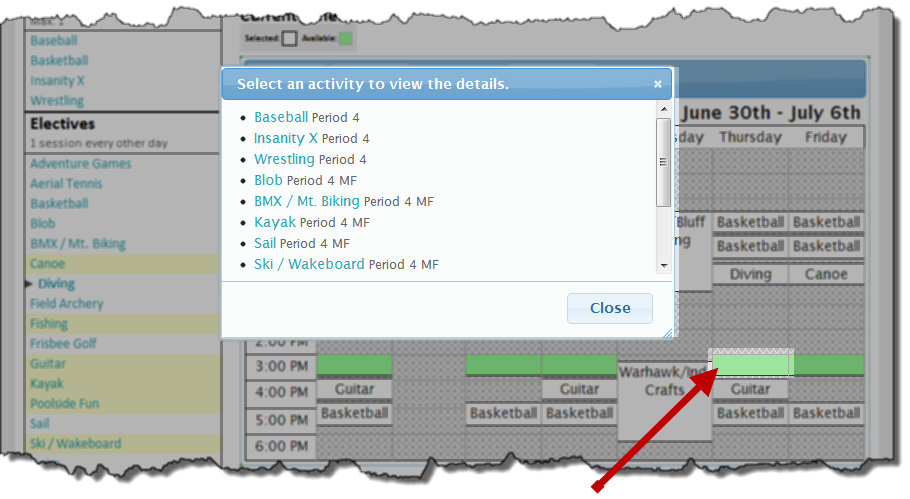
Clicking empty spots will display a dialog with an Activities for that time
This is useful when you have reserved all of the classes you know you want to take and are looking to fill in the remaining time periods. Clicking on an open time period in the calendar with display a dialog with all the classes that are available during that time. Clicking on an activity in this list will repopulate the class times at the top of the time.
Step 4: Finish
Continue selecting classes until all open class periods have been filled in. Once this is done, you can click finish to return to your registration’s detail page.
NOTE: You can click the Finish button at any time. However, if you have not filled all open spots on your calendar, a dialog will display letting you know that you have not finished your schedule.
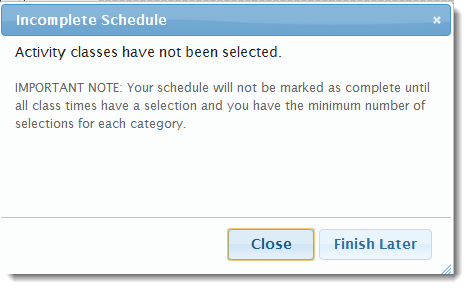
Incomplete Schedule Dialog