Here’s how to add attributes to a resource reservation, such as adding counselor names to a cabin assignment.
Create an Attribute Category
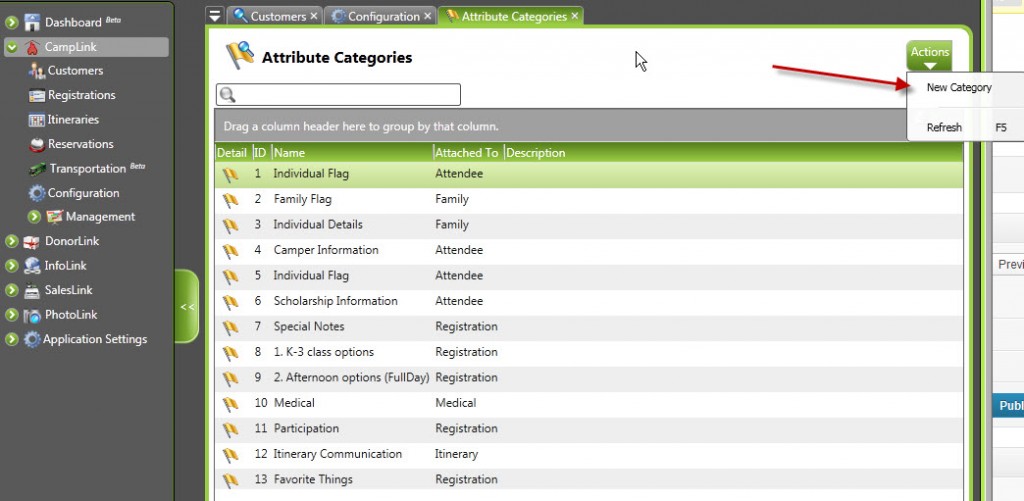
Just like registration attributes, resource reservation attributes (which will often just be housing attributes) work by creating an attribute category and associating it with the resource allocation option. Begin by creating a new attribute category:
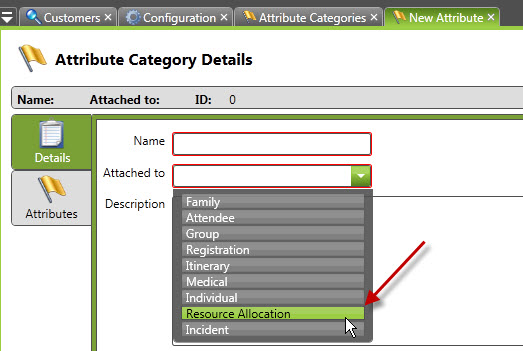
Navigation: CampLink > Configuration > Attribute CategoriesThe key is to attach this category to the Resource Allocation object. Please note that these are not attached to the resource reservation–that is, what the customer owns. They are on the allocation itself and as such is for your own use. Fill out the rest of the information for the category.
Create Attributes
Create the attributes that will be displayed in this category. Please note that these attributes will display for ALL types of resource allocation. For instance, if your category is called Housing Attributes, the category would still display on an Activity allocation. You may wish to use separate categories to group attributes for clarity’s sake. Also, please note that since this is for internal use only, the Visible on the Web option is not available to you.
Navigation: CampLink > Configuration > Flags & Attributes > [specific attribute]Set Values for Allocation Attribute
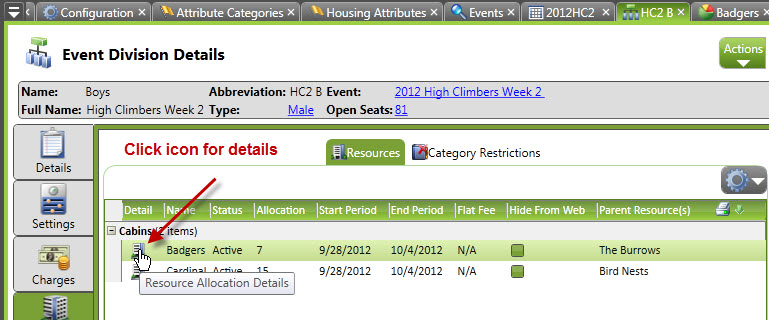
You’ll need to navigate to the resource allocation to set the attribute. This may vary depending on the type of allocation (housing, transportation, activity, etc.), but once you’re there, the attribute will be in the same place. In this example, we’ll show a housing allocation.
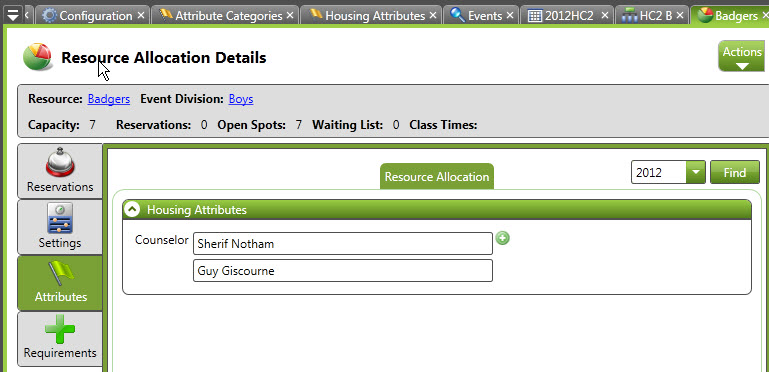
Navigation: CampLink > Configuration > Events > [specific event] > [specific event division] > Resources tabOnce you navigate to the spot, you can click on the Attributes tab and enter the values for the attribute that you need.


