Cost Centers allow you to organize accounting information by different segments of your organization.
Navigation
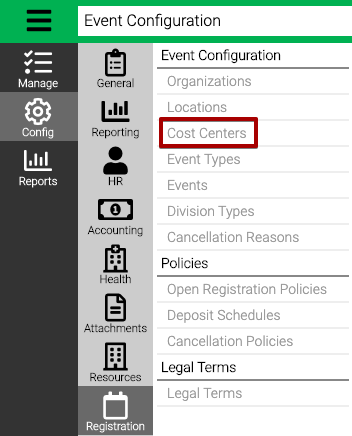
- Go to Config > Registration > Cost Centers.
Add
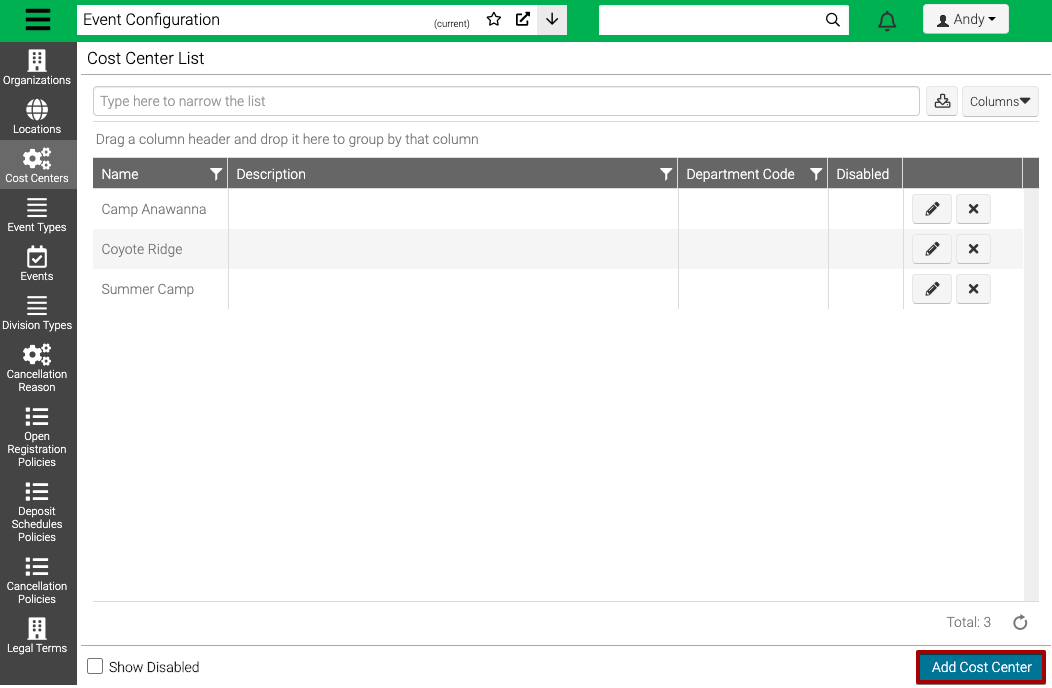
- In the lower right hand corner, select Add Cost Center.
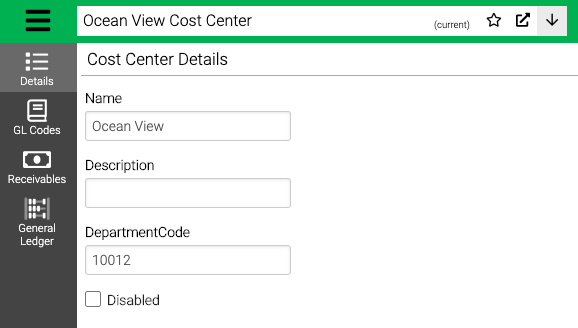
- Enter the following information.
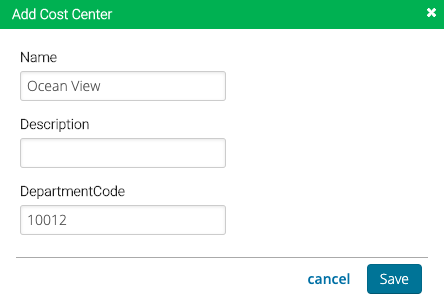
- Name – Add a name for the Cost Center.
- Description – Add an internal description.
- Department Code – Add the Department Code you use in your General Ledger if needed.
- Select Save.
Edit
- Select
 to edit a Cost Center.
 - Select Edit Details.
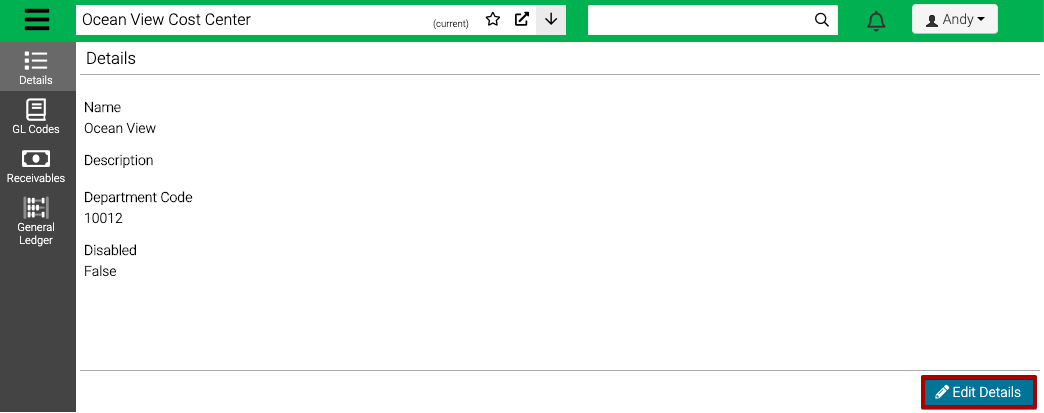
- Update the fields and then select Save.
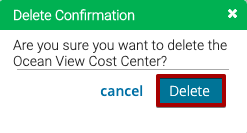
Delete
- From the search screen, select
 .
. - If the Cost Center hasn’t been used, select Delete.
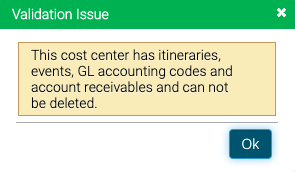
- If the Cost Center has been used previously, you will receive the following notification. If you are wanting to not use it any more, edit the Cost Center and select Disable.
GL Codes
You can associate GL Codes with AR Categories per Cost Center.
- Go to GL Codes.
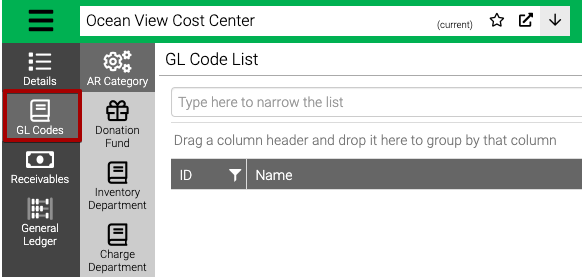
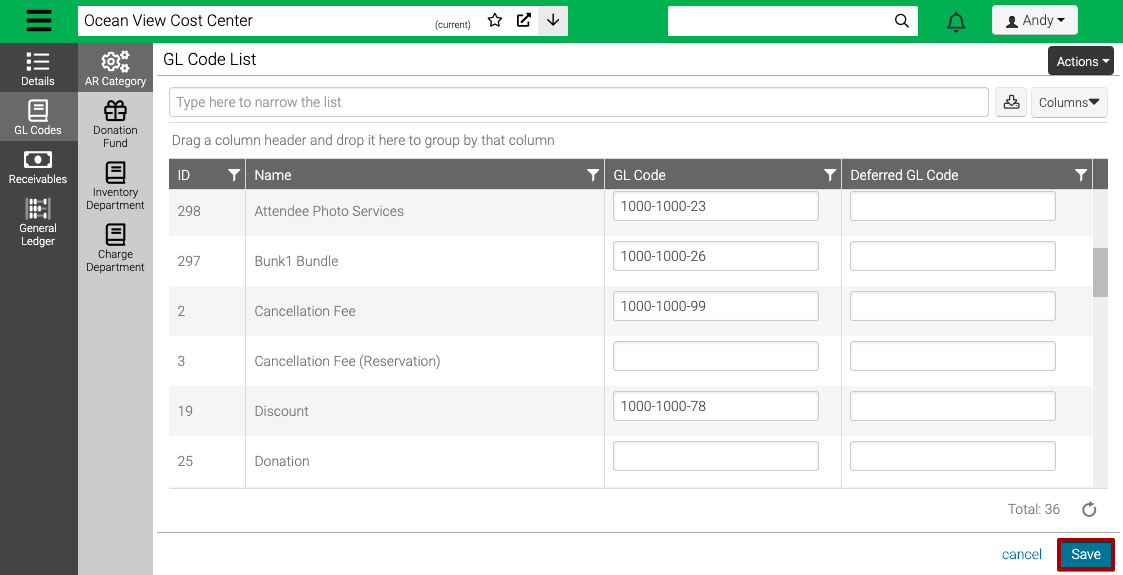
- Select one of the options (AR Category, Donation Fund, Inventory Department, or Charge Department) then in the lower right hand corner, select Edit Codes.
- Enter the GL Codes or Deferred GL Codes and then select Save.
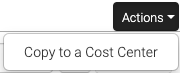
Copy GL Codes
- Select Actions > Copy to a Cost Center.
- Fill out the information.
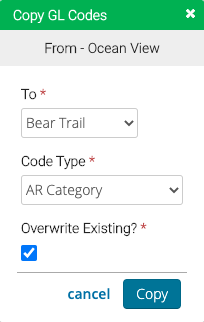
- To – Select the Cost Center to copy to.
- Code Type – Select the type of codes to copy.
- Overwrite Existing – Check box to overwrite existing GL Codes.
- Select Copy.
Receivables
Receivables allows you to view accounting activity for this Cost Center.
- Go to Receivables.
- Update the Criteria and then select Find.
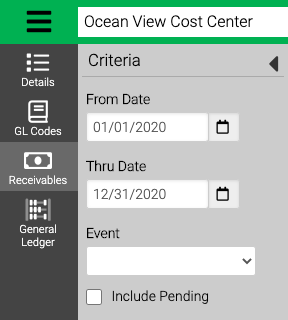
- From / Thru Date – Set a date range to look for the Entry date of the Receivable.
- Event – Select an Event.
- Include Pending – Check box to include Pending Receivables.
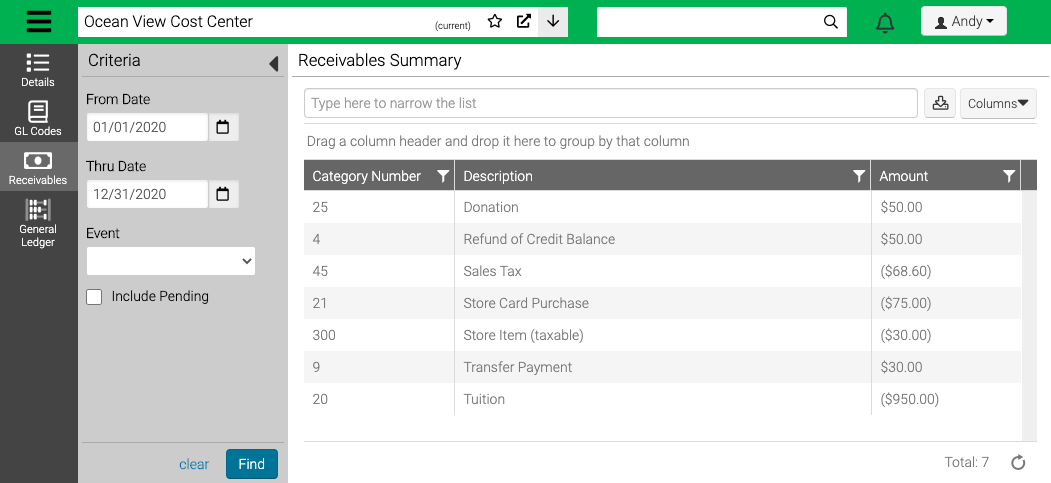
- View the results.
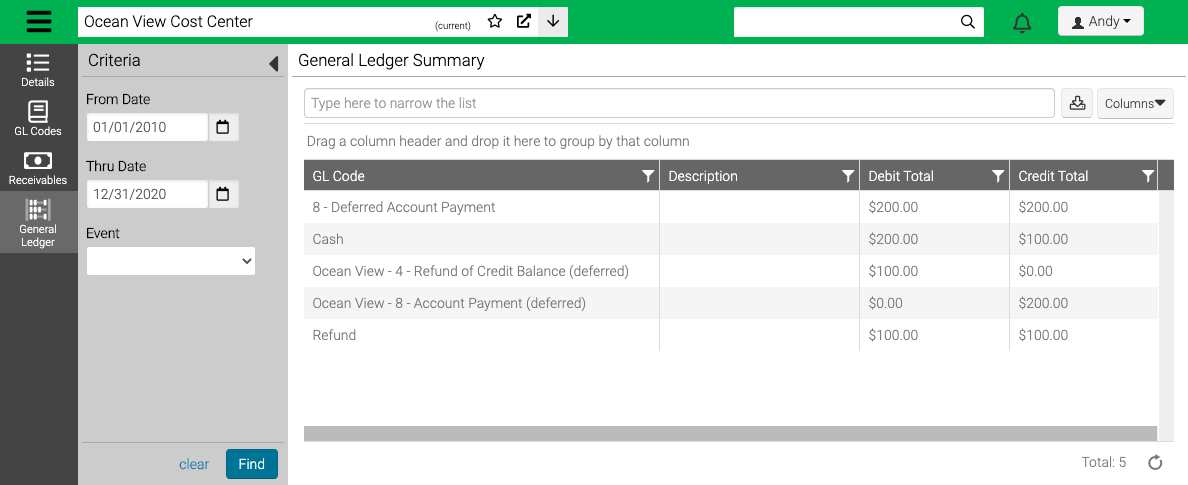
General Ledger
General Ledger allows you to view your GL entries.
- Go to General Ledger.
- Update the Criteria and then select Find.
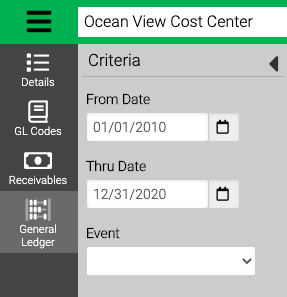
- From / Thru Date – Set a date range to look for the Entry date of the Receivable.
- Event – Select an Event.
- View the results.