Contents
Google Tag Manager [GTM] can be configured to track activity using Google Analytics, Facebook Pixel or a third-party tracking software. CT6 Registration Site was created with Google Tag Manager integrated into the site. As opposed to adding tags or code to each page, you can link Google Tag Manager and CT6 Registration Site with your GTM Container ID.
A common use case for Google Tag Manager is to add Google Analytics to be able to track how your customers are interacting with CT6 Registration Site. Here are the steps to configure:
- Step 1 – Configure Google Analytics
- Step 2 – Configure Google Tag Manager
- Step 3 – Add Google Analytics to Google Tag Manager
- Step 4 – Link Google Tag Manager to CircuiTree
Switching from Universal Analytics to Google Analytics 4
If you are currently using Universal Analytics, you will need to switch to using Google Analytics 4. The following article from Google walks through the process:
- Update your Universal Analytics to use Google Analytics 4 (GA4) using this article – https://support.google.com/analytics/answer/10759417
- Update Google Tag Manger to work with GA4 – https://support.google.com/tagmanager/answer/9442095?hl=en
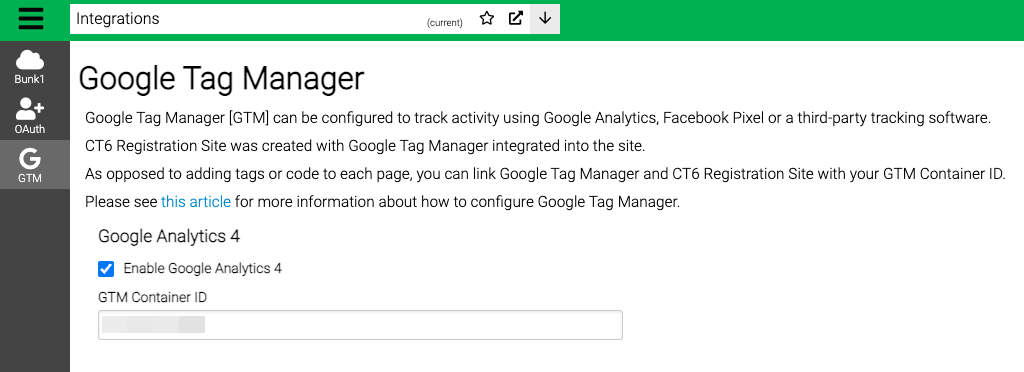
- Once that is done, in CT6 go to Config > Integrations > Google Tag Manager and then select Use Google Analytics 4.
Configure Google Analytics
- To sign up for a Google Analytics account, start by going to Google Marketing Platform – Analytics and selecting Get started today.
- Sign in to your Google Account.
- Select Start measuring.
- Enter an Account Name.
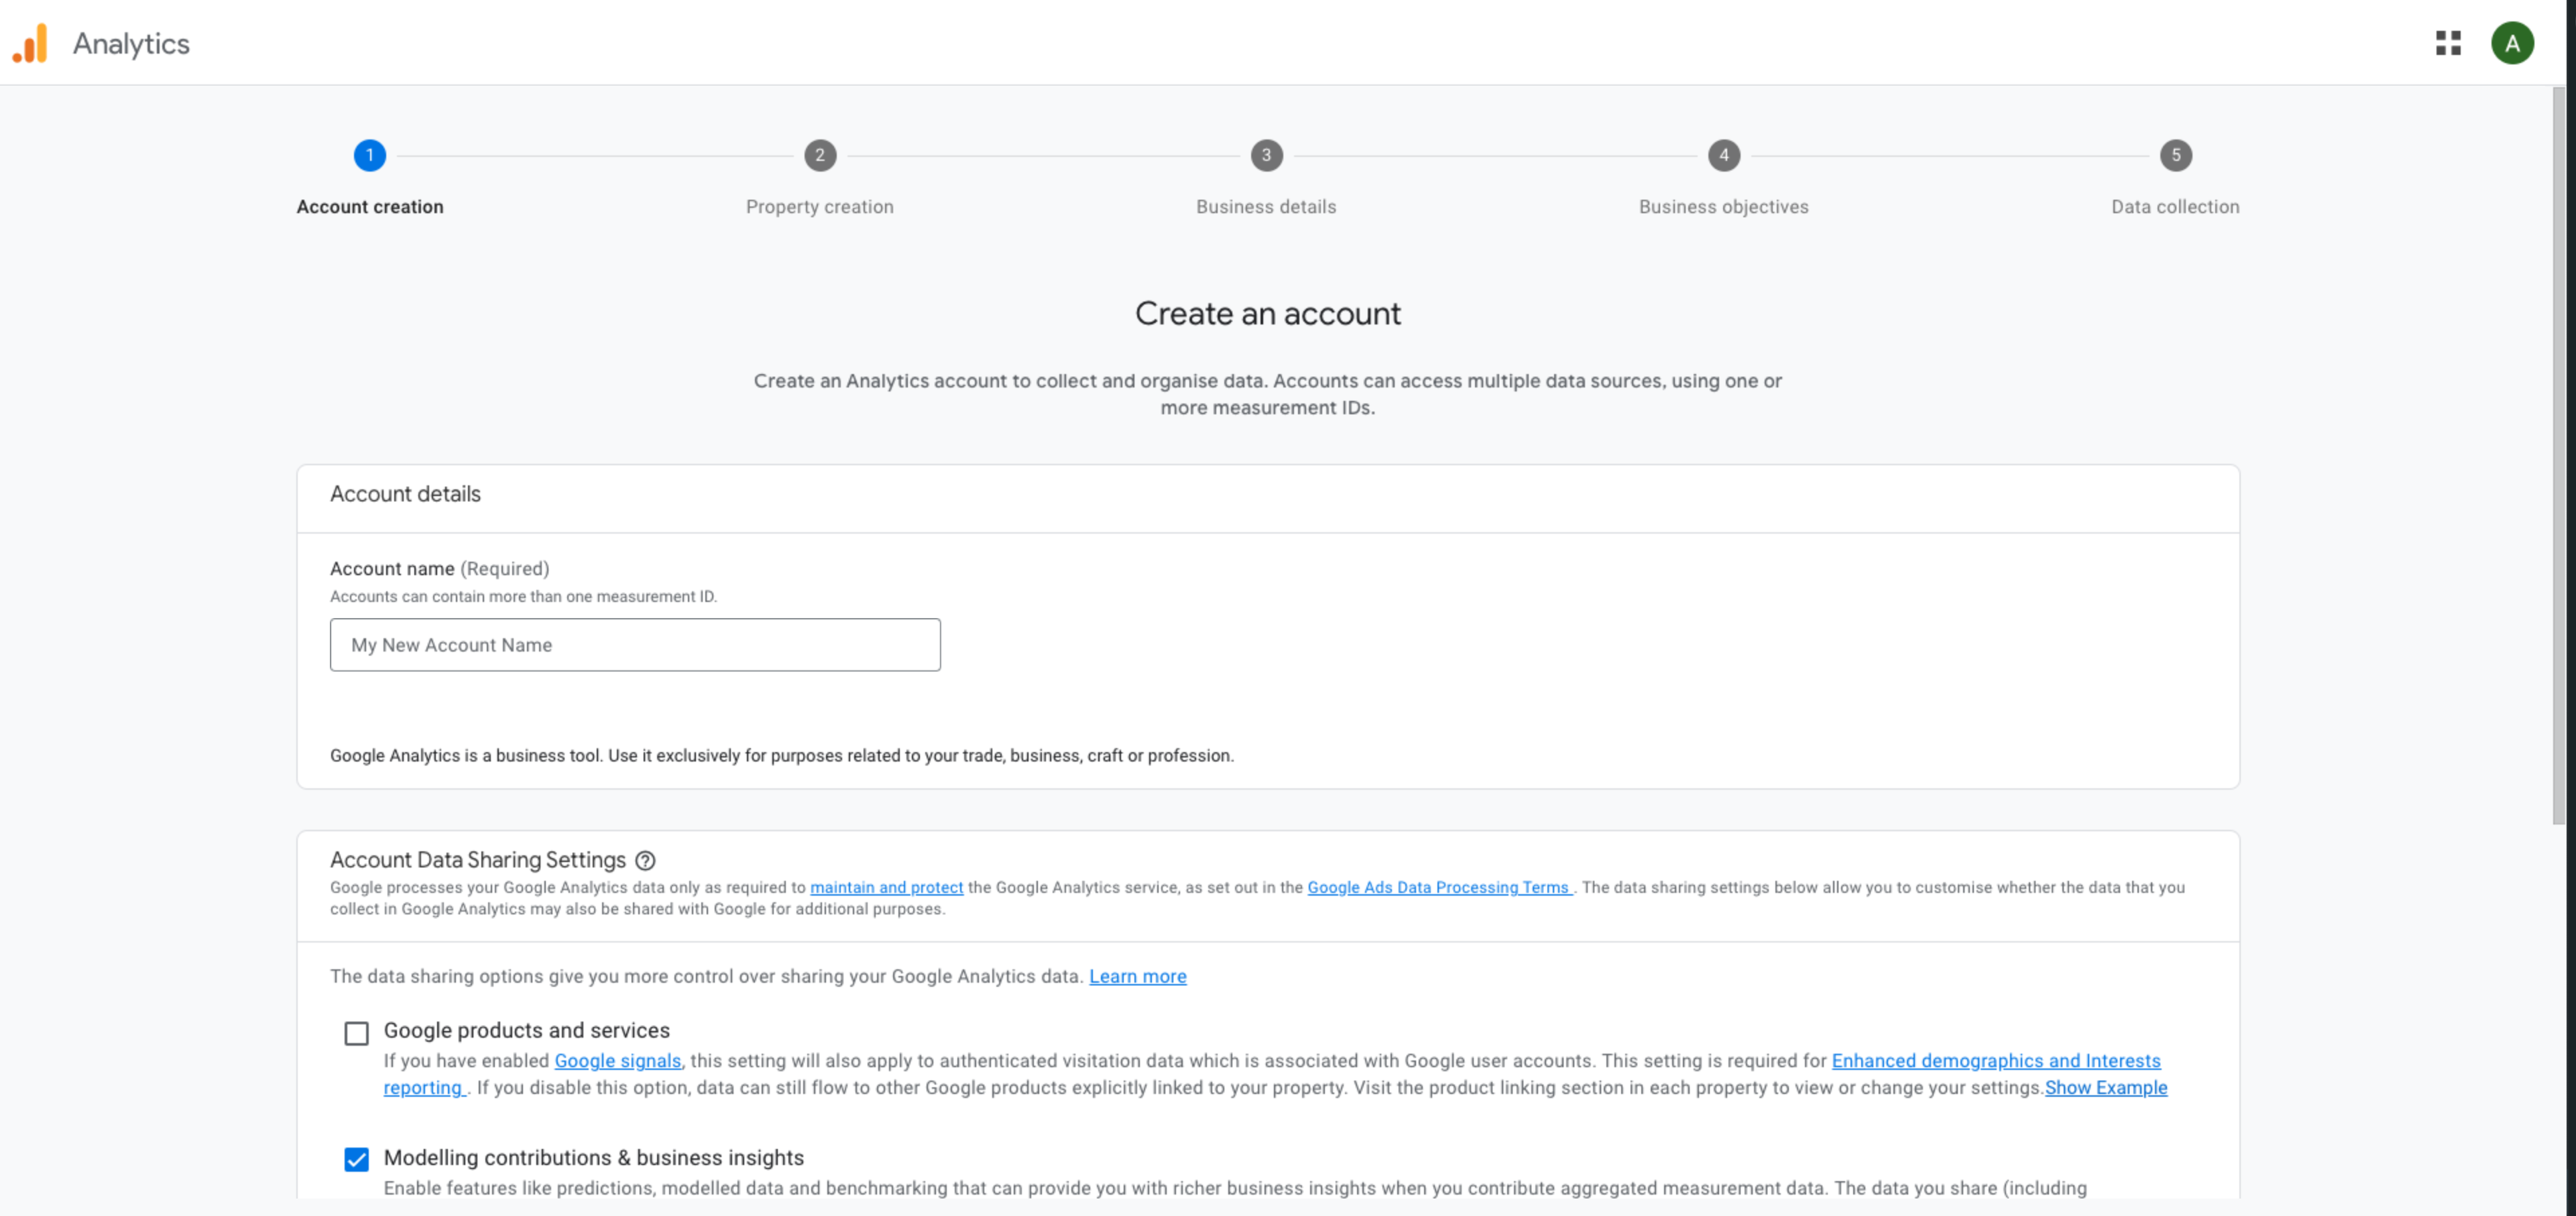
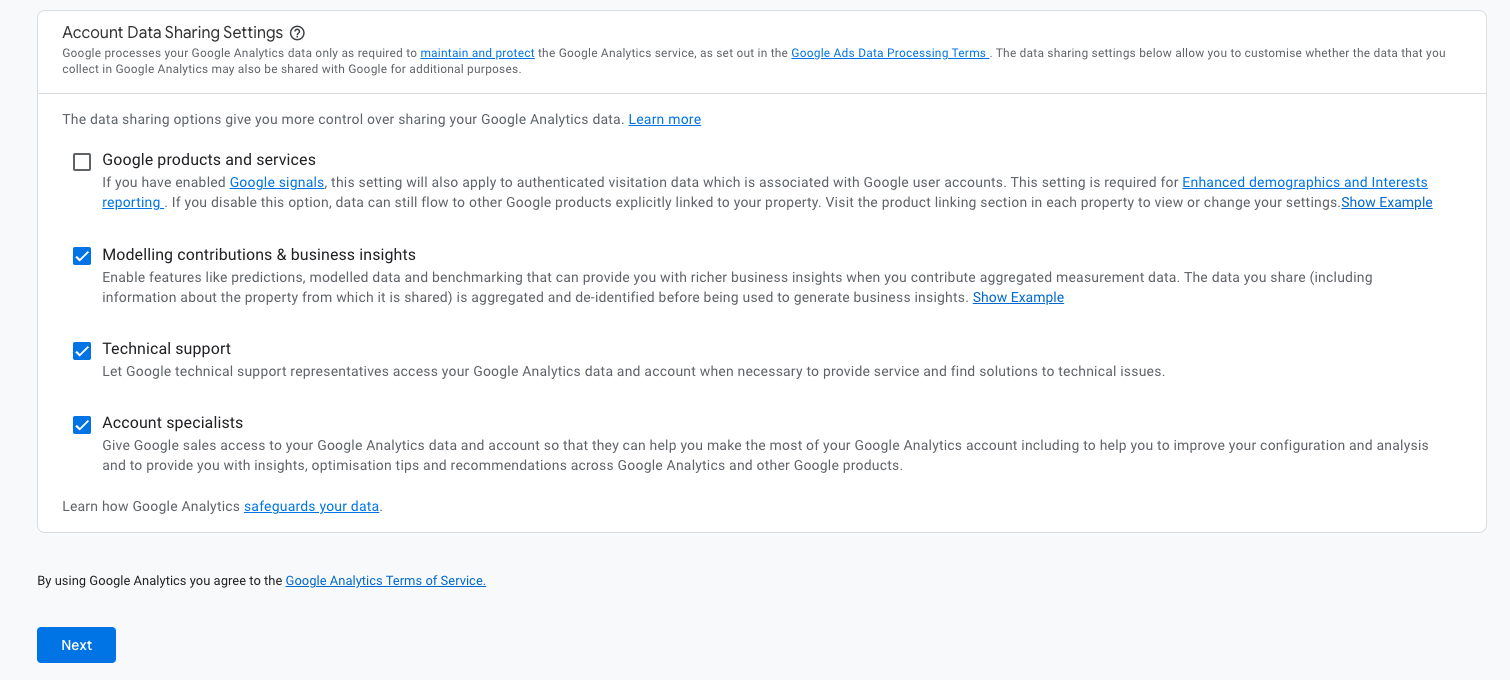
- Select or unselect options as needed and then select Next.
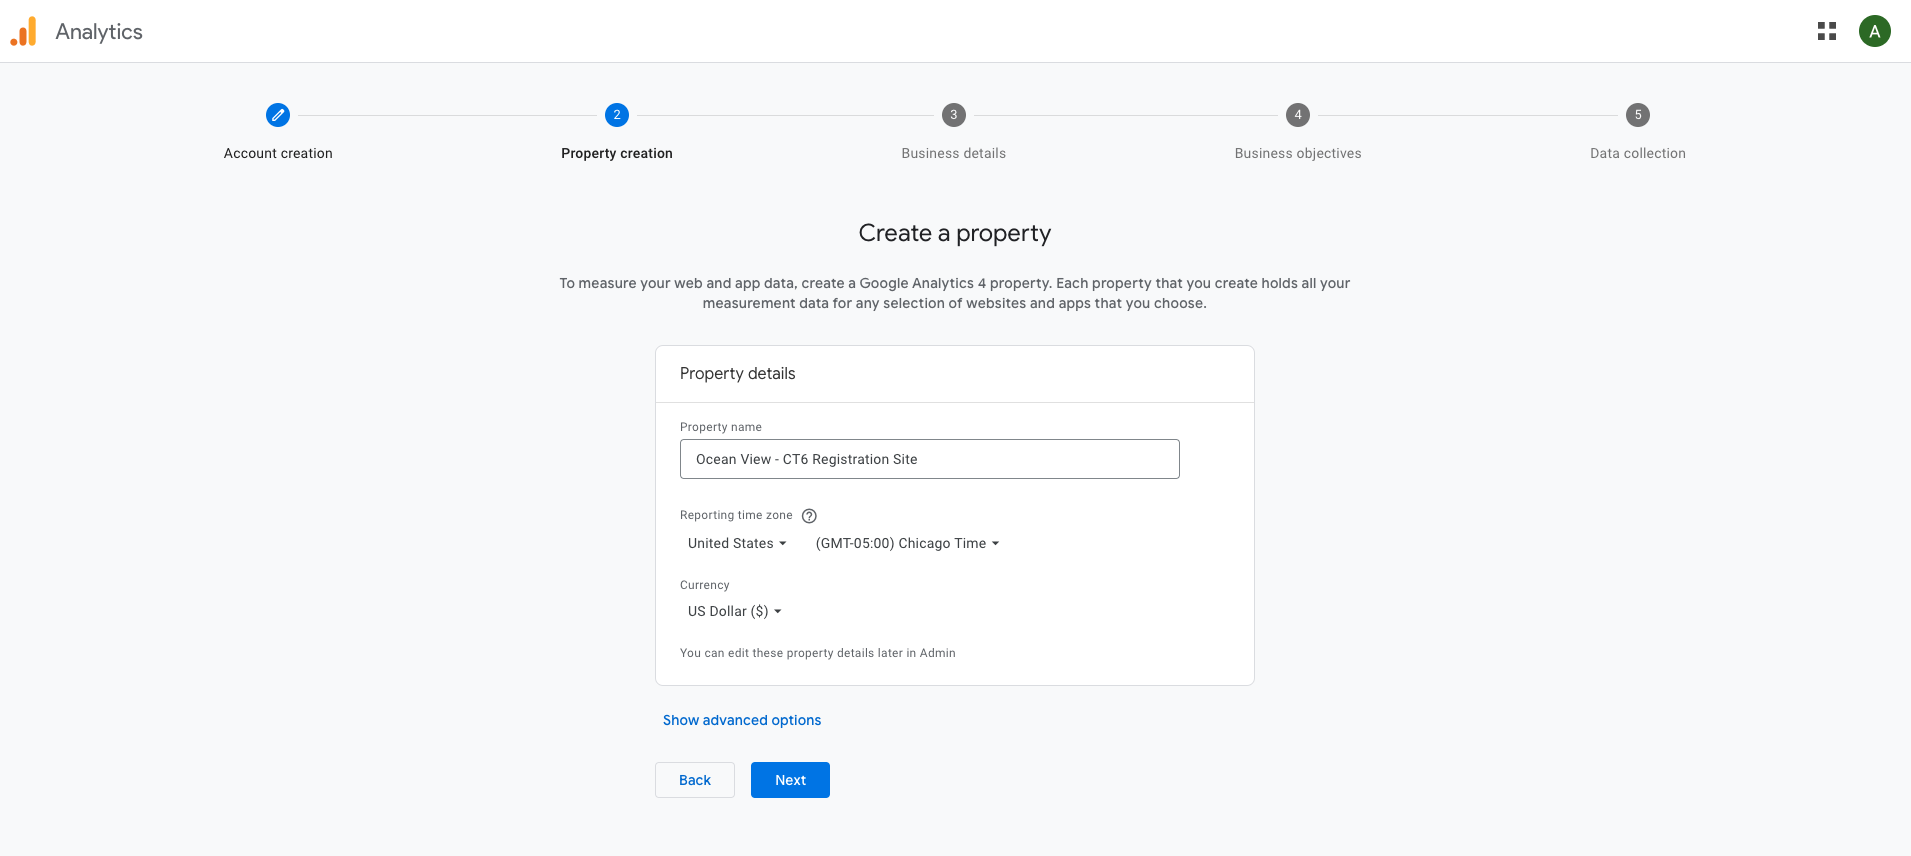
- Enter the Property Details and then select Next.
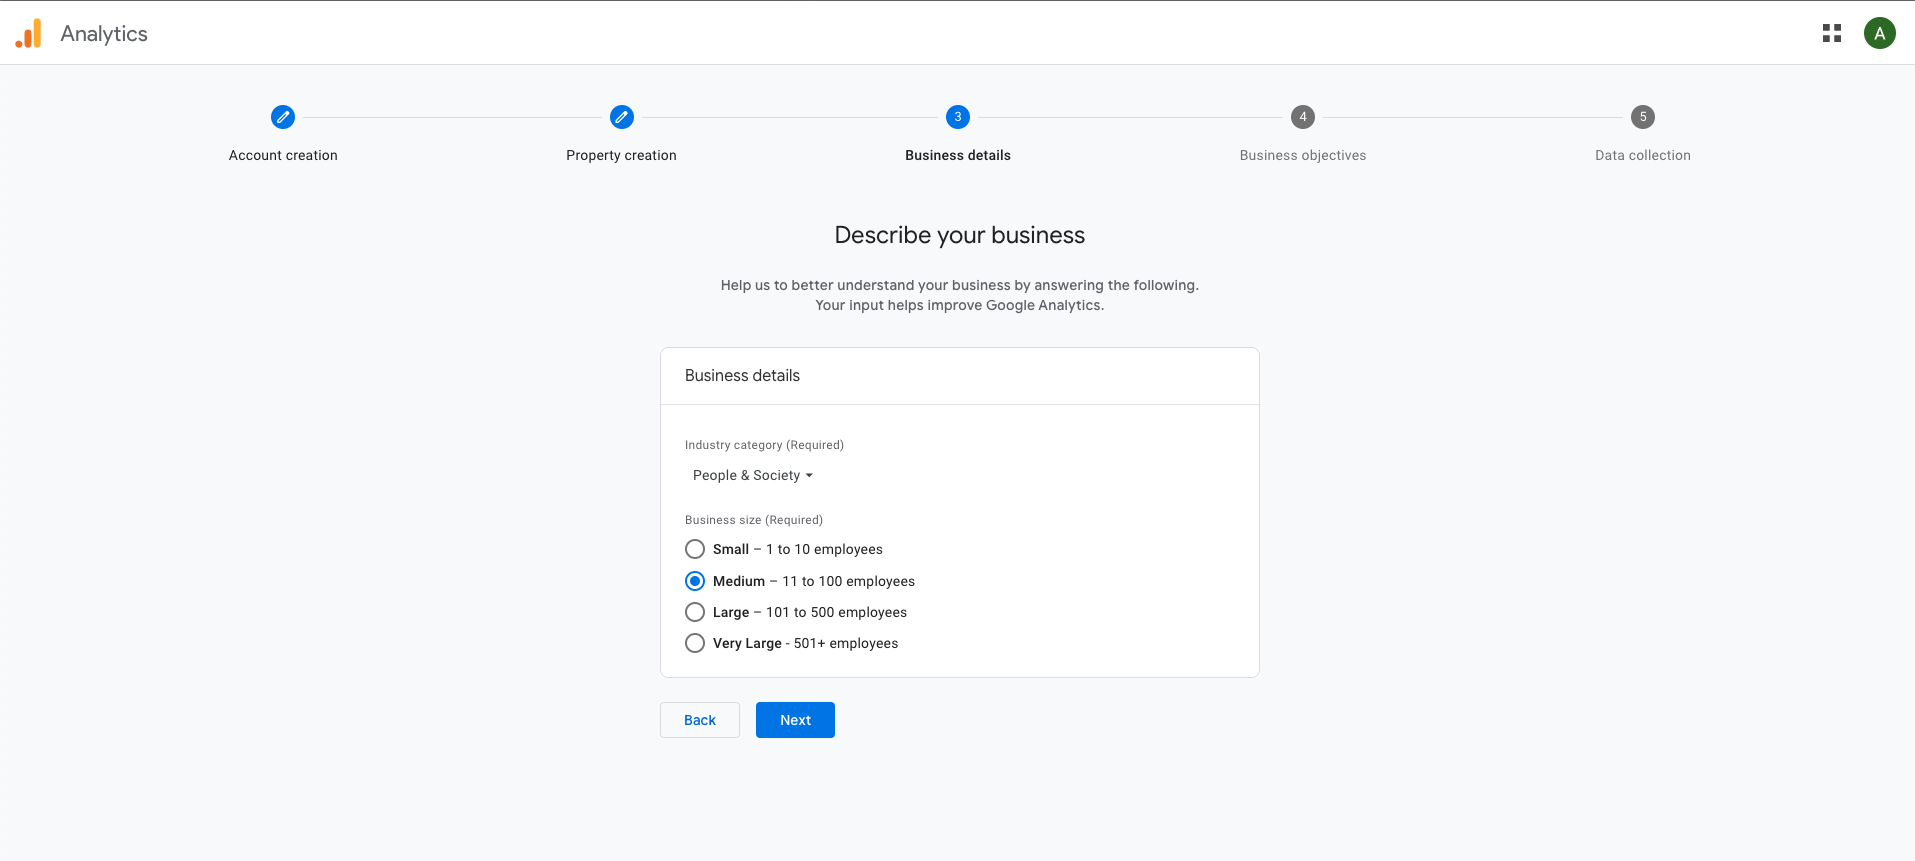
- Enter the Business Details and then select Next.
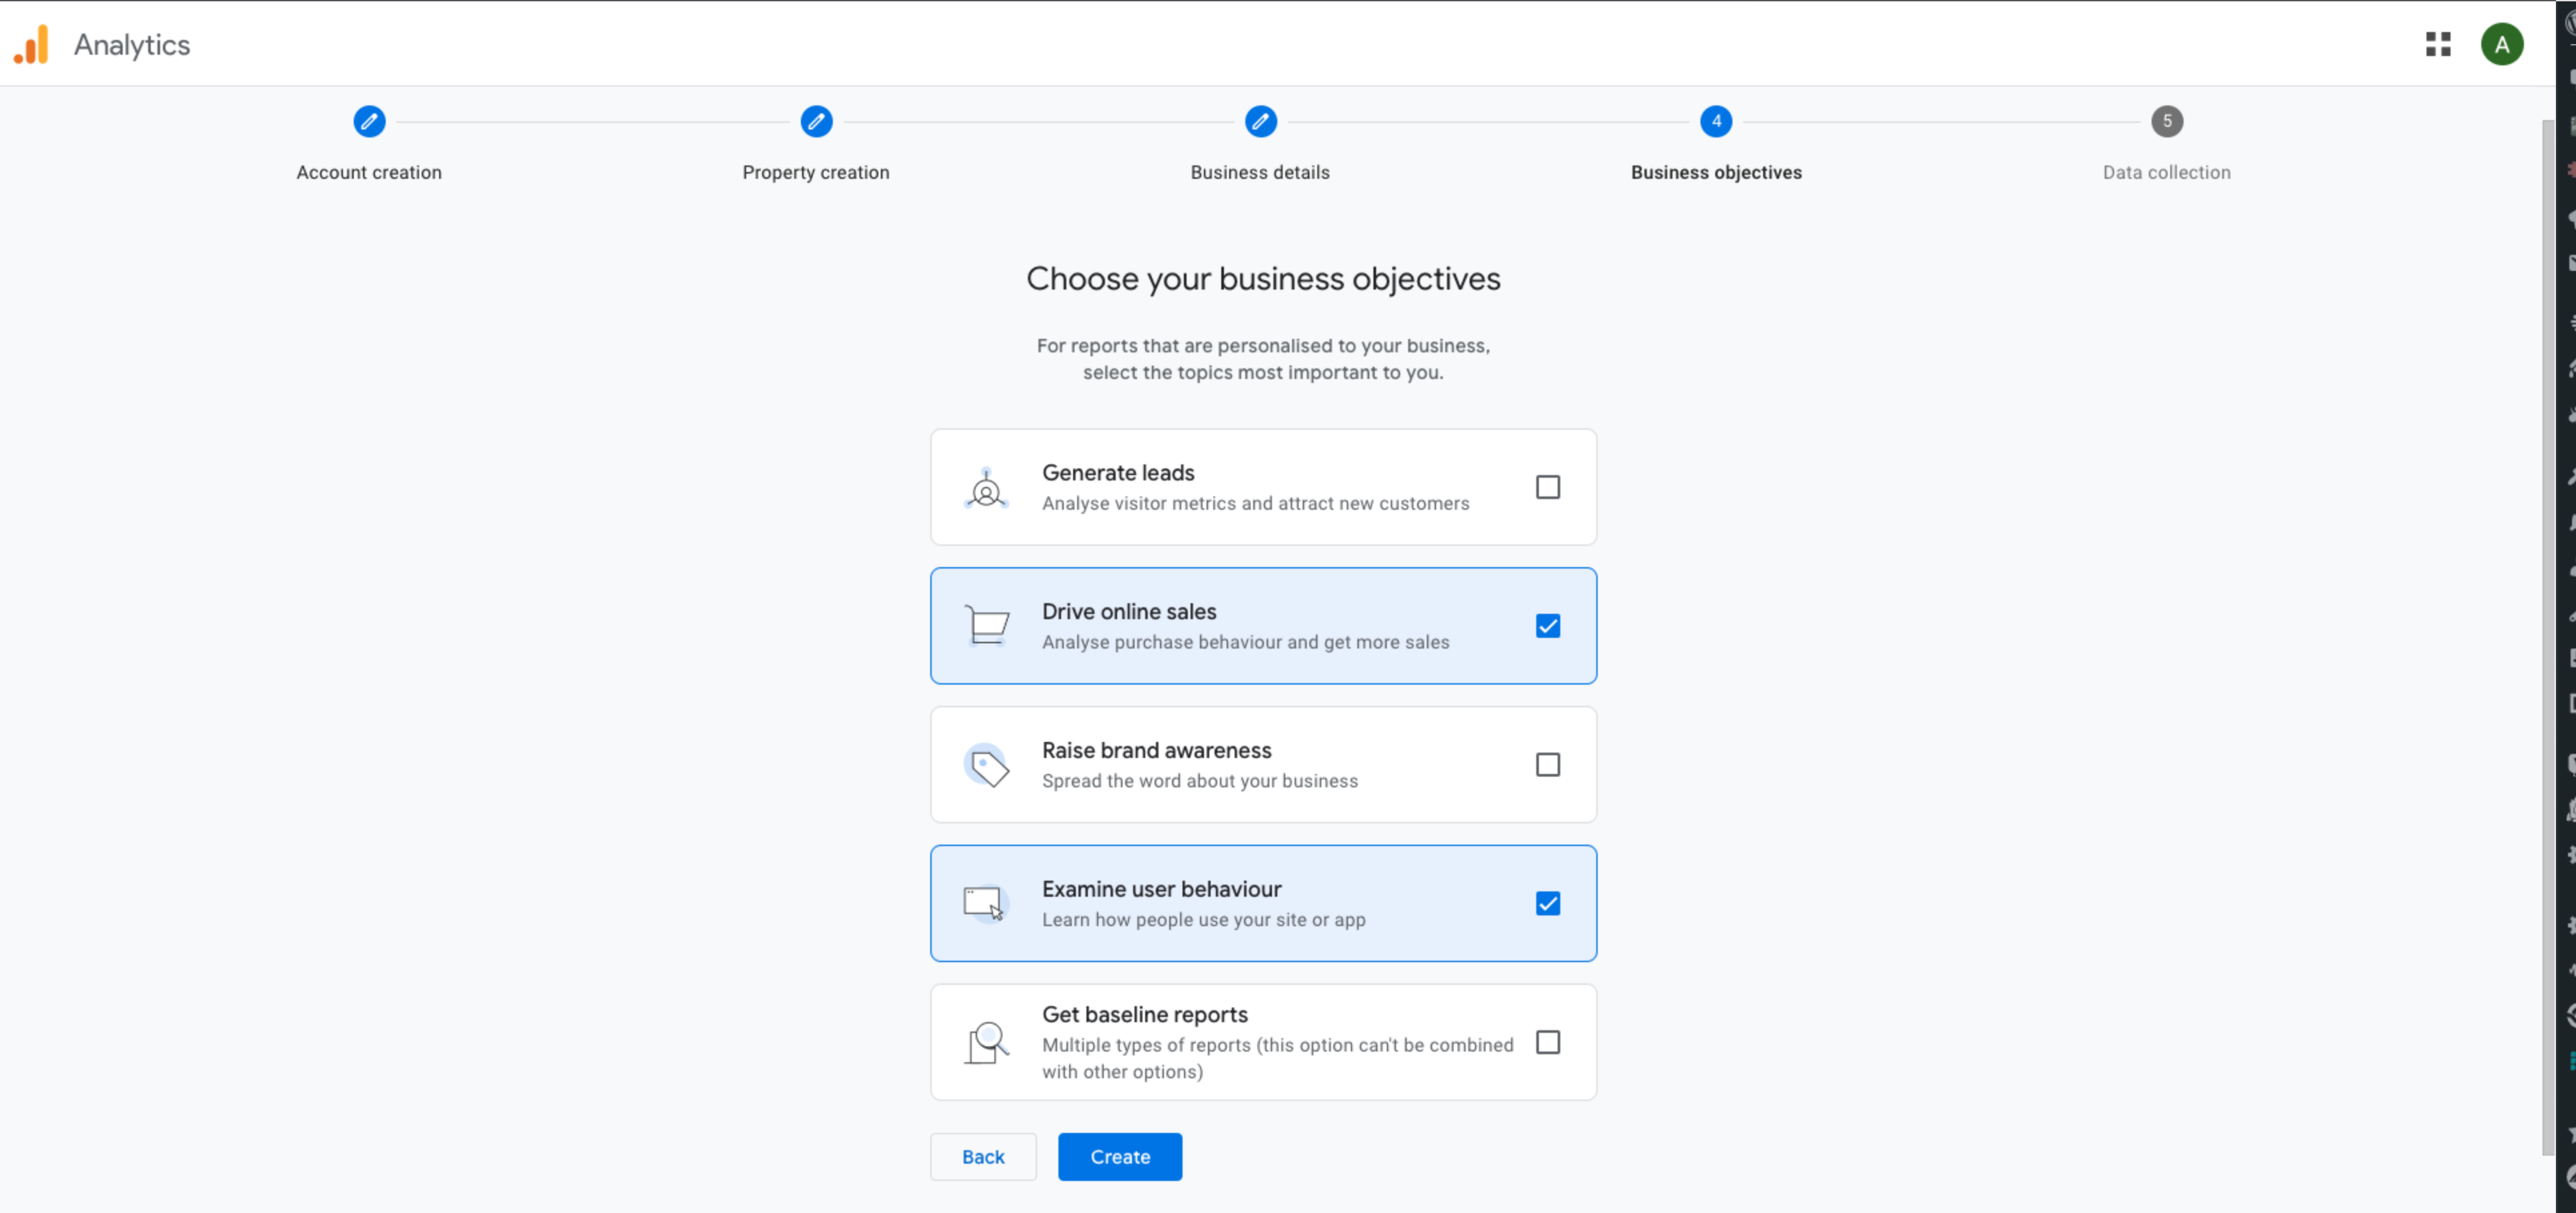
- Choose your business objectives and select Create.
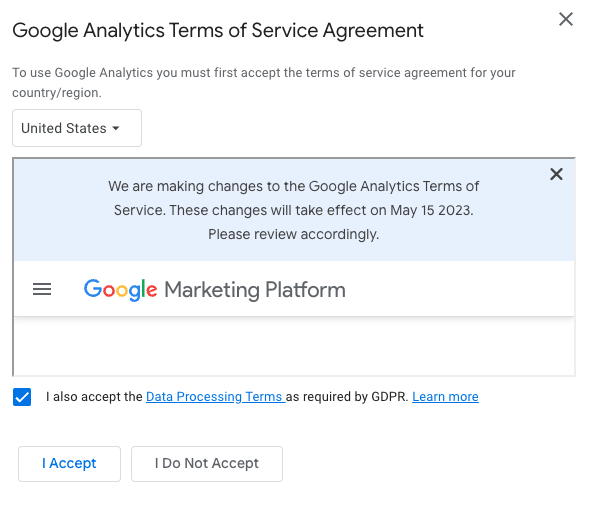
- Accept the Terms of Service agreement.
- Select Web.
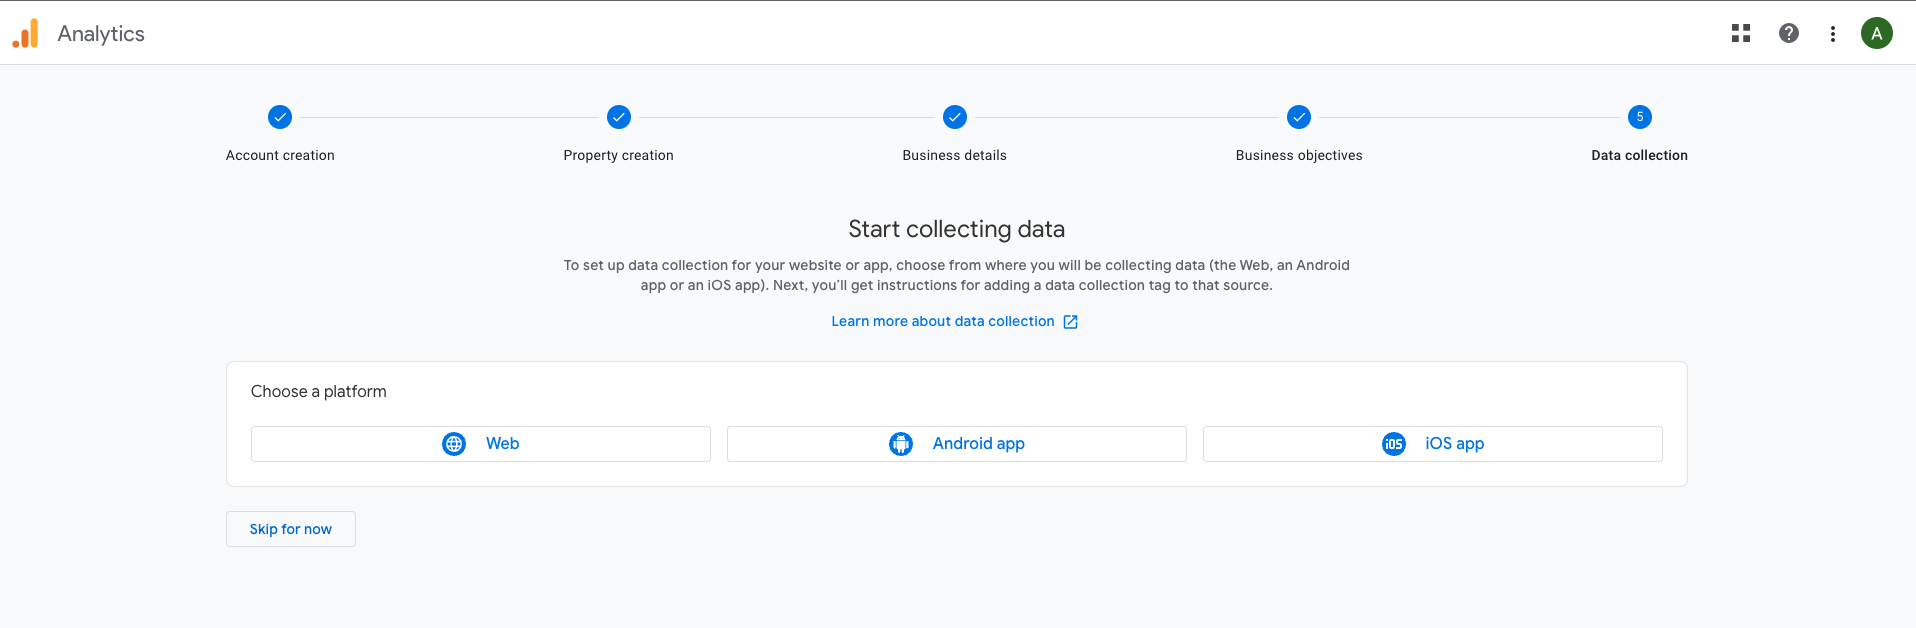
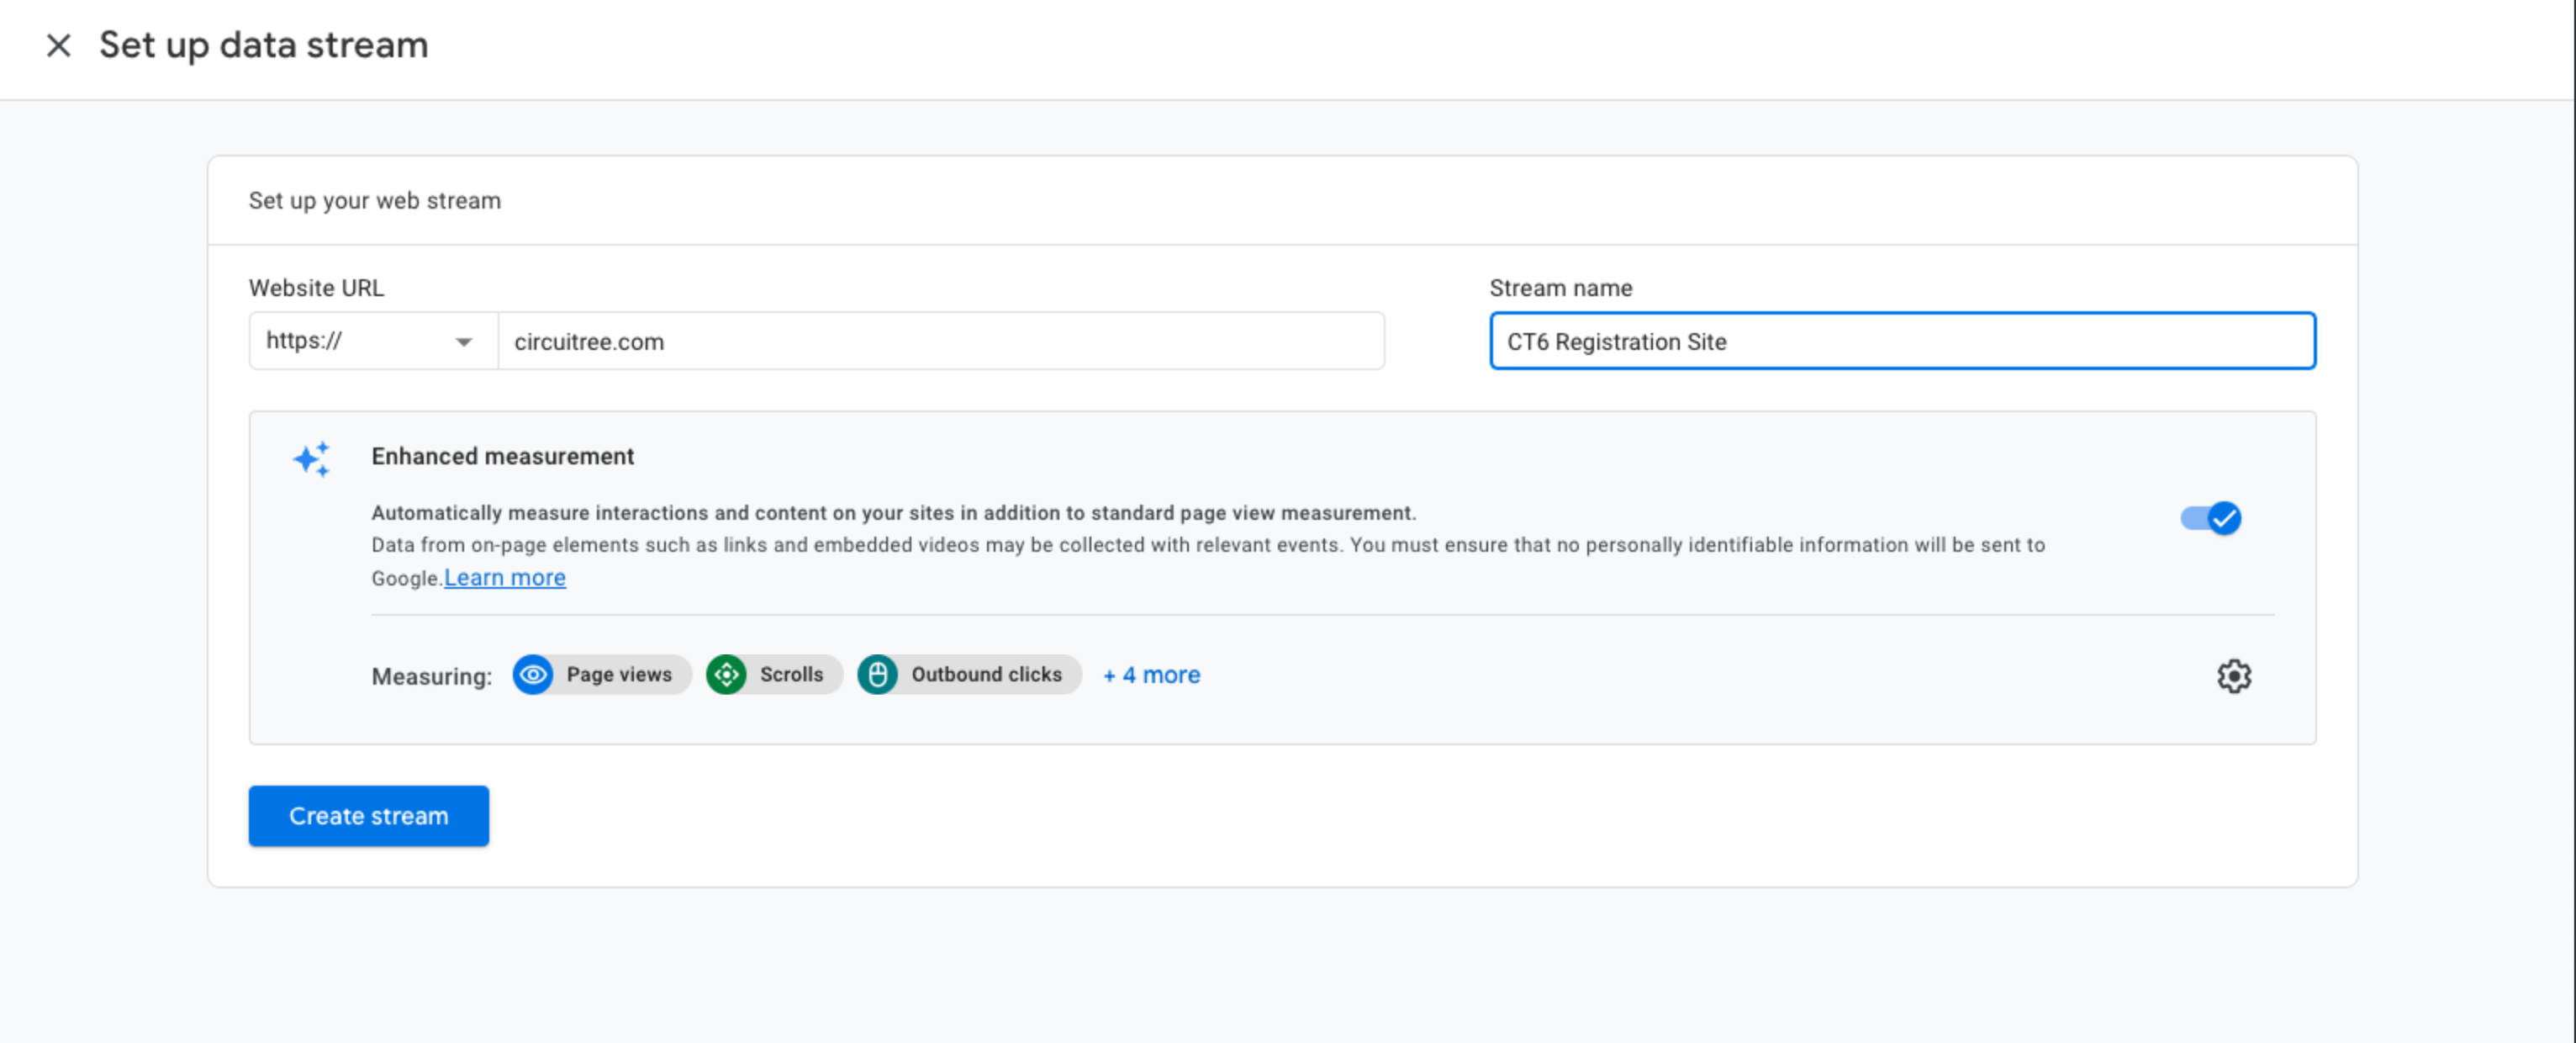
- Set up data stream with information for your site and select Create stream.
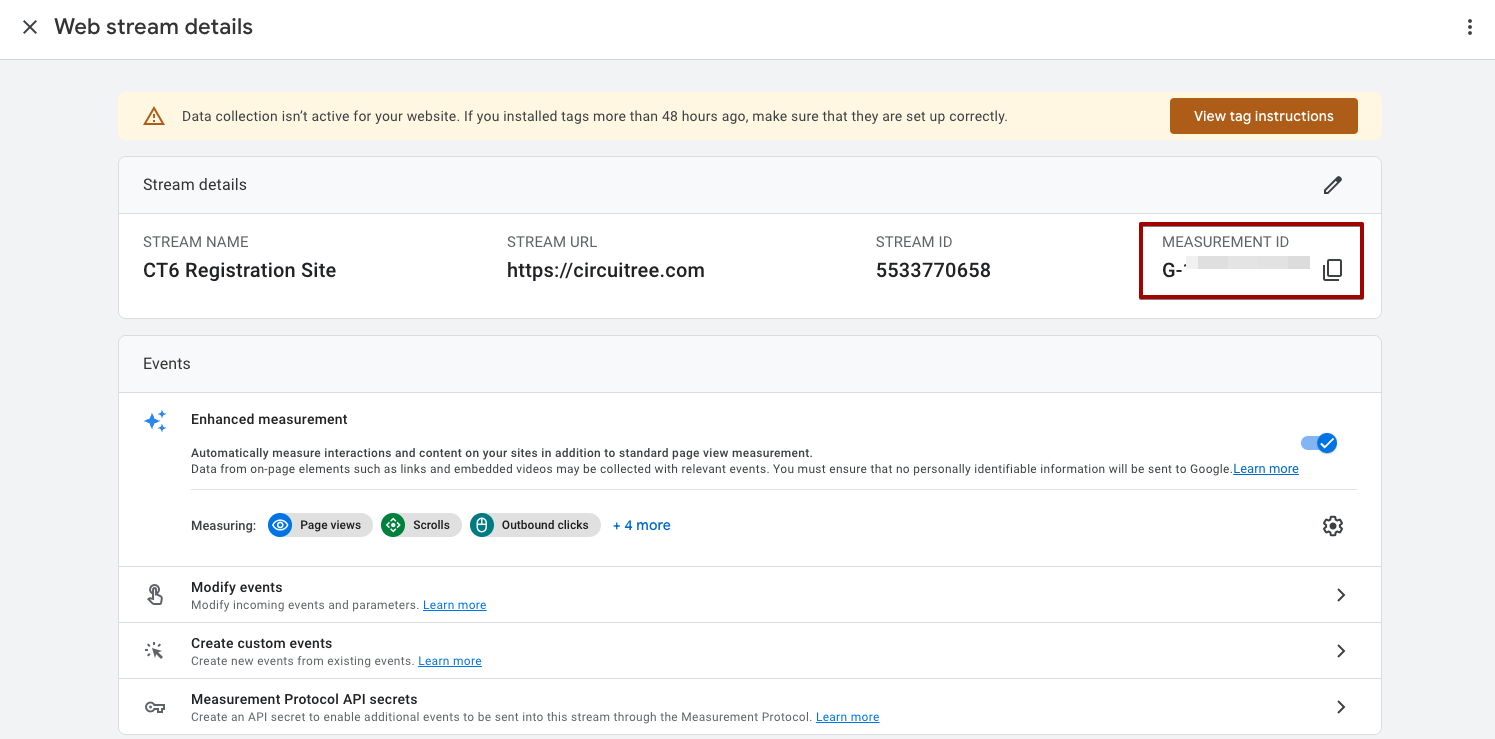
- On your Dashboard, copy or write down your Measurement ID. The Measurement ID will be entered in Google Tag Manager next.
Configure GTM Account
The next step is to create a Google Tag Manager account and configure it.
- To create a Tag Manager account, start by going to Google Marketing Platform – Tag Manager and selecting Start for free.
- Sign to your Google Account.
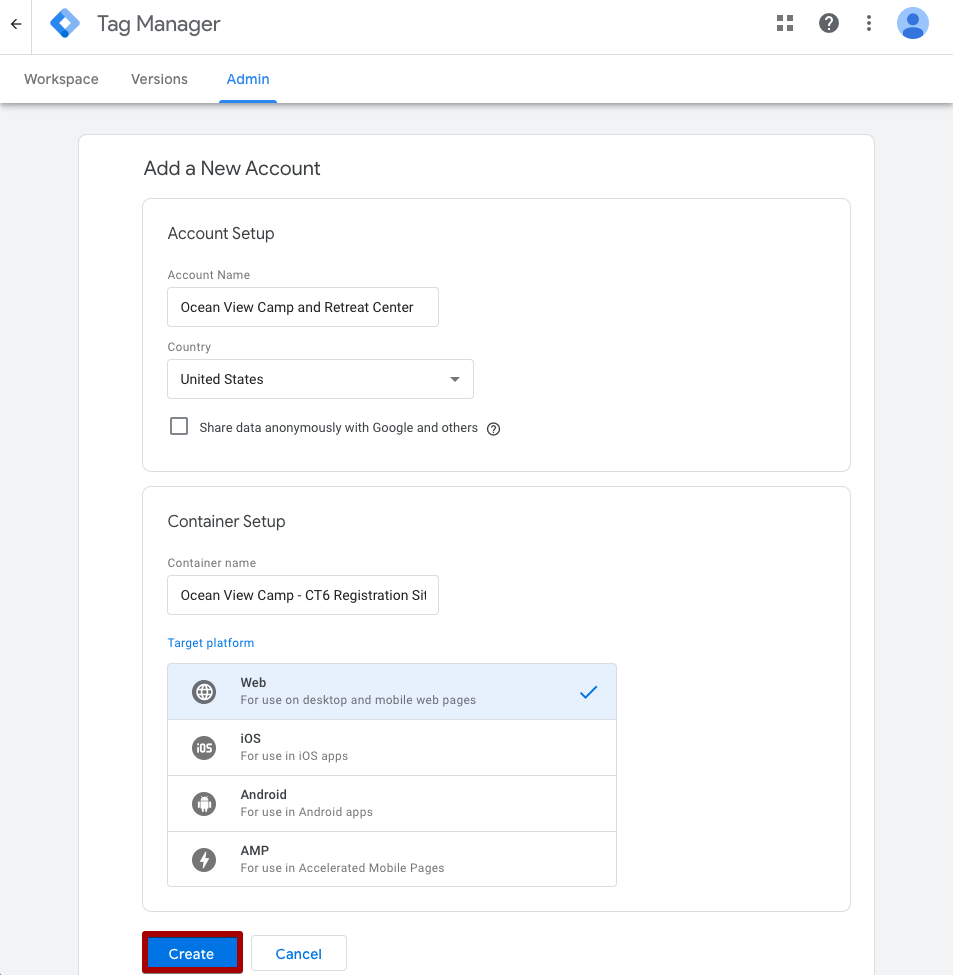
- Enter your information to create your account. For Target platform, select Web and then select Create.
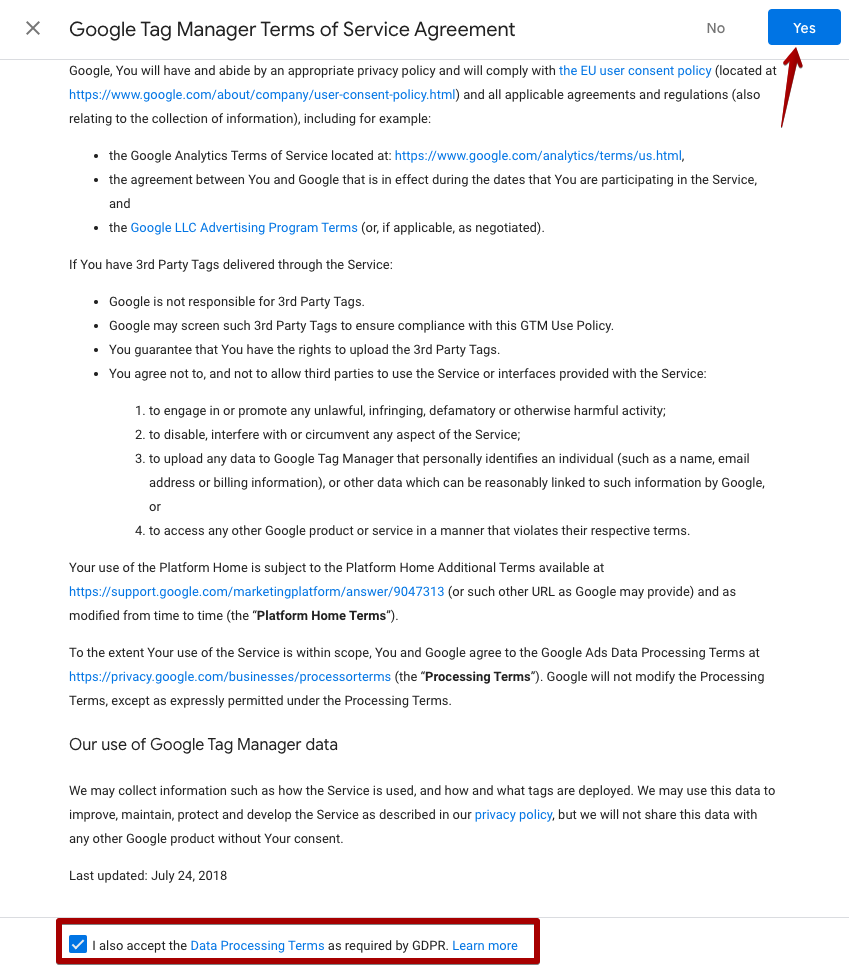
- Check to accept the Terms of Service and then select Yes.
- On the Install Google Tag Manager screen, select OK. The code is built into CT6 Registration Site, so you will be integrating via your GTM code.

Import Container
To ease the process of getting setup, we have created a pre-configured container with default information to help get you started.
- Download container file – GTM-CT6_Reg_Site_Basic.json
- Go to Admin and select Import Container.
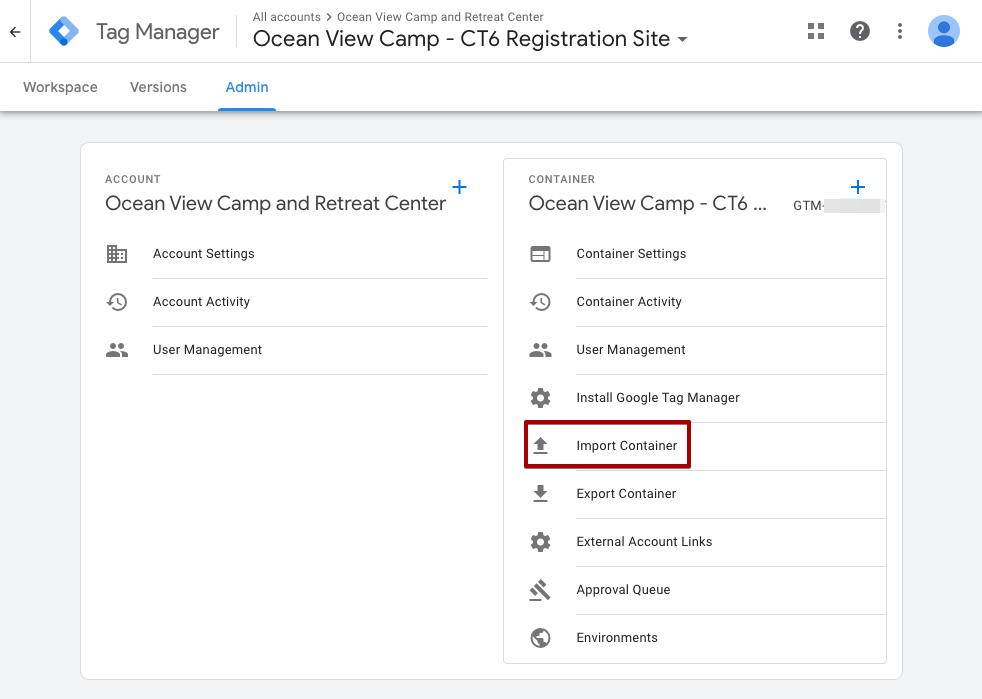
- Select the container file, choose Existing and then select Default Workspace. Next, select Overwrite and select Confirm.

Tracked Activity
The CT6 Reg Site Basic container will track the following items:
- Page URL
- Page Title
- User Browser
- User Device
- Logged in/out
- Entity ID
- Page Type
- Click Event tracking
- Element click events
- Expander (Event Divisions) – expand and collapse events
- Selector (Entity Selection) – select and unselect events
- Page Type .NET Attribute
- Controller or Action based attribute for easy implementation of page types
- E-Commerce Conversion on Registration Completion
- TransactionID – Payment Transaction ID
- TransactionTotal – Payment Total
- TransactionTax – Total Tax and Fees
- Transaction Products – Registrations
- Name – Event Division Name
- Quantity – Quantity
- Price – Event Division Price
- Category – Event Division Type
- SKU – Event Division ID
Add Google Analytics
The next step is to add Google Analytics to Google Tag Manager: https://support.google.com/analytics/answer/9539598?hl=en
- On your Google Tag Manager Dashboard, select Variables.
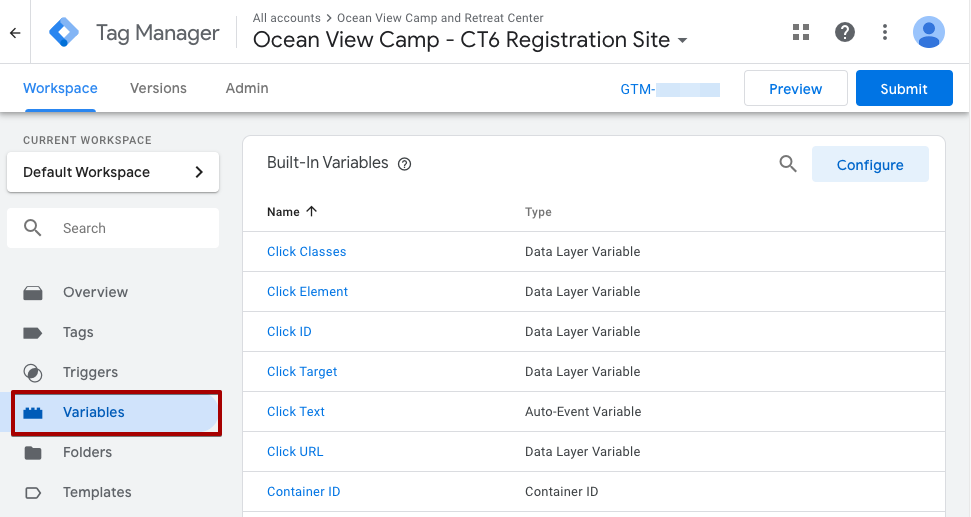
- Scroll down to User-Defined Variables and select Google Analytics – Measurement ID.

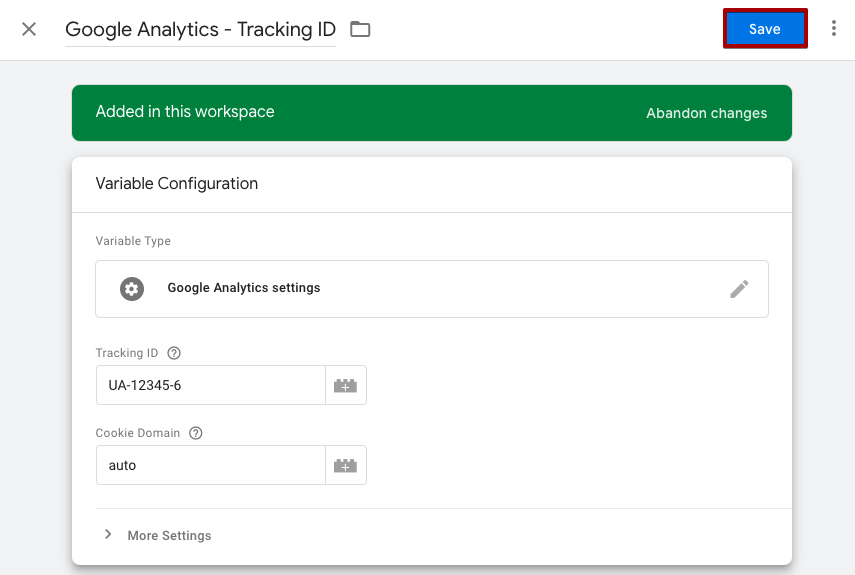
- Select Measurement ID.
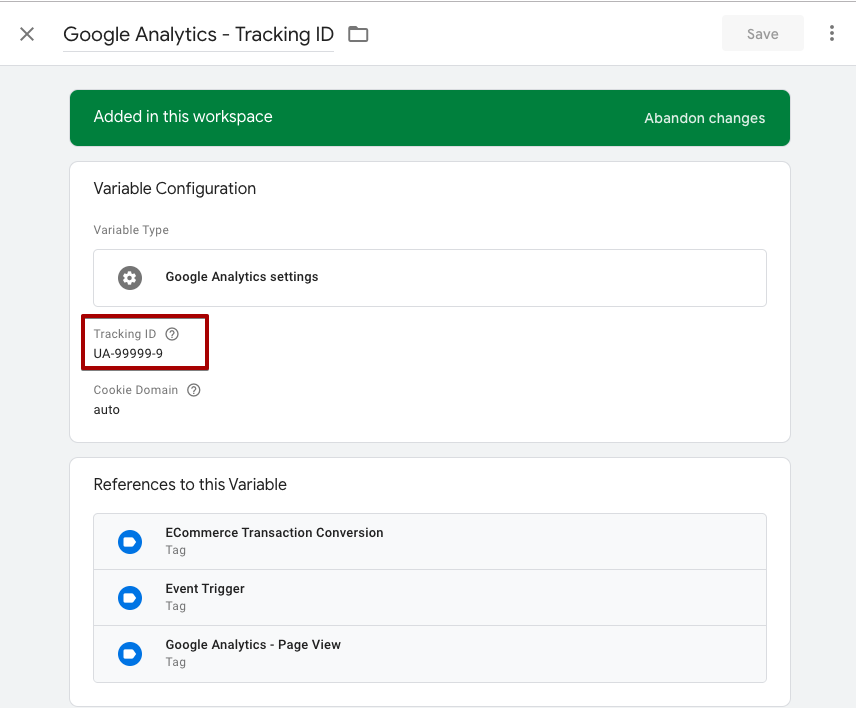
- Add your Measurement ID that you copied from Google Analytics. Select Save.
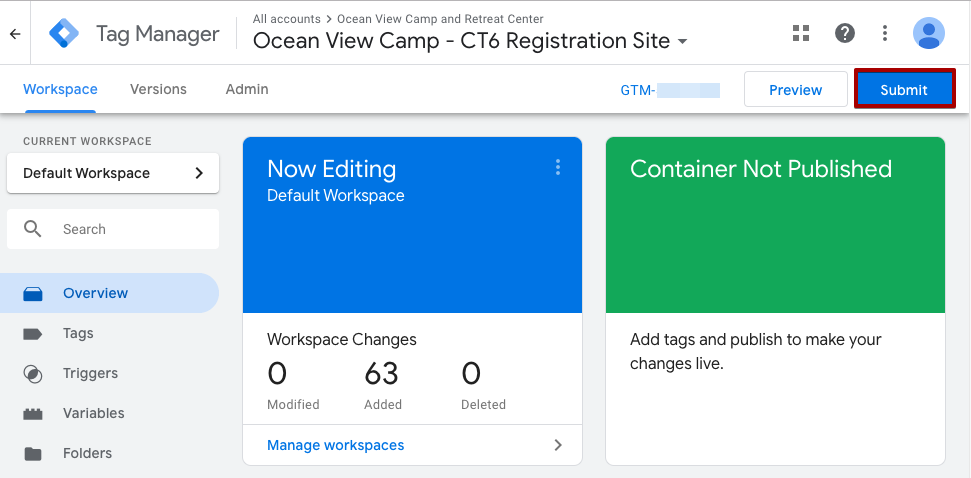
- Select Overview to return to the Dashboard and then select Submit.
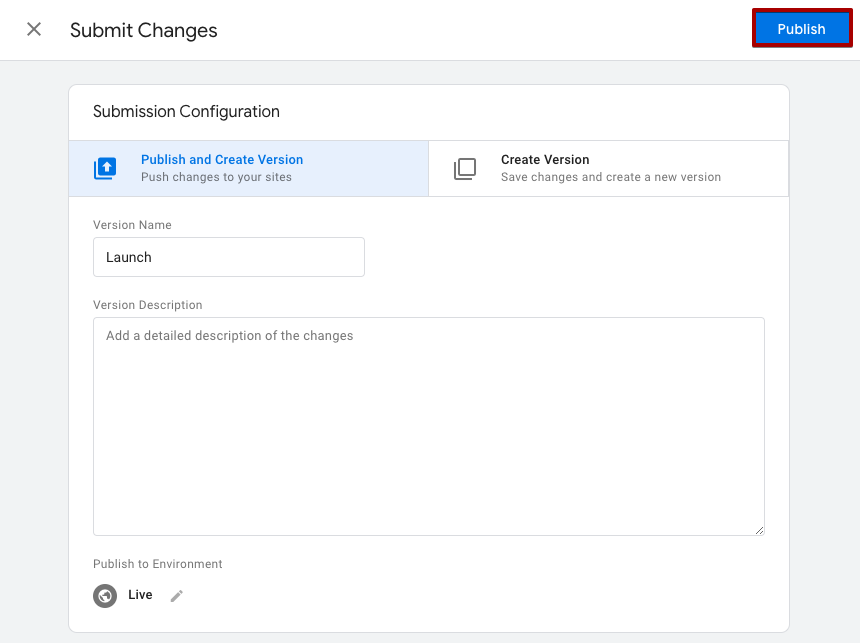
- Enter a Version Name and then select Publish.
Configure CircuiTree
Once you have added Google Analytics to Google Tag Manager, the next step is to link Google Tag Manager to CircuiTree.
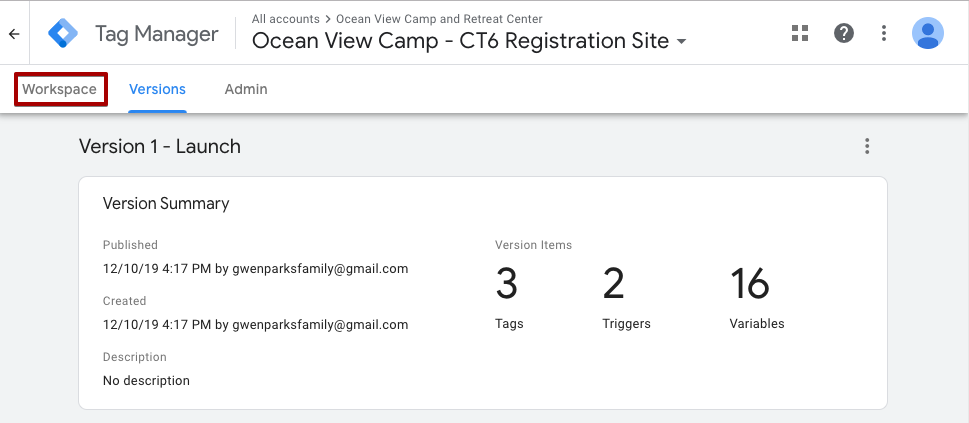
- Select Workspace to return to the Dashboard.
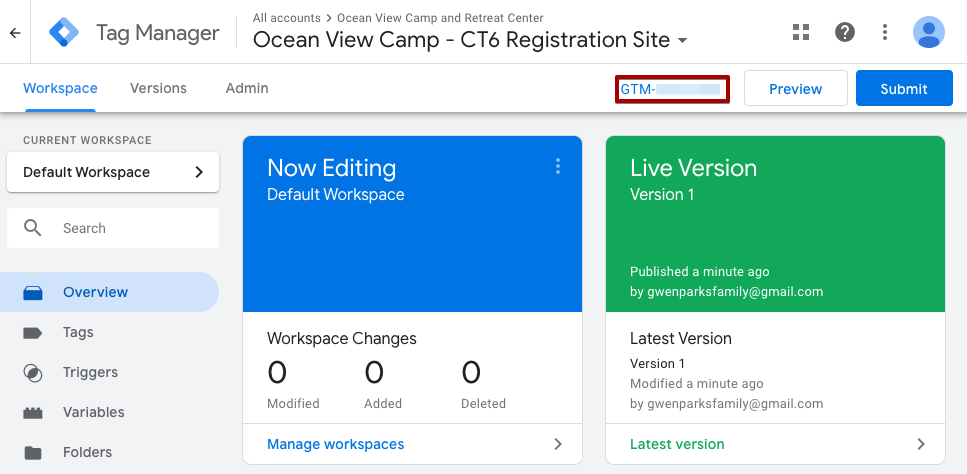
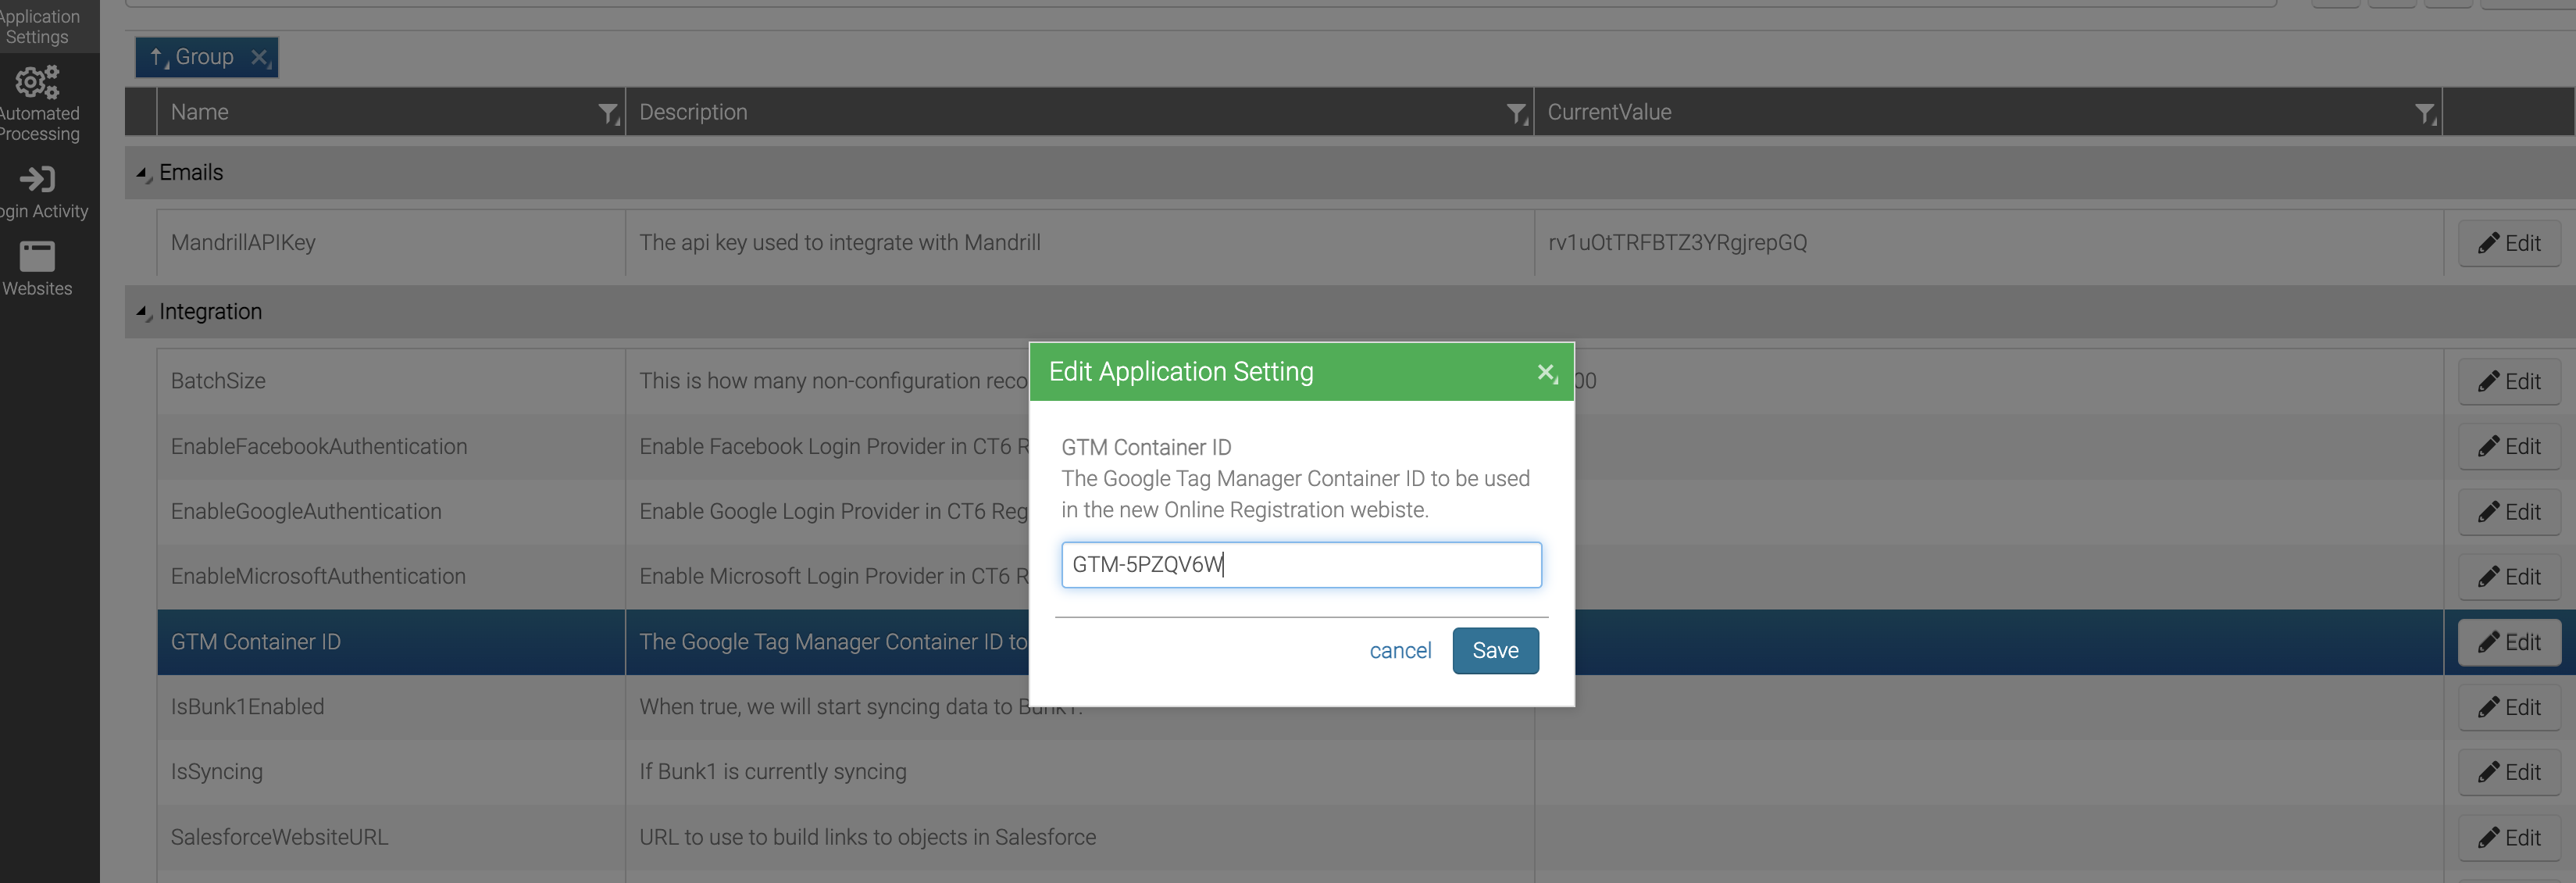
- Make a note of your GTM Container ID which is in the format of GTM-XXXXXXX.
- In CT6 > Application Settings > Integrations, paste your code into GTM Container ID and then select Save.
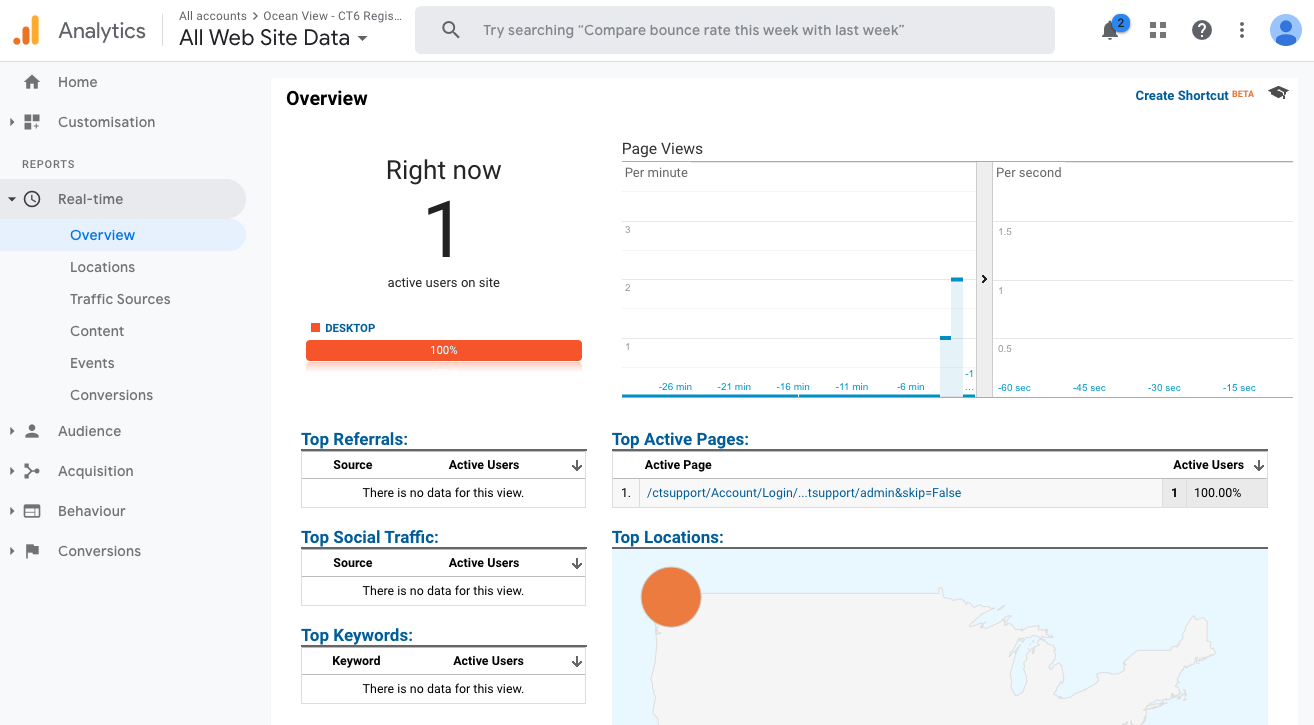
- Head back over to Google Analytics and you can see your customers activity on your CT6 Registration Site!
Resources
To learn more about Google Tag Manager and Google Analytics, check out the following articles: